Creating diagnostic dumps, Figure 13-18 – Dell Emulex Family of Adapters User Manual
Page 282
OneCommand™ Manager Application
P010066-01A Rev. A
13. Diagnostics
OneConnect Diagnostics
282
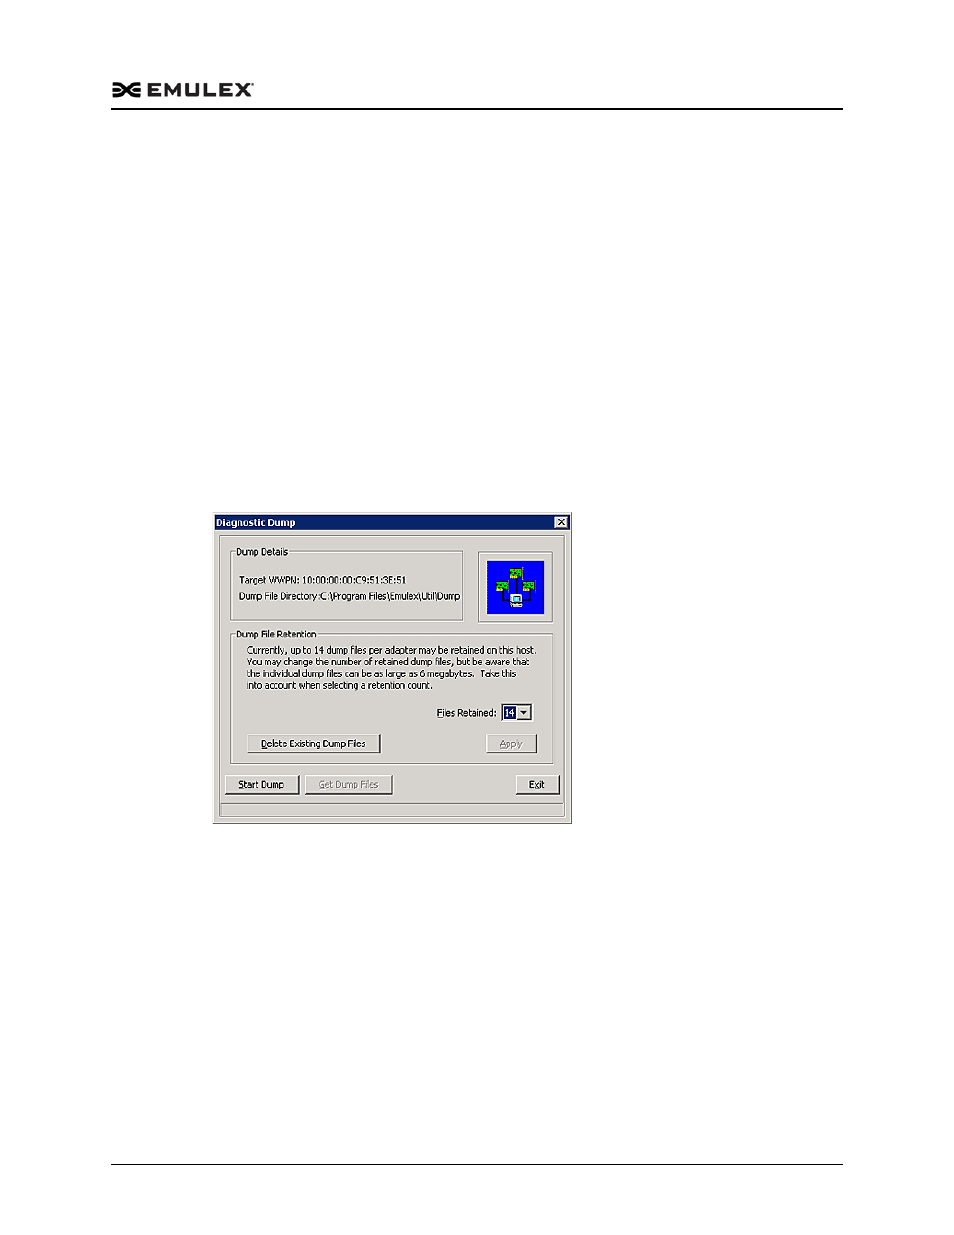
Creating Diagnostic Dumps
The diagnostic dump capability enables you to create a “dump” file for a selected
adapter. Dump files contain various information such as firmware version, driver
version and so on, that is particularly useful when troubleshooting an adapter. You can
also retrieve dump files from remote hosts. (Not available in read-only mode.)
To start a diagnostic dump:
1. From the discovery-tree, select an adapter whose diagnostic information you want
to dump.
2. Select the Firmware tab and click Diagnostic Dump. The Diagnostic Dump dialog
box appears.
For hosts being managed through the CIM interface, the Set Dump Directory button
enables you to set the dump directory for ESXi host dumps. (VMware only)
3. Specify how many files you want to retain using the Files Retained counter. Click
Delete Existing Dump Files to remove existing dump files for the selected adapter
from your system.
Figure 13-18 Diagnostic Dump Dialog Box
4. Click Start Dump. Dump files are created. Where these files are created depends
upon your operating system:
Note: For VMware systems you must set a dump directory before initiating a
dump. The dump directory must be a “Storage” partition (a datastore)
under the directory /vmfs/volumes.
Windows – %ProgramFiles%Util\Dump\
Solaris – /opt/ELXocm/Dump
Linux – /var/log/emulex/ocmanager/Dump
VMware – a dump directory you create under /vmfs/volumes.
Two files are created: