Installation, Preparing the adapter for installation, Installation 9 – Dell Emulex Family of Adapters User Manual
Page 1809: Preparing the adapter for installation 9, Figure 2-1
Emulex Adapter Installation Manual
P010288-01A Rev. A
2. Installation
Preparing the Adapter for Installation
1809
2. Installation
The Emulex adapter can be connected to fiber optic cables (used with embedded optical
transceivers) or DAC cables. Additional information for these cable connections and
other installation procedures are described in the following sections.
Preparing the Adapter for Installation
Before installing the adapter, you should perform the following steps:
1. Turn off the computer and unplug it.
2. Remove the computer case.
Note: The adapter comes with a standard height PCIe bracket installed. A
low-profile bracket is included in the box with the adapter. The low-profile
mounting bracket is shorter than the standard bracket; approximately 3.11
in. (7.9 cm) compared to 4.75 in. (12.06 cm) long.
3. If you want to change the bracket to a low profile version, follow steps 4–12;
otherwise, proceed to “Installing the Adapter” on page 1811.
4. Some adapters come with optical transceivers embedded in their cage assemblies.
These optical transceivers must be removed before the bracket can be removed. If
the adapter contains optical transceivers, continue with the following steps;
otherwise, proceed to step 7.
Caution:
This is a delicate operation–take care not to damage the optical
transceiver.
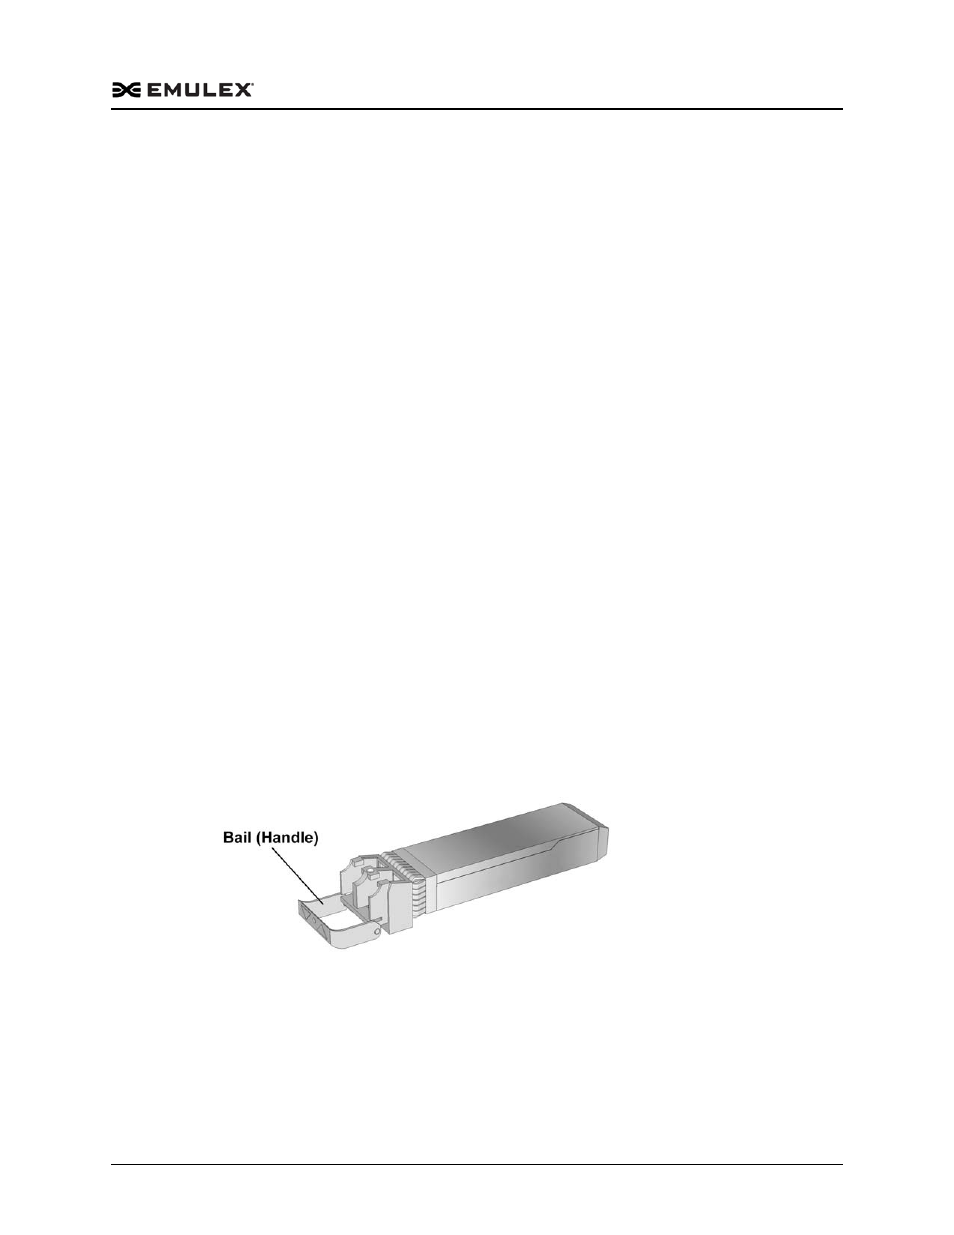
The adapter uses different types of optical transceivers. Figure 2-1 shows an
example of one type with the bail (handle) extended.
Figure 2-1 Typical Optical Transceiver
5. To remove a transceiver, pull the bail (handle) out and down to release the latch
and gently pull the transceiver out. Do not force it. After the latch is released, the
transceiver slides out easily.
Figure 2-2 shows a transceiver with the latch released (bail extended) and another
transceiver latched in place.