Enabling the pxe client with a pxe-enabled adapter, Figure b-6 – Dell Emulex Family of Adapters User Manual
Page 1728
Boot Version 10.2 for NIC, iSCSI, FCoE, and RoCE Protocols User Manual
P010097-01B Rev. A
Appendix B. Example for Installing and Configuring Linux or Citrix for PXE Boot and UEFI Boot
Linux and Citrix PXE Server Remote Installation Procedure
1728
4. Select the operating system identifier to install on this client. The list is populated
from the network install instances created from the Network Installation dialog
box.
5. If you use a serial console, check the Serial Console check box.
6. Specify the location of a kickstart file, such as
http://server.example.com/kickstart/ks.cfg. This file can be created with the
Kickstart Configuration.
Note: Ignore the Snapshot name and Ethernet options. They are only used for
diskless environments.
7. Click OK. This closes the dialog box and creates configuration files within:
/tftpboot/linux-install and /tftpboot/linux-install/pxelinux.cfg
8. Go to /tftpboot/pxelinux.cfg and open the file C0A8013C. The C0A8013C file is
created when you assign the client IP using “system-config- netboot”. This is the
hexadecimal address of the IP assigned to the client NIC. It is 192.168.1.60 in the
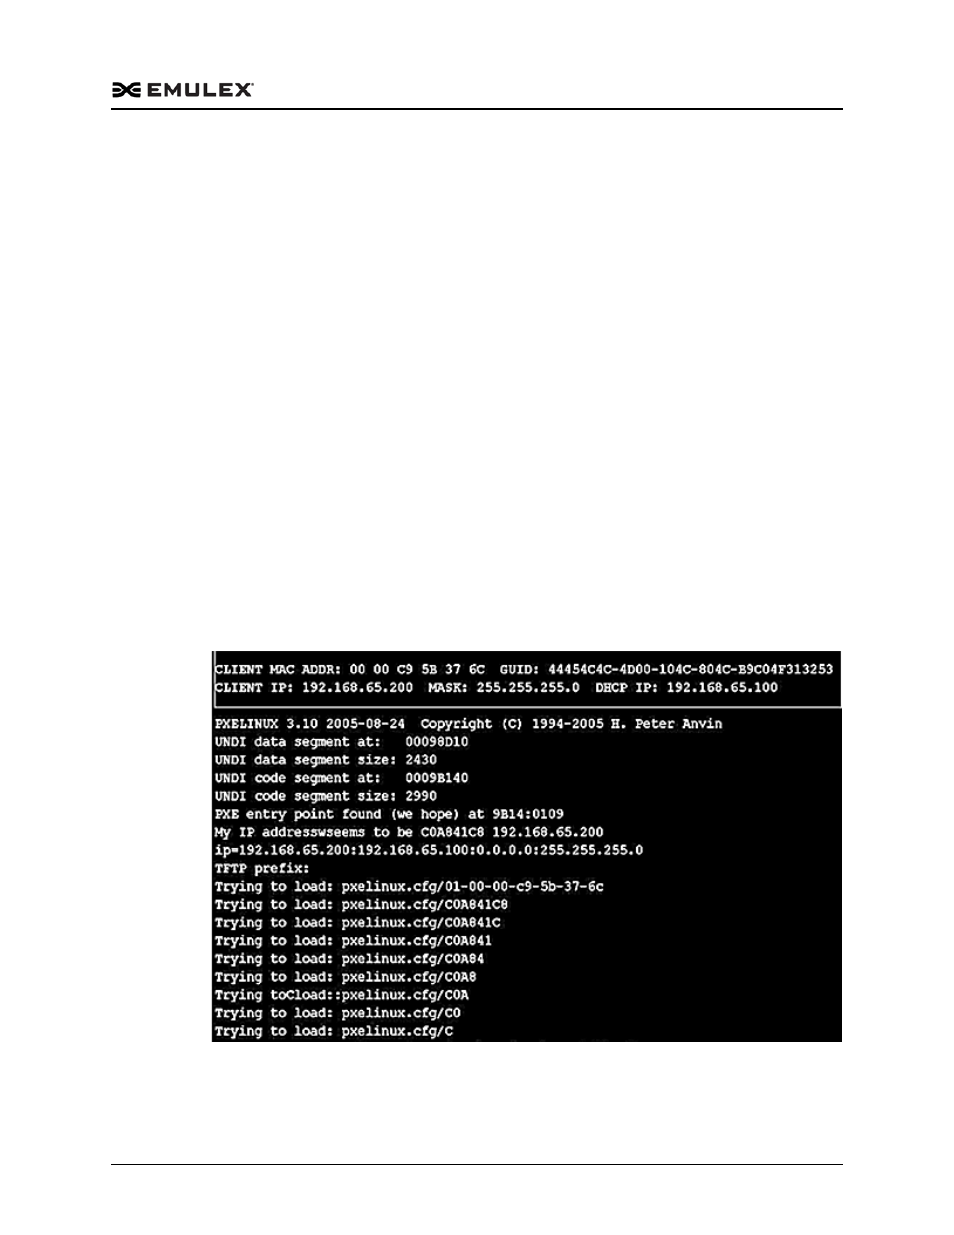
Enabling the PXE Client with a PXE-enabled Adapter
The PXE client must have a PXE-enabled adapter.
1. Power on the PXE client.
2. Press
and the Boot Linux image.
Figure B-6 Enabling Network Boot