Using beaconing, Figure 13-15, Figure 13-16 – Dell Emulex Family of Adapters User Manual
Page 279
OneCommand™ Manager Application
P010066-01A Rev. A
13. Diagnostics
OneConnect Diagnostics
279
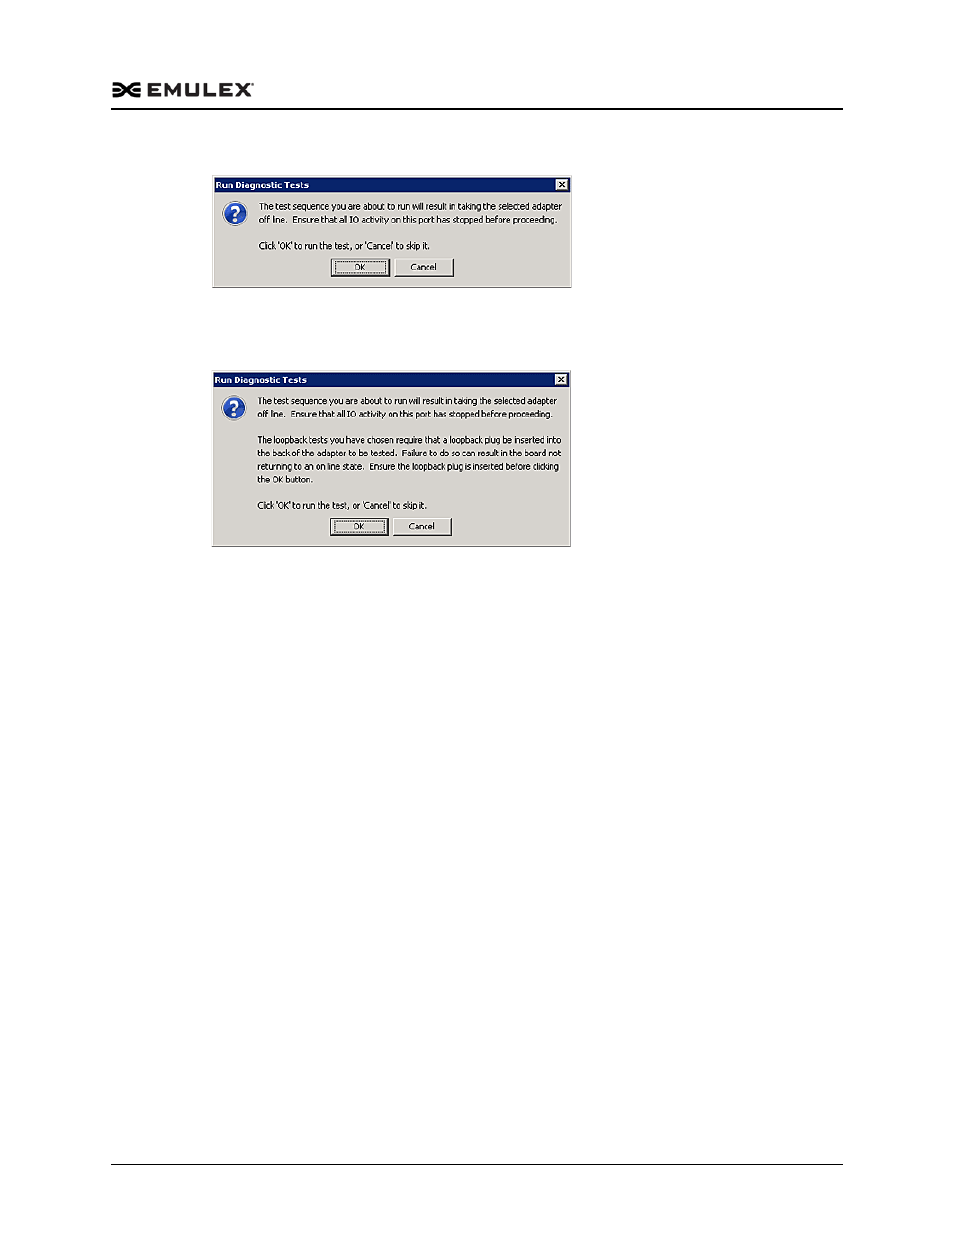
3. Click Start. The following warning appears:
Figure 13-15 Run Diagnostic Tests Warning
4. Click OK. If you choose to run an External Loopback test the following window
appears:
Figure 13-16 Advanced Diagnostic Tests Warning Window for External Loopback
5. Click OK. The progress bar indicates that the test is running.
Periodic test feedback, consisting of the current loopback test/cycle plus the
completion status of each type of test, is displayed in the Test Status section of the
dialog box. Click Show Test Log to view and save the log file. After starting the
tests, you can click Stop Tests to stop the tests before they complete. Depending
upon the tests being run, it may take some time before they stop.
Using Beaconing
The beaconing capability enables you to force a specific adapter’s LEDs to blink in a
particular sequence. The blinking pattern acts as a beacon, making it easier to locate a
specific adapter among racks of other adapters. (Not available in read-only mode.)
When you enable beaconing for LightPulse adapters, the two LEDs blink rapidly in
unison for 24 seconds, after which the LEDs report the adapter health status for 8
seconds. When the 8 seconds are up, the adapter returns to beaconing mode. This cycle
repeats indefinitely until you disable beaconing or you reset the adapter.
When you enable beaconing for OneConnect adapters, the two LEDs blink rapidly in
unison until you disable beaconing.
Note: The beaconing buttons are disabled if the selected adapter does not support
beaconing.
To enable or disable beaconing:
1. From the discovery-tree, select the adapter port whose LEDs you want to set.
2. Select the Diagnostics tab and click Beacon On or Beacon Off.