Bounce options, Help, Bounce source – M-AUDIO Pro Tools Recording Studio User Manual
Page 981
Chapter 43: Mixdown
963
Time Stamp Information
Bounced material is au-
tomatically time stamped so that you can drag it
into a track and place it at the same location as
the original material. For more information
about time stamping, see “Time Stamping” on
page 1031.
Bounced Files Are Delay-Compensated
Pro Tools compensates for any bus and plug-in
delays due to a bounce. This means that if a
bounced file is imported back into a session, and
placed directly in time against the source mix, it
is time-aligned with the original source mix.
Record-Enabled Tracks and TrackInput-Enabled
Tracks Cannot Be Bounced
Pro Tools does not allow you to bounce tracks
that are either record-enabled or in Input Only
monitoring mode.
To Bounce to Disk:
1
Make a Timeline selection to define the range
to be bounced.
2
Choose File > Bounce to > Disk.
3
Configure the Bounce options (see “Bounce
4
Click Bounce.
Bouncing with Mute Frees Assigned
Voice (Pro Tools HD Only)
When bouncing sessions that include muted
tracks, enabling “Mute Frees Assigned Voice”
can, in some instances, increase the number of
tracks that can be successfully bounced. See
“Mute Frees Assigned Voice” on page 192.
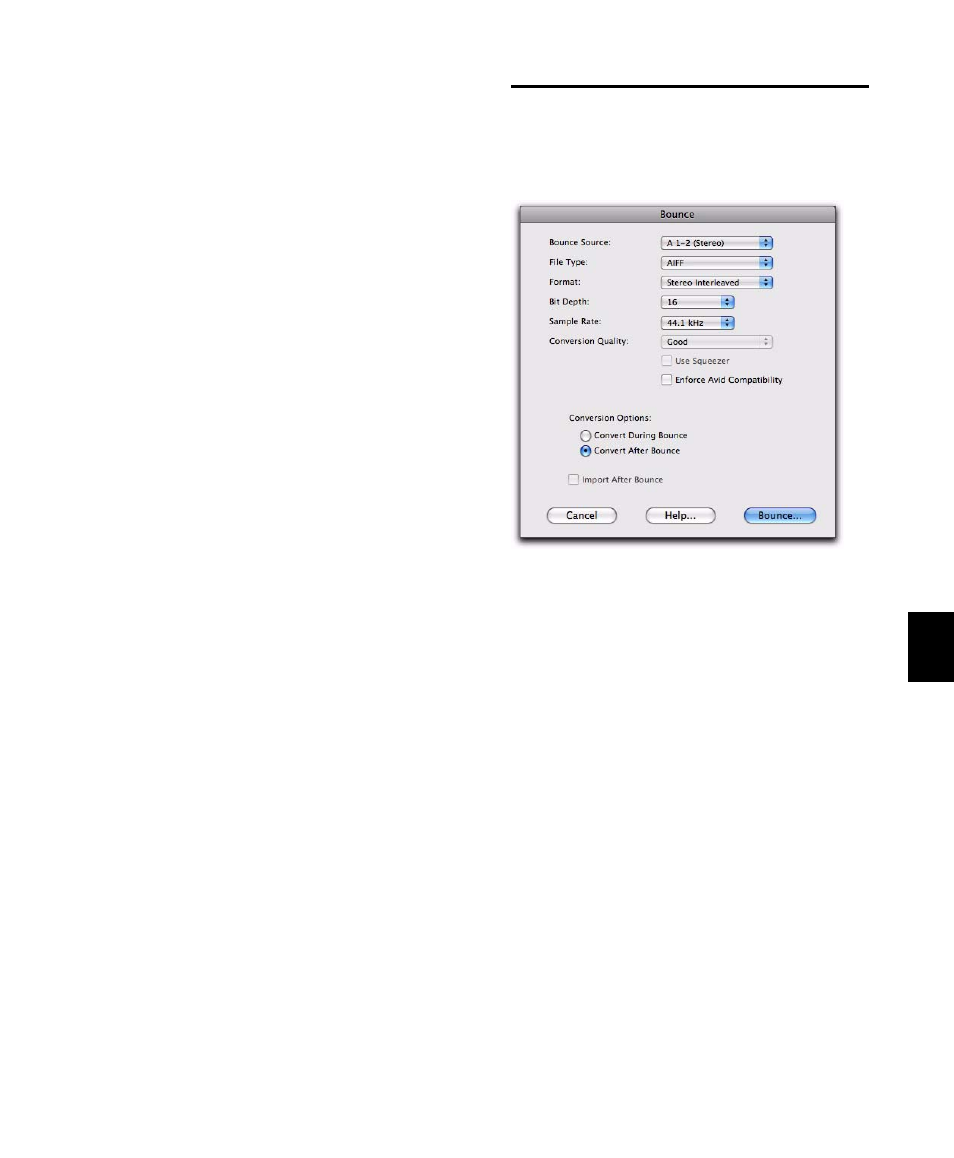
Bounce Options
When you use the Bounce to Disk command,
you can configure several file options.
Help
The Help button opens a display-only dialog that
describes the Bounce to Disk features.
Bounce Source
Select any mono, stereo, or multichannel output
or bus path as the source for the bounce. All cur-
rently active output or bus paths as defined in
the I/O Setup dialog are available as the Bounce
Source.
To set the bounce source:
Select an output or bus path from the Bounce
Source selector.
Bounce to Disk dialog, with conversion and options
enabled