M-AUDIO Pro Tools Recording Studio User Manual
Page 726
Pro Tools Reference Guide
708
4
Do one of the following:
• Click with the Selector tool in any track or
ruler at the location where you want to
place the Marker. To place a Marker at the
beginning of a region, select the region
with the Time Grabber tool. Click the Add
Marker/Memory Location button (or press
Enter on the numeric keypad).
– or –
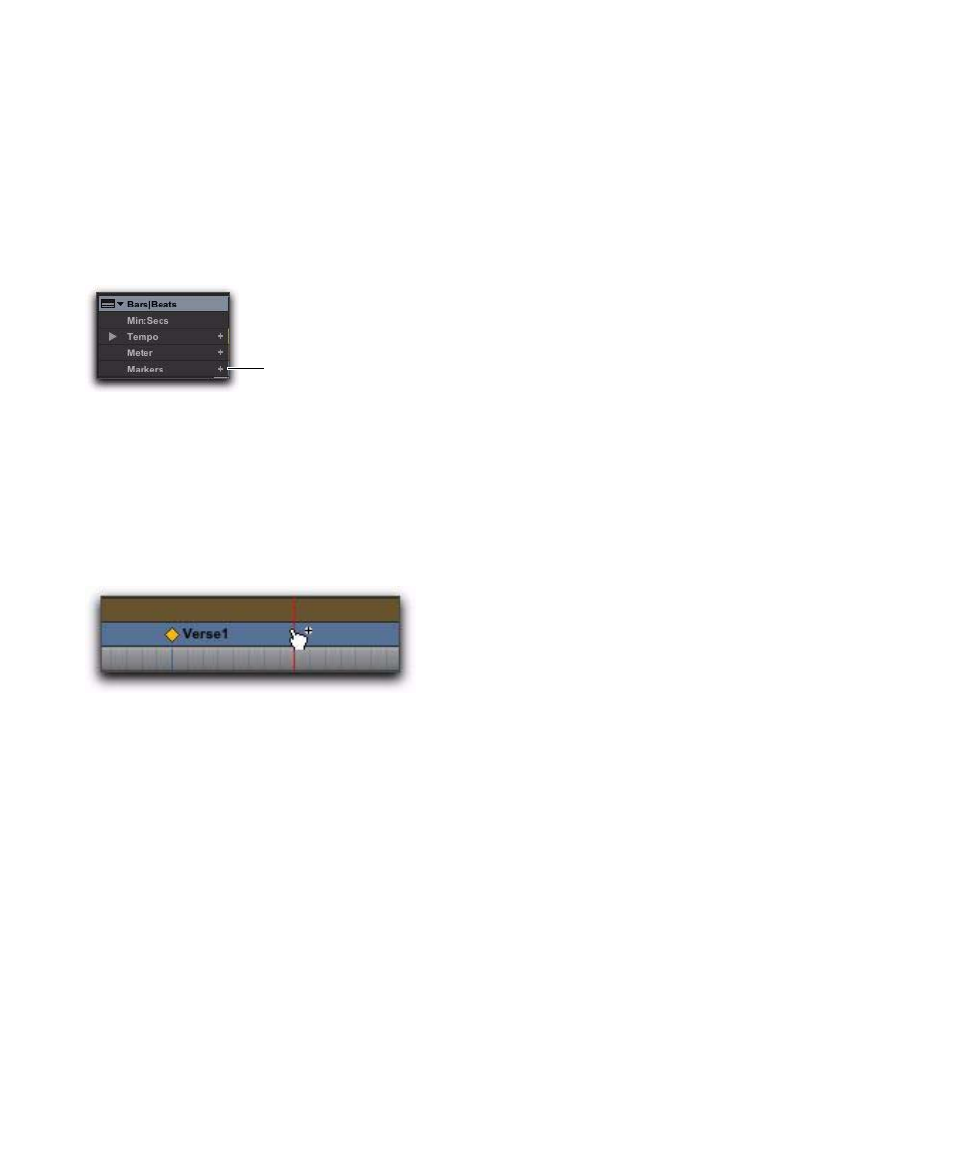
• While pressing the Start key (Windows) or
Control (Mac), move the cursor into the
Markers ruler (where the cursor changes to
the Grabber with a “+”) and click at the lo-
cation where you want to place the Marker.
5
In the New Memory Location dialog, select
the Marker option and set the Reference to ei-
ther Bar|Beat or Absolute.
6
Enter a Name for the new Marker and select
any General Properties you want to save with
the Marker.
7
Click OK. The Marker is created and appears in
the Markers ruler, and in the Memory Locations
window.
To create a Selection Memory Location:
1
Configure any session settings you will save
with the Selection Memory Location, such as
zoom settings, pre- and post-roll times,
Show/Hide status for tracks, Track Heights, and
Edit and Mix Group enables.
2
Select a range of material in one or more
tracks.
3
Do one of the following:
• Press Enter on the numeric keypad.
– or –
• From the Memory Locations Window
menu, choose Add Memory Location.
4
In the New Memory Location dialog, select
the Selection option and set the Reference to ei-
ther Bar|Beat or Absolute.
5
Enter a Name for the new Memory Location
and select any General Properties you want to
save with it.
6
Click OK. The Selection Memory Location is
created and appears in the Memory Locations
window.
To create a General Properties Memory Location:
1
Configure any session settings you will save
with the Selection Memory Location, such as
zoom settings, pre- and post-roll times,
Show/Hide status for tracks, Track Heights, and
Edit and Mix Group enables.
2
Press Enter on the numeric keypad.
3
In the Memory Location dialog, select the
None
option.
4
Enter a Name for the new Memory Location
and select any General Properties you want to
save with it.
Marker/Memory Location button
Manually inserting a Marker
Add Marker/Memory Location