Using autofades, Creating fades and crossfades in batches – M-AUDIO Pro Tools Recording Studio User Manual
Page 541
Chapter 26: Fades and Crossfades
523
Using AutoFades
(Pro Tools HD Only)
Pro Tools HD can automatically apply real-time
fade-ins and fade-outs to all region boundaries
in the session. Specify the duration (0 to 10 ms)
for automatic real-time fades with the Auto Re-
gion Fade In/Out Length
preference in the Opera-
tion Preferences page). These fade-ins and fade-
outs are performed during playback and do not
appear in the Edit window, and are not written
to disk.
The automatic fade-in/out option also has an ef-
fect on Voice borrowing in a session. Whenever
a lower-priority virtual track “pops thru” a si-
lence in a higher-priority track on the same
voice, a fade-in and fade-out is applied to the
transition.
This feature is especially useful in post produc-
tion situations such as dialogue tracking. For ex-
ample, you could assign both a dialogue track
and a “room tone” track with matching back-
ground to the same voice. You could then set
the AutoFade option to a moderate length (4 ms
or so) so that whenever a silence occurred in the
dialog, playback would switch smoothly to and
from the background track without clicks or
pops.
Using automatic fade-ins/outs saves you the
trouble of editing to zero-crossings or creating
numerous rendered fades in order to eliminate
clicks or pops in playback. However, since these
autofades are not written to disk, those clicks or
pops still exist in the underlying sound file.
Consequently, those anomalies still appear if
the Duplicate AudioSuite plug-in or the Export
Regions As Files
command (from the Region
List) are used to duplicate multiple regions as a
continuous file. To render these real-time auto
fades to disk, choose File > Bounce to > Disk.
To set the length of automatic fade-ins/outs:
1
Choose Setup > Preferences and click the
Operation
tab.
2
Type a value between 0 and 10 ms for the Auto
Region Fade In/Out Length
. A value of zero (the
default) means that no auto-fading will occur.
3
Click OK. The AutoFade value is saved with the
session, and is automatically applied to all free-
standing region boundaries until you change it.
Creating Fades and
Crossfades in Batches
Using Batch Fades, you can create many fades at
once. Select across several regions and use the
Create Fades command to create crossfades for
each region transition. If your selection includes
regions that already have crossfades, this feature
lets you modify them.
To apply crossfades between multiple regions:
1
With the Selector tool, click in the first region
in which you want to create a crossfade. Make
sure that the selection includes the entire re-
gion.
2
Drag to extend the selection to include the last
region you want to crossfade. Make sure that the
selection includes the entire region.
AutoFades are not applied to AudioSuite
processing.
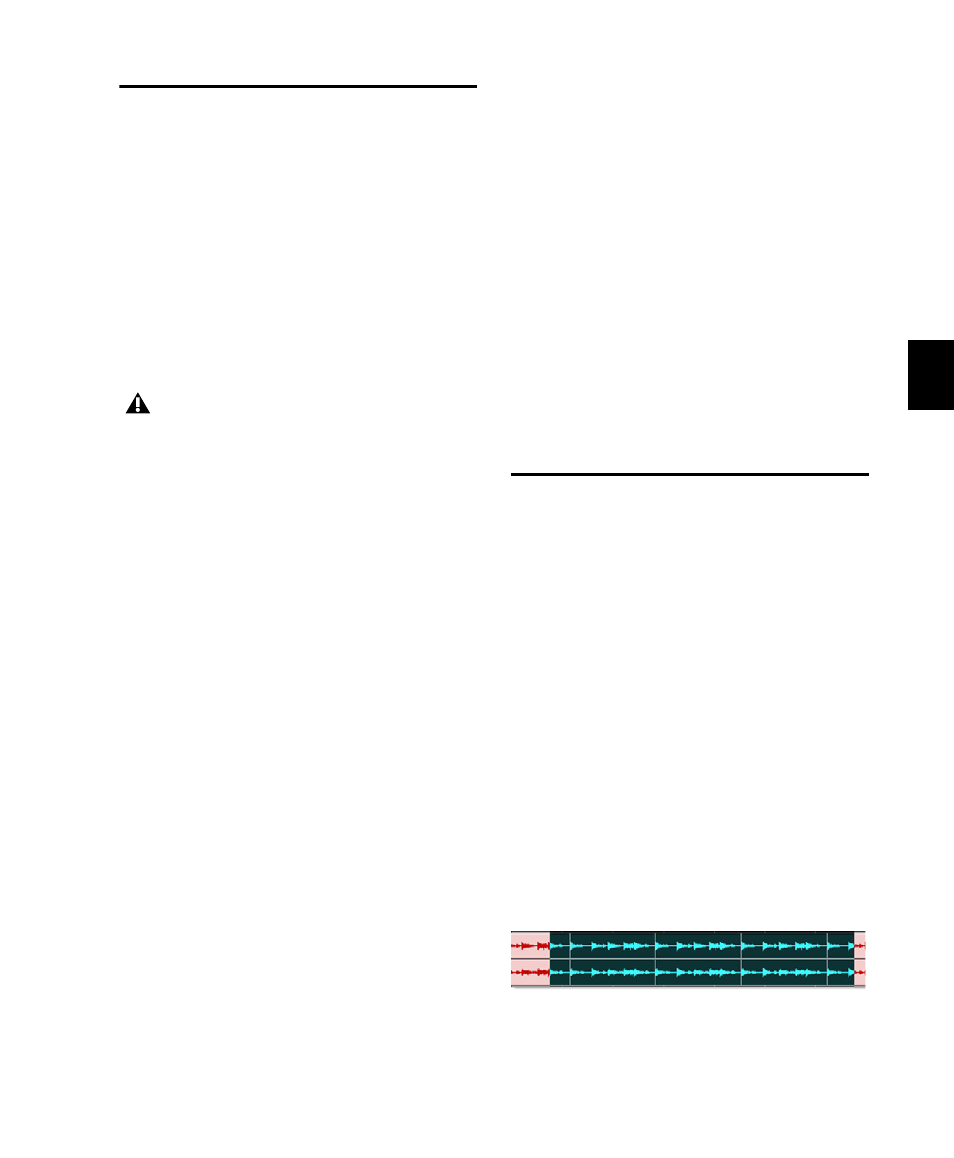
Selected regions for Batch Fades