M-AUDIO Pro Tools Recording Studio User Manual
Page 457
Chapter 22: Editing Basics
439
To toggle display of creation times in the Undo
History window:
Click the Options pop-up menu and choose
Show Creation Times
.
To undo all the operations in the Undo Queue:
Click the Options pop-up menu and choose
Undo All
.
To redo all the operations in the Redo Queue:
Click the Options pop-up menu and choose
Redo All
.
Clearing the Undo Queue
To manually clear the Undo Queue
Click the Options pop-up menu and choose
Clear Undo Queue
.
Other operations that clear the Undo Queue in-
clude:
• Deleting a track, or clearing a region from
the Region List
• Selecting Select > Unused, or Select > Un-
used Audio Except Whole Files
in the Region
List menu
When the number of operations in the Undo
History reaches the maximum level of Undo,
performing another undoable operation re-
moves the oldest operation at the top of the
Undo History queue. When the oldest operation
is one operation away from being pushed out of
the queue, it is shown in red.
Levels of Undo and Memory
Because Pro Tools needs to keep track of the
playlists for all tracks that are edited, the use of
multiple levels of Undo can be memory inten-
sive. You can lower the Levels of Undo setting
(Editing Preferences) in Pro Tools to reduce the
amount of system memory (RAM) used by the
Undo queue. If you have plenty of memory
available for Pro Tools, you can use a higher Lev-
els Of Undo
setting.
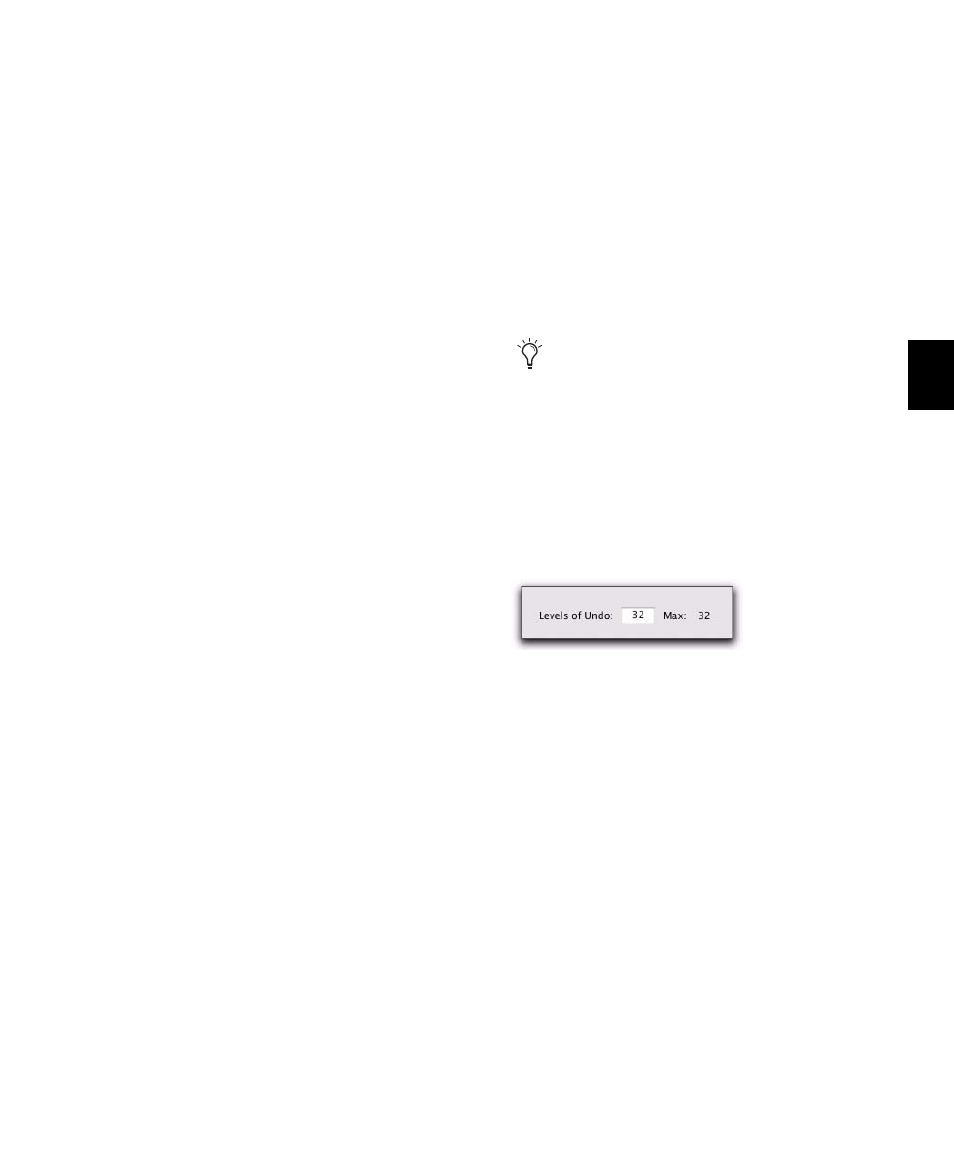
To set the Levels of Undo in Pro Tools:
1
Choose Setup > Preferences and click the
Editing tab.
2
Click in the Levels of Undo field and type a
value between 1–32.
3
Click OK.
Use the Undo History window to view a
queue of undo operations and return to a
previous state.
Levels of Undo preference