Midi merge/replace – M-AUDIO Pro Tools Recording Studio User Manual
Page 411
Chapter 20: MIDI Recording
393
2
In the Transport window, click the Wait for
Note button so it becomes highlighted.
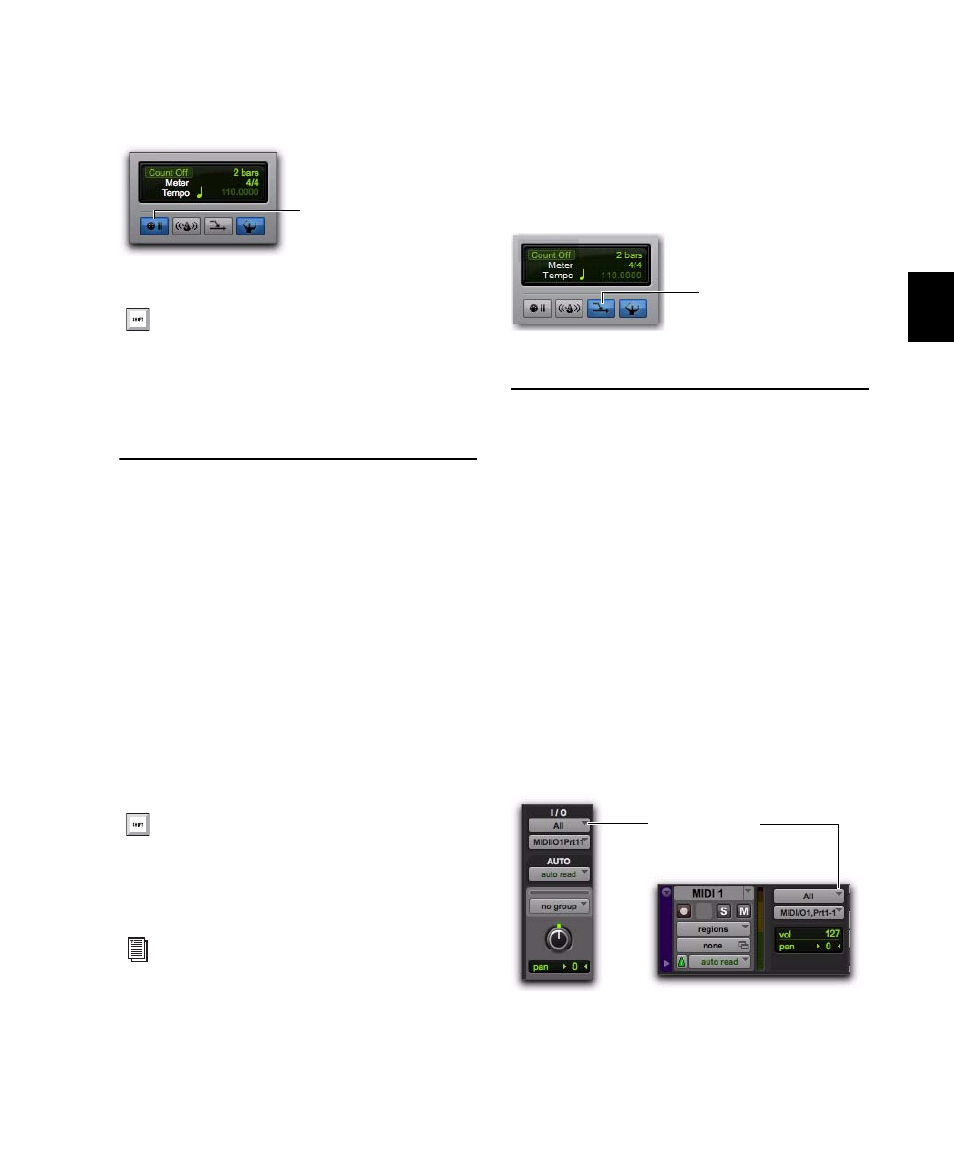
MIDI Merge/Replace
The MIDI Merge button, located in the Trans-
port window, determines how MIDI is recorded
when overdubbing or punching in. When MIDI
Merge is on (Merge mode), recorded MIDI is
merged with existing track material. When
MIDI Merge is off (Replace mode), existing data
within the punched region is replaced by the
newly recorded material.
The MIDI Merge button can be turned on and
off during playback and recording. In Loop
Record mode, MIDI Merge has no effect, and the
button is dimmed.
To enable MIDI Merge:
1
To view the MIDI controls in the Transport
window, select View > Transport > MIDI Controls.
2
In the Transport window, click the MIDI
Merge button so it becomes highlighted.
Configuring MIDI or
Instrument Tracks for
Recording
To configure one or more MIDI or Instrument
tracks for recording:
1
Create a new MIDI or Instrument track, or use
an existing MIDI or Instrument track.
2
For Instrument tracks, select View > Mix
Window > Instruments
or View > Edit Window >
Instruments
.
3
From the track’s MIDI Input selector, select the
device and channel to be recorded. (For Instru-
ment tracks, the MIDI Input selector is available
in Instruments view.)
Wait for Note enabled
With the Operation preference for “Use F11
for Wait for Note” enabled, you can press
F11 to turn on Wait for Note. (On Mac sys-
tems, the Mac “Desktop” keyboard shortcut
must be disabled or remapped.)
To enable MIDI Merge with a keyboard
shortcut, set the Numeric Keypad mode to
Transport, and press the 9 key on the nu-
meric keypad.
You can also paste and merge MIDI notes
using Paste Special commands. See “Special
Paste Function for Automation Data” on
page 935.
Wait for Note button
MIDI Merge enabled
MIDI track Input selector
MIDI Merge button
MIDI Input selector