M-AUDIO Pro Tools Recording Studio User Manual
Page 435
Chapter 21: Punch Recording Modes
417
Transport Display of DestructivePunch Status
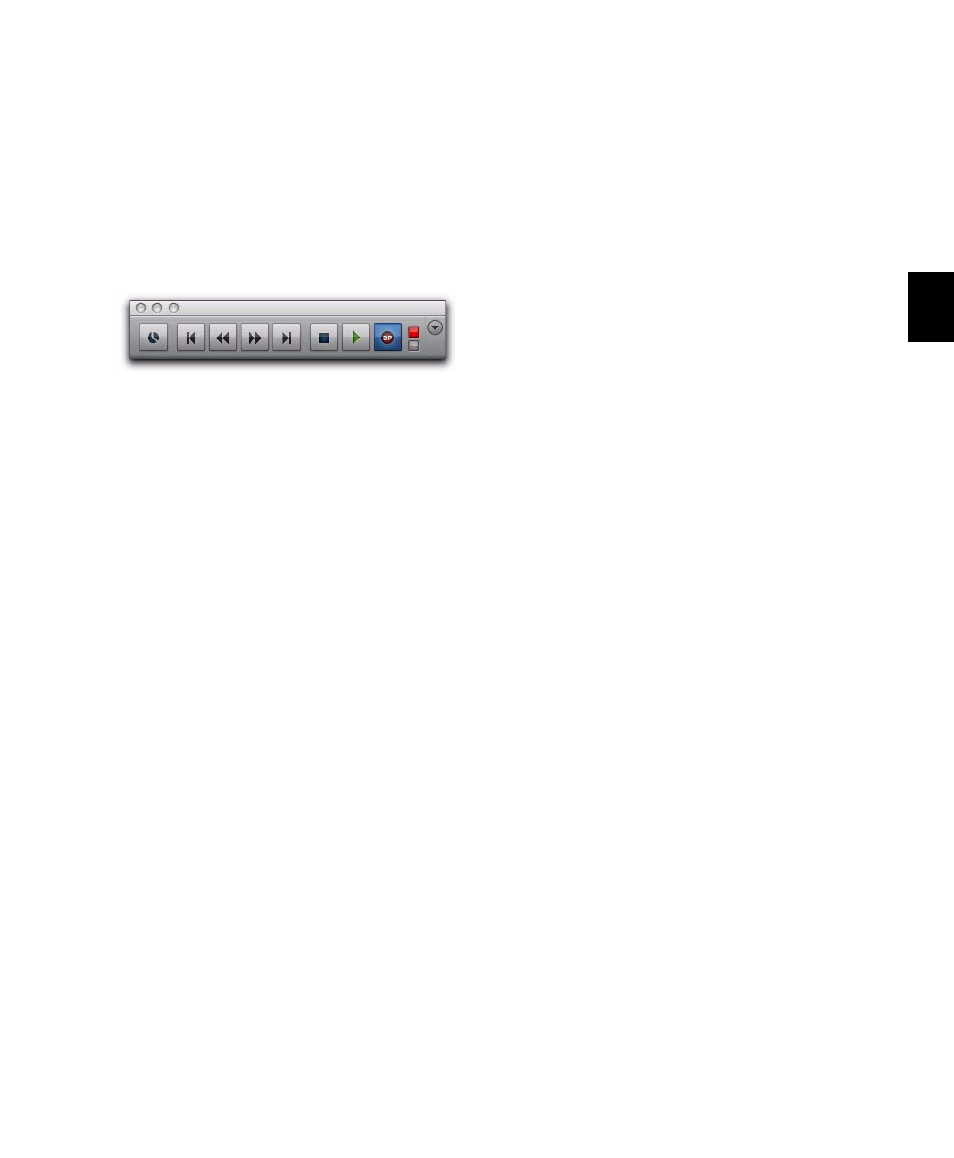
When DestructivePunch mode is enabled:
The letters “dp” appears in the Record button
in the Transport.
If at least one track is DestructivePunch-en-
abled, the Record button in the Transport lights
solid blue.
When DestructivePunch mode is enabled and the
transport is armed for recording:
If no tracks are DestructivePunch-enabled, the
Record button in the Transport flashes gray and
red.
If at least one track is DestructivePunch-en-
abled, the Record button flashes blue and red.
If at least one DestructivePunch-enabled track
is also record enabled, the Record button flashes
blue and red, and the record LED lights.
Whenever at least one audio track is record-
ing, the Record button lights solid red.
Prepare Tracks for DestructivePunch
Recording
In order for a track to be enabled for Destructive-
Punch recording, the track must contain a con-
tiguous audio file that meets the following re-
quirements:
• The file must start at the beginning
(sample 0) of the session.
– and –
• The File Length must be equal to or greater
than the DestructivePunch File Length set-
ting (see “DestructivePunch File Length”
on page 418).
If a track does not contain a file that meets these
requirements, you can do any of the following
to meet the requirements:
• Move the current file in the track Timeline
so that its beginning aligns with the session
start.
• Use the Consolidate command to create a
continuous file of the required length.
• Change the DestructivePunch File Length
setting so that the current file is equal to or
greater than the required length.
• Use the Prepare DPE Tracks command to
consolidate audio on all DestructivePunch-
enabled tracks. (See “Using the Prepare DPE
Tracks Command” on page 418.)
Transport Record Enable button with DestructivePunch
mode enabled