M-AUDIO Pro Tools Recording Studio User Manual
Page 192
Pro Tools Reference Guide
174
To set the Track Height, do one of the following:
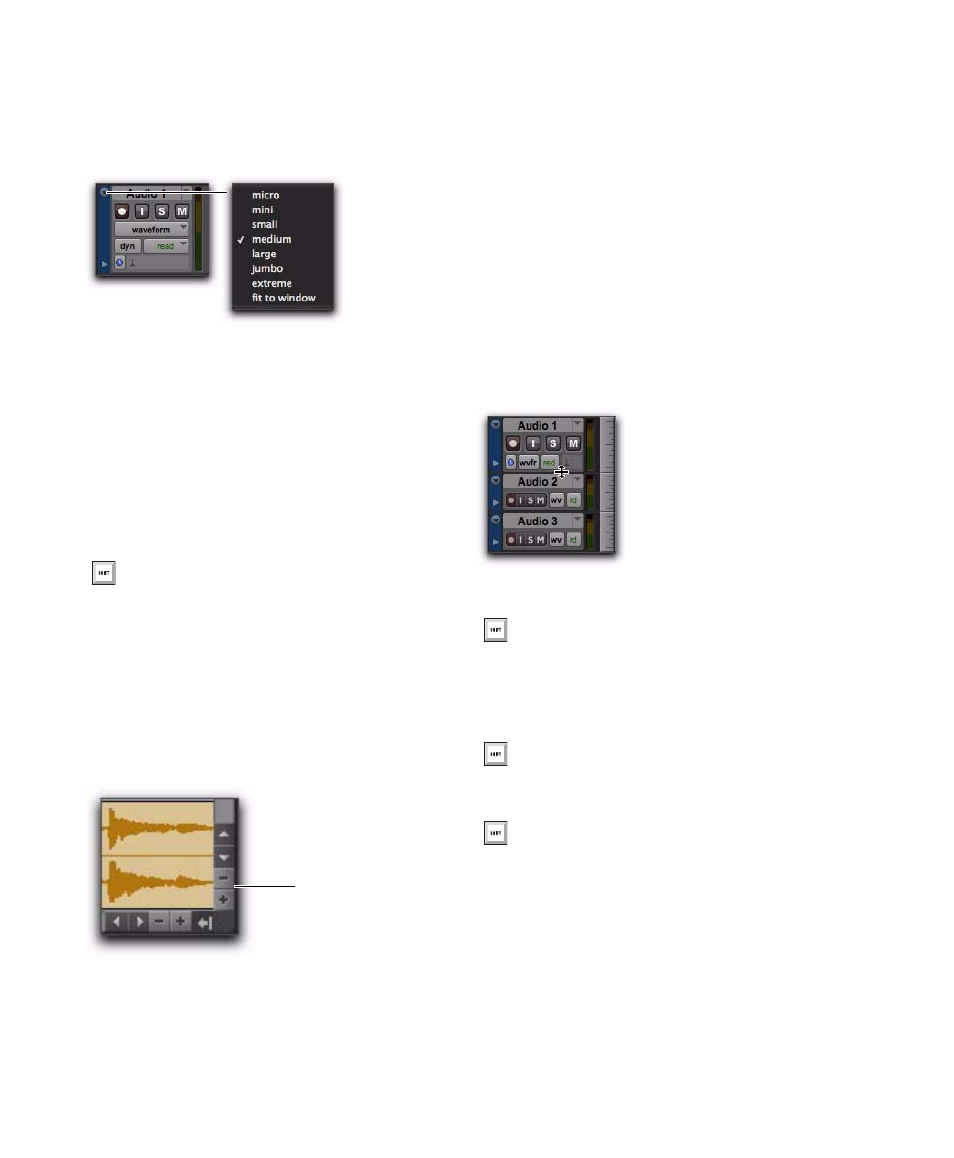
Click the small arrow to the left of the Track
name to get the Track Height pop-up menu.
– or –
Right-click on the vertical zoom scale just to
the right of the track controls and choose the
height from the pop-up menu.
The track is resized to the new height. If the
track is part of an Edit Group, all tracks in the
group are set to the new height.
To resize all tracks proportionally:
Click Edit window Vertical Zoom In or Out
button.
Continuously Variable Track Height
In the Edit window, you can continuously resize
the Track Height of any given track by simply
clicking and dragging the lower boundary of the
Track Controls column.
To resize the Track Height of any track in the Edit
window:
Drag the bottom line of any given track’s
Track Controls column up or down. The cursor
changes to indicate that you can resize the track.
The track’s Track Height changes incrementally.
Track Height pop-up menu
Press Start+Up/Down Arrow key (Win-
dows) or Control+Up/Down Arrow key
(Mac) to increase/decrease track height of
any track that contains a selection or in
which the edit cursor is currently placed.
Vertical Zoom buttons, Edit window
Vertical Zoom
In and Out
buttons
Adjusting the Track Height of an audio track
Press and hold Control (Windows) or
Command (Mac) while adjusting track
height for continuous, non-incremental
adjustments.
To continuously resize all tracks, Alt-click
(Windows) or Option-click (Mac) and drag.
To continuously resize all selected tracks,
Alt-Shift-click (Windows) or Option-Shift-
click (Mac) and drag.