Panning modes, X/y panning – M-AUDIO Pro Tools Recording Studio User Manual
Page 1019
Chapter 46: Surround Panning and Mixing
1001
Panning Modes
The Panning Mode button provides access to
four panning modes: X/Y mode, Divergence Ed-
iting, 3-Knob mode, and AutoGlide mode. Pan-
ning controls can be automated in all four
modes.
Panning Modes
X/Y Mode
Joystick-style panning by dragging
the Pan Location cursor within the X/Y Speaker
Grid. See “X/Y Panning” on page 1001 for more
information.
3-Knob Mode
Point-to-point panning, between
pairs of speakers. See “3-Knob Panning” on
page 1002 for more information.
Divergence Editing
The divergence X/Y Grid can
be dragged to resize the divergence boundaries.
See “Divergence Editing Mode” on page 1005.
AutoGlide Mode
Point-to-point panning from
the Pan Location cursor to a new destination
over a specified AutoGlide Time. See “AutoGlide
Mode” on page 1003 for more information.
To enable a Panning Mode:
Click on the Panning Mode button in the Sur-
round Panner until the mode icon is displayed.
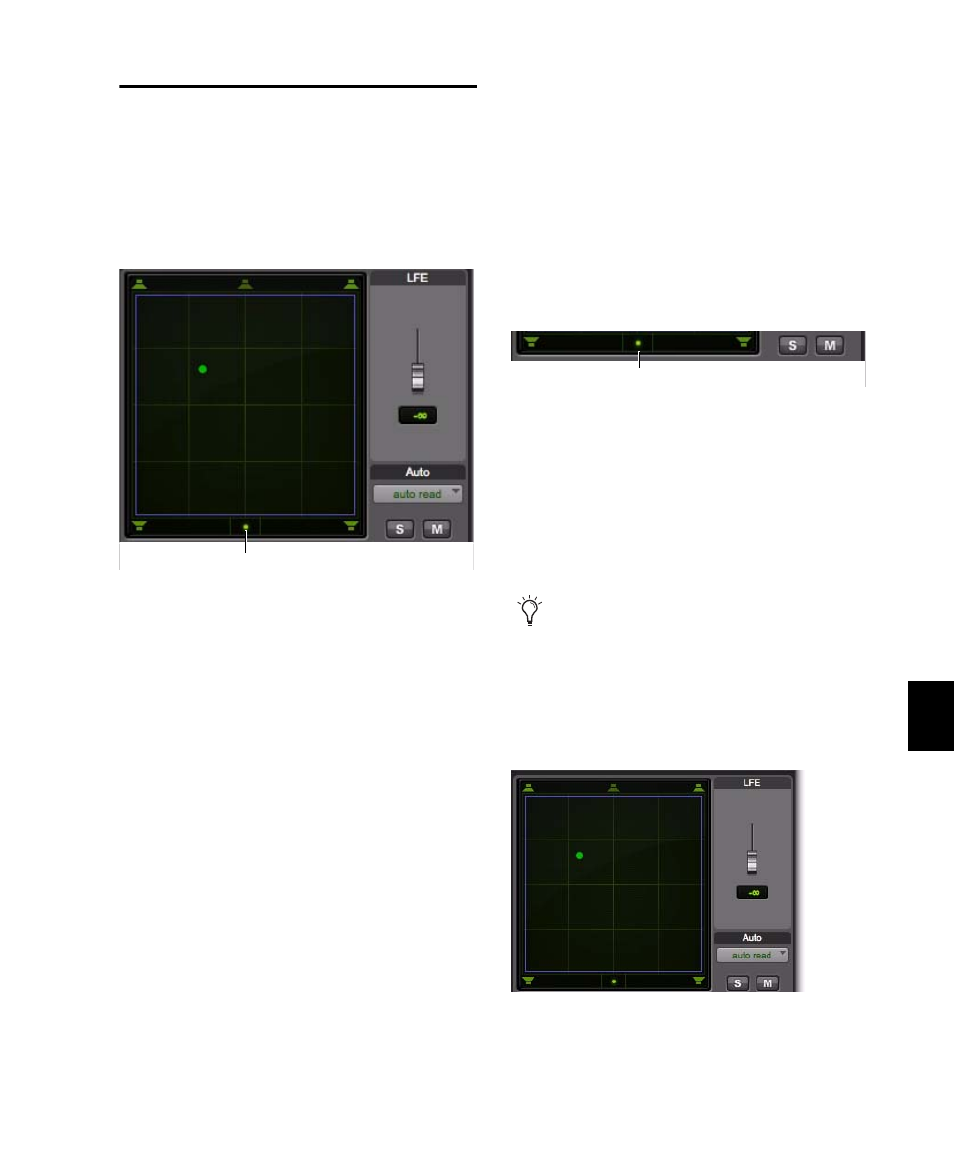
X/Y Panning
To pan in X/Y mode:
1
Click on the Panning Mode button until the
X/Y mode icon is displayed.
2
Drag the Pan Location cursor, or click any-
where in the Grid and drag to pan the track. The
location of the Pan Location cursor determines
the pan position of the signal. For example, to
pan something to the left rear speaker, move the
Pan Location cursor to the lower-left corner of
the Grid.
Panning Mode button (X/Y mode shown)
Panning Mode button
Panner Mode button set to X/Y mode
It is not necessary to click exactly on the Pan
Location cursor. Clicking anywhere in the
Grid will move the Pan Location cursor rel-
ative to where you click or take over with a
hardware panner. Panning does not jump to
the click position.
X/Y Panning
X/Y mode icon