Creating looped regions – M-AUDIO Pro Tools Recording Studio User Manual
Page 758
Pro Tools Reference Guide
740
Creating Looped Regions
You can create looped regions using the Loop
command or using the Loop Trimmer tool.
To loop a region:
1
Select an audio or MIDI region, or region
group.
2
Do one of the following:
• Choose Region > Loop.
– or –
• Right-click the region you want to loop and
select Loop.
3
In the Region Looping dialog, do one of the
following:
• Select the Number of Loops option and enter
the number of times to loop the region.
• Select the Loop Length option and enter the
duration according to the main timebase. If
the duration is not an exact multiple of the
source loop’s duration, the last loop itera-
tion will be truncated.
• Select the Loop Until End of Session or Next
Region
option. The looped region will be re-
peated until the end of the session, or until
the next region on the track. If necessary,
the last loop iteration will be truncated to
fit.
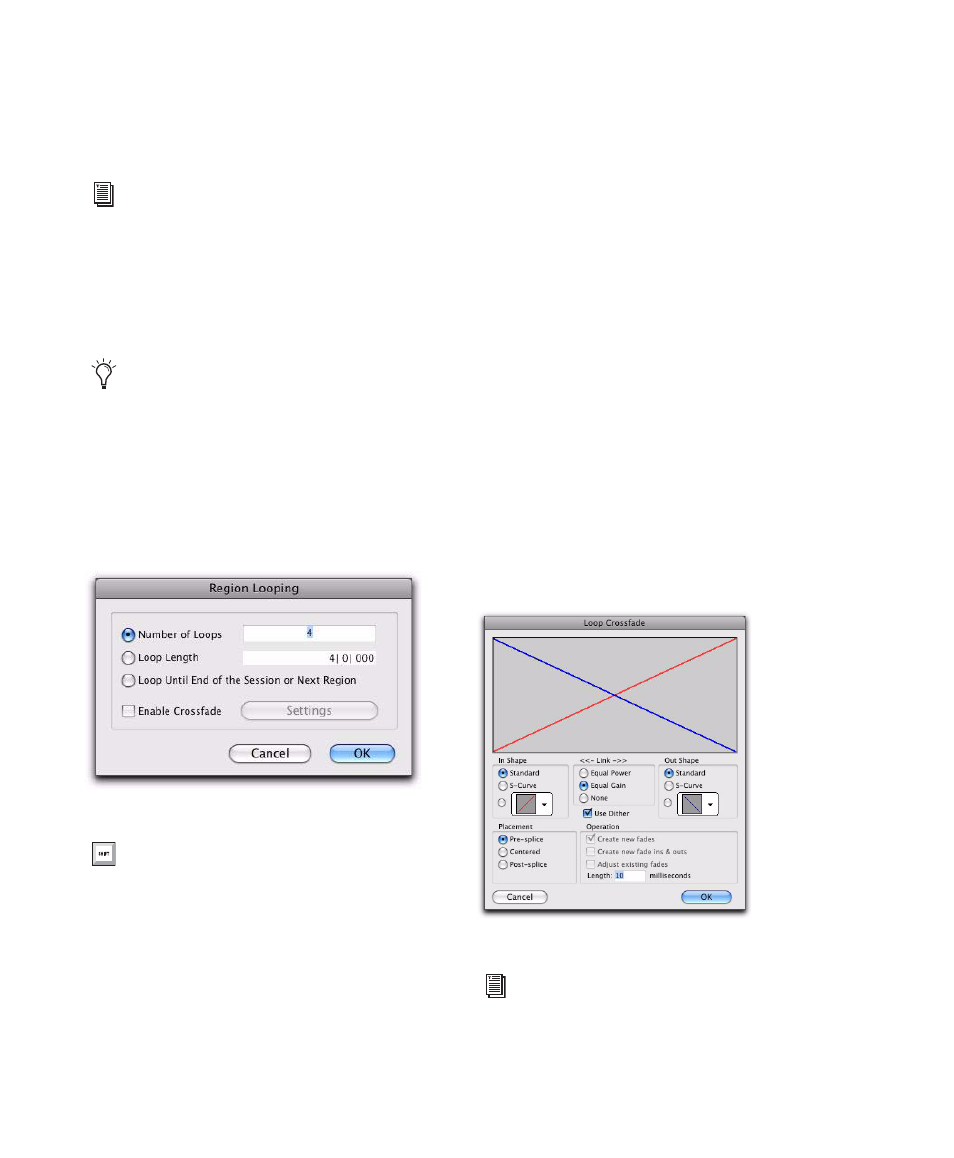
4
To add a crossfade at the loop point, select the
Enable Crossfade
option. To edit the loop cross-
fade, do the following:
• Click the Settings button.
• Configure the Loop Crossfades.
• Click OK.
5
In the Region Looping dialog, click OK.
For information on using the Loop Trimmer
tool, see “Loop Trimmer Tool” on
page 462.
You can also select regions across tracks for
looping.
Region Looping dialog
Press Control+Alt+L (Windows) or
Command+Option+L (Mac) to open the
Region Looping dialog.
Loop Crossfade dialog
For information on working with crossfades,
see Chapter 26, “Fades and Crossfades.”