M-AUDIO Pro Tools Recording Studio User Manual
Page 804
Pro Tools Reference Guide
786
Adding Event Markers
To add an Event marker:
In Analysis view, do one of the following:
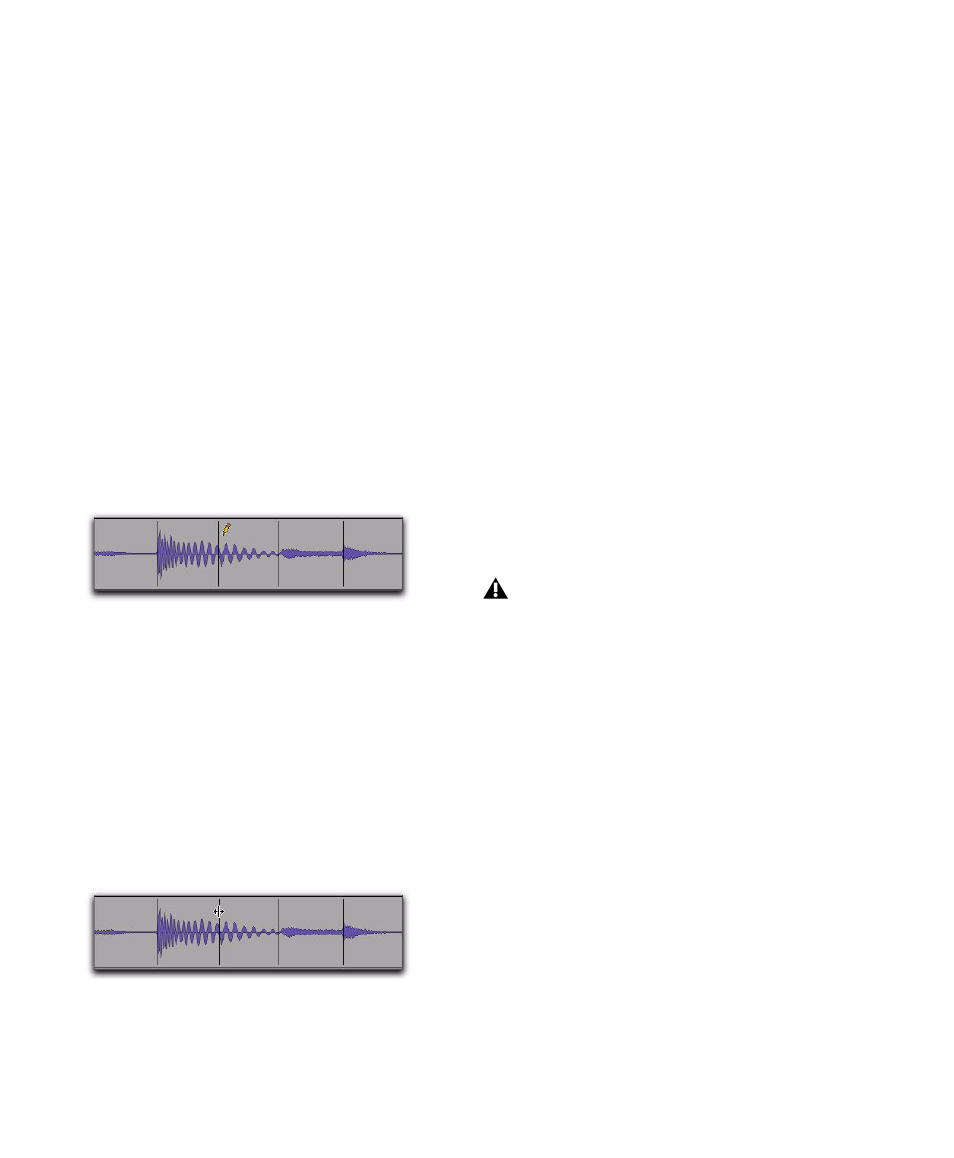
• With the Pencil tool, click at the location
where you want to add an Event marker.
• With the Grabber tool, double-click at the
location where you want to add an Event
marker.
• With the Grabber tool, Start-click (Win-
dows) or Control-click (Mac) at the loca-
tion where you want to add an Event
marker.
• With any Edit tool, Right-click at the loca-
tion where you want to add an Event
marker and select Add Event Marker from
the pop-up menu.
Moving Event Markers
To move an Event marker:
In Analysis view, do one of the following:
• With the Pencil tool, drag the Event marker
to a new location.
– or –
• With the Grabber tool, drag the Event
marker to a new location.
Promoting Event Markers
Event markers are detected with relative degrees
of confidence (between 1% and 100%). You can
filter out extraneous Event markers by adjusting
the Event Sensitivity setting in the Elastic Prop-
erties window; event markers with the least con-
fidence are filtered out first. However, some sig-
nificant events may not be recognized with a
high degree of confidence. In this case, you may
want to promote the Event marker to ensure
that it is not filtered out when reducing the
Event Sensitivity setting. Promoted Event mark-
ers, like manually created or moved Event mark-
ers, have 100% confidence.
To promote an Event marker:
In Analysis view, with the Grabber or Pencil
tool (or with the Smart Tool in the bottom half
of the track), single-click the Event marker you
want to promote.
Adding an Event marker with the Pencil tool
Moving an Event marker
Promoted Event markers look the same as
detected Event Markers. To see all Event
markers that have 100% confidence, reduce
the Event Sensitivity setting in the Elastic
Properties window (see “Event Sensitivity”
on page 789).