Enabling and suspending automation – M-AUDIO Pro Tools Recording Studio User Manual
Page 940
Pro Tools Reference Guide
922
Rolling Through Automation Punch
Points in Latch Prime
After you prime controls for writing automation
while the transport is stopped, you can set
Pro Tools to automatically punch in at that
point after issuing a back and play command, or
after rolling back and locking to time code.
To set Pro Tools to automatically punch in
automation writing on a track:
1
Locate the cursor where you want to punch in
automation.
2
Prime controls for writing while the transport
is stopped. (See “Priming Controls for Writing
Automation in Latch Mode” on page 920.)
3
In the Automation window, click the AutoJoin
button.
4
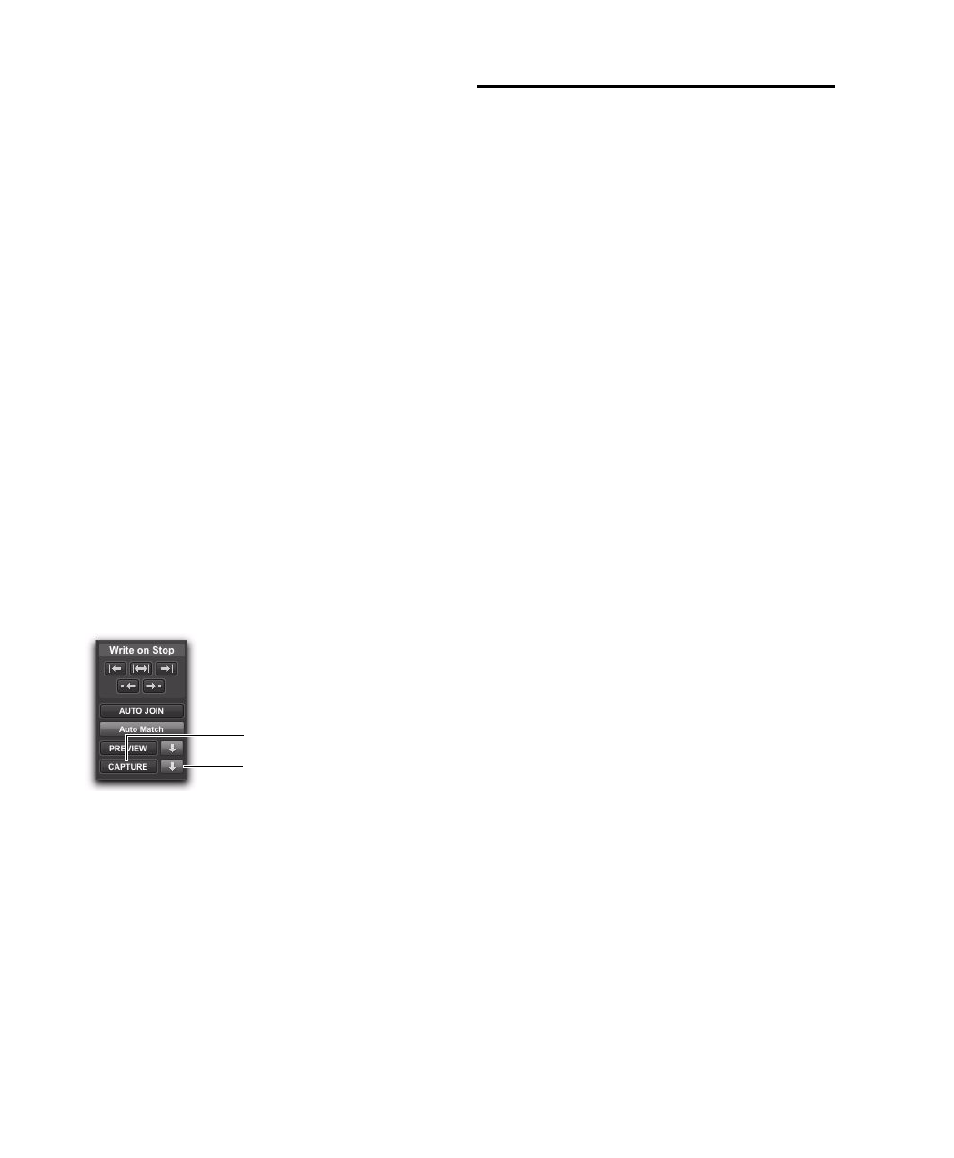
In the Automation window, click the Capture
button and then click the Punch Capture button.
The AutoJoin marker (a vertical red line) appears
on-screen at the punch point.
5
Issue a Back and Play command, roll back the
external machine to before the punch in point,
or enable pre-roll.
6
Start playback. When the transport reaches
the punch-in point, automation writing begins.
Enabling and Suspending
Automation
From the Automation window, you can enable
or suspend writing for the following types of au-
tomation across all tracks:
• Volume
• Volume trim
• Pan
• Mute
• Plug-in
• Send level
• Send level trim
• Send pan
• Send mute
Automation can be suspended or enabled dur-
ing playback (without having to stop the Trans-
port).
Suspending Automation on All Tracks
To suspend automation on all tracks:
1
Choose Window > Automation.
2
Do one of the following:
• To suspend writing of all automation on all
tracks, click the Suspend button.
– or –
• To suspend writing of a specific type of au-
tomation on all tracks, click the button for
that automation type (volume, mute, pan,
plug-in, send level, send mute, or send
pan).
Capture and Punch Capture buttons in the Automation
window
Punch Capture button
Capture button