Adobe Photoshop CC 2014 v.14.xx User Manual
Page 964

5. Select a local printer or a Shapeways.com printer profile.
To view estimated prices for printing the 3D model using available Shapeways.com profiles, select Printer > Estimate Price.
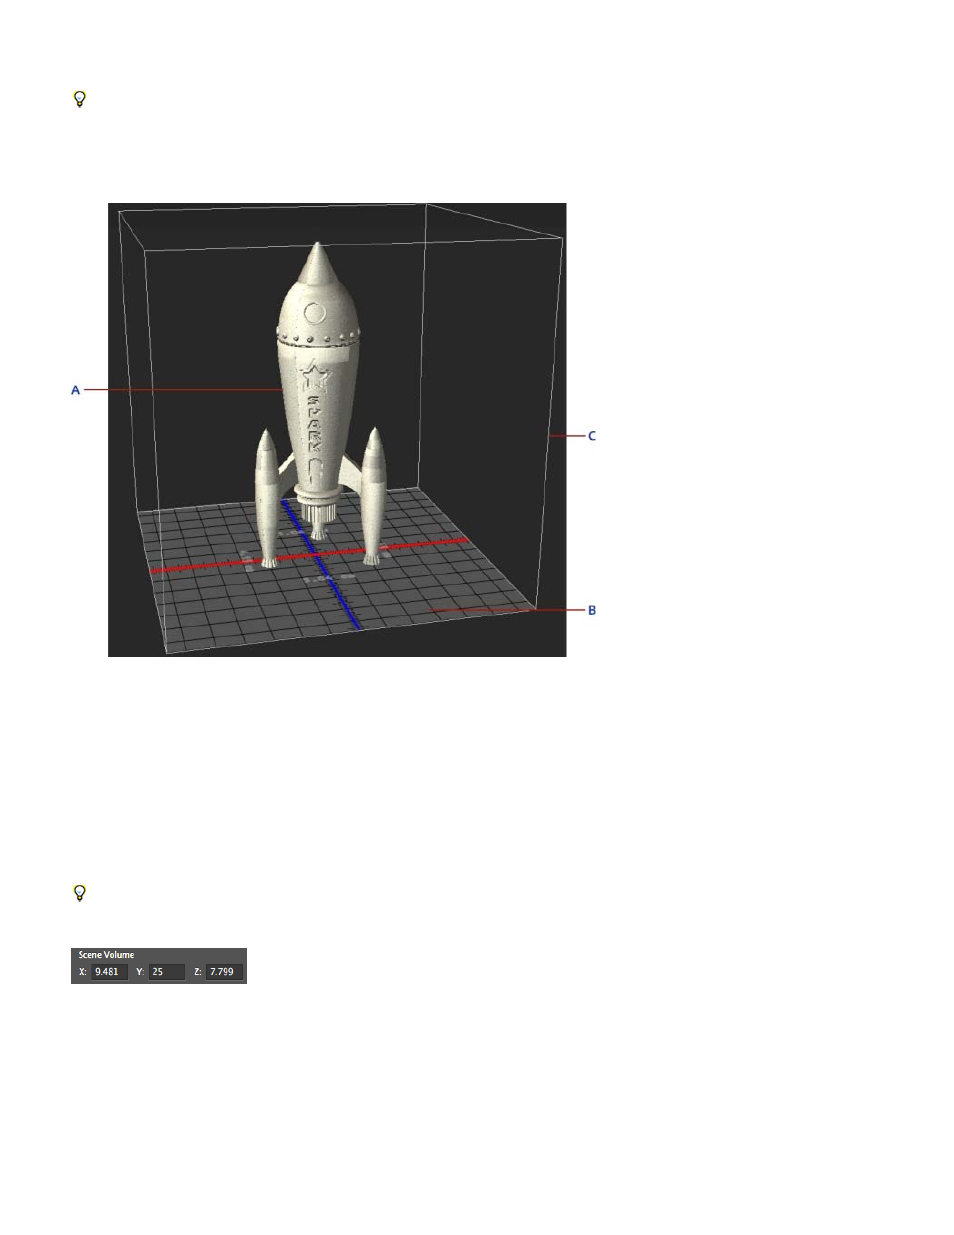
6. Select a unit for the printer volume—inch, centimeter, millimeter, or pixel. The unit is reflected in the Printer Volume dimensions as well as
the print plate measurements.
A. 3D model B. Print plate C. Printer volume overlay
7. Select a Detail Level—Low, Medium, or High—for the 3D print. The time required to print the 3D object depends on the detail level that you
choose.
8. If you don't want to see the 3D printer volume overlaid on the 3D model, deselect Show Printer Volume Overlay.
9. Adjust the Scene Volume dimensions to specify the desired size of the printed 3D object. When you change a value (X, Y, or Z), the other
two values are scaled proportionately. As you modify the Scene Volume dimensions, notice that the print plate under the 3D model scales in
proportion.
You can scrub the value of a Scene Volume dimension by clicking the dimension label (X, Y, or Z) and then dragging the mouse left or right.
Hold down the Shift key to make the value scrub faster.
10. Choose Scale To Print Volume if you want Photoshop to auto-scale your 3D model, such that it fills up the available print volume of the
selected printer.
11. If the 3D model has normal maps, bump maps, or opacity maps; you can choose to ignore one of more types of these maps while printing
the model. You'll notice that the 3D model updates in real time when you change these Surface Detail settings.
12. You may choose to not print the support structures (scaffolds or rafts) required for the 3D object. Use this option with caution, since the
printing of the 3D model may fail if you don't print a necessary support structure.
13. If your printer supports multiple materials, choose the material that you want to use for printing the 3D object.
957
