Adobe Photoshop CC 2014 v.14.xx User Manual
Page 662
Painting stylized strokes with the Art History Brush
Facebook posts are not covered under the terms of Creative Commons.
The Art History Brush tool paints with stylized strokes, using the source data from a specified history state or snapshot. By experimenting with
different paint style, size, and tolerance options, you can simulate the texture of painting with different colors and artistic styles.
Like the History Brush tool, the Art History Brush tool uses a specified history state or snapshot as the source data. The History Brush tool,
however, paints by re-creating the specified source data, while the Art History Brush tool uses that data along with the options you set to create
different colors and artistic styles.
For various visual effects, experiment with applying filters or filling an image with a solid color before painting with the Art History Brush tool.
Also try increasing the size of the image by a factor of 4 to soften the details.
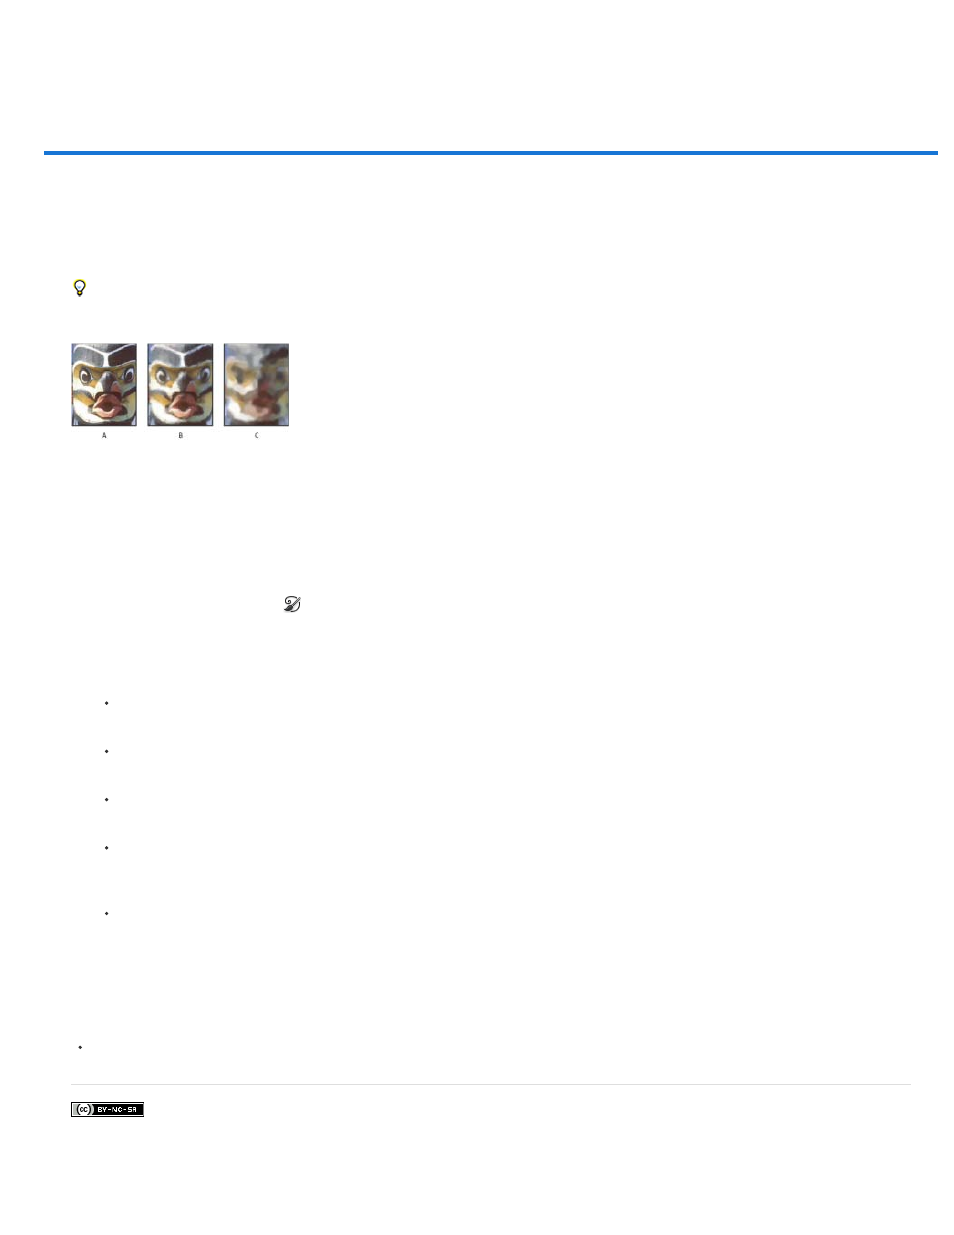
Example of using the Art History Brush tool
A. Original B. Using a small brush C. Using a large brush
1. In the History panel, click the left column of the state or snapshot to use as the source for the Art History Brush tool. A brush icon appears
next to the source history state.
2. Select the Art History Brush tool
.
3. Do the following in the options bar:
Choose a brush from the Brush Presets picker, and set brush options. (See
Choose a blending mode from the Mode menu. (See
Choose an option from the Style menu to control the shape of the paint stroke.
For Area, enter a value to specify the area covered by the paint strokes. The greater the size, the larger the covered area and the more
numerous the strokes.
For Tolerance, enter a value to limit the regions where paint strokes can be applied. A low tolerance lets you paint unlimited strokes
anywhere in the image. A high tolerance limits paint strokes to areas that differ considerably from the color in the source state or
snapshot.
4. Click and drag in the image to paint.
More Help Topics
Changing the brush cursor
655