Crop and straighten photos | cc, cs6 – Adobe Photoshop CC 2014 v.14.xx User Manual
Page 548
Crop and straighten photos | CC, CS6
Size and proportions
View
Crop Options
Use Classic mode
Auto-center preview
Show Cropped Area
Enable crop shield
Crop or remove part of an image
Crop tool updates | Creative Cloud only
Straighten an image
Transform perspective while cropping
Resize the canvas using the Crop tool
Cropping is the process of removing portions of an image to create focus or strengthen the composition. Use the Crop tool to crop and straighten
images in Photoshop. The Crop tools in Photoshop CC and CS6 are non-destructive and you can choose to retain the cropped pixels to optimize
the crop boundaries later. The Crop tool also provides intuitive methods to straighten the image while cropping.
For all operations, visual guides provide an interactive preview. When you crop or straighten photos, real-time feedback helps you visualize the
final result.
Crop or remove part of an image
1. From the toolbar, select the Crop Tool
. Crop borders display on the edges of the image.
2. Draw a new cropping area or drag the corner and edge handles to specify the crop boundaries in your image.
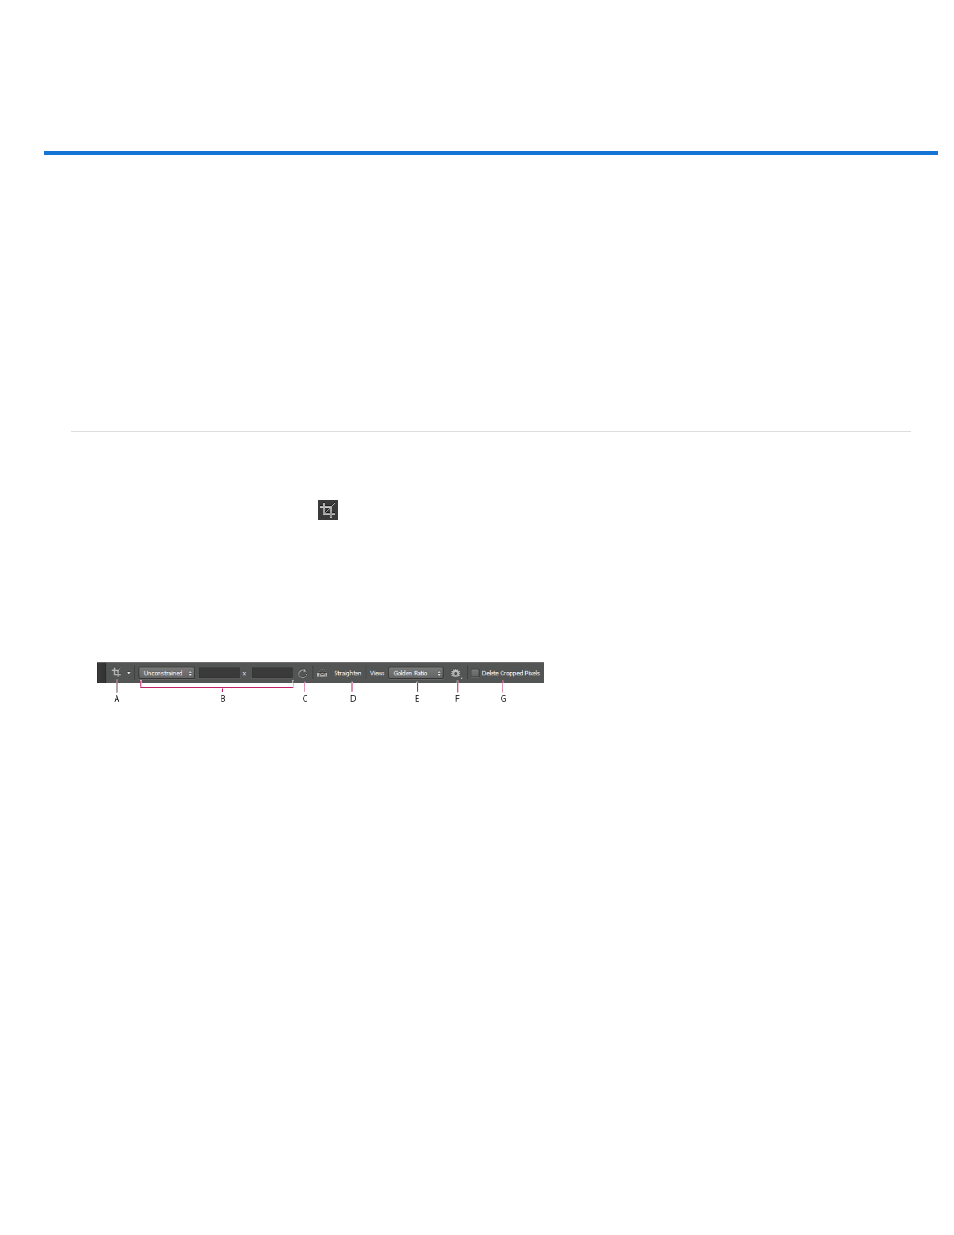
3. (Optional) Specify the Crop options using the Control bar.
A. Active tool B. Size and proportions C. Rotate crop box D. Straighten image E. View F. Crop options G. Delete Cropped Pixels
Choose a ratio or size for the crop box. You can also choose a preset, enter your own, or even define your own
preset values for later use.
Choose a view to display overlay guides while cropping. Guides such as Rule of Thirds, Grid, and Golden Ratio are available. To
cycle through all the options, press O.
Click the Settings menu to specify additional crop options.
Enable this option if you want to use the Crop tool like it was in previous versions of Photoshop. See Adjusting
crop, rotation, and canvas for information on using the Crop tool in classic mode.
Enable this option to place the preview in the center of the canvas.
Enable this option to display the area that is cropped. If this option is disabled, only the final area is
previewed.
Use the crop shield to overlay the cropped areas with a tint. You can specify a color and opacity. If you Enable
541