Stroke paths with color – Adobe Photoshop CC 2014 v.14.xx User Manual
Page 640
Feather Radius
Anti-aliased
Note:
The Mode list includes a Clear mode that lets you erase to transparency. You must be working in a layer other than the background to use
this option.
6. Choose Preserve Transparency to limit the fill to layer areas that contain pixels. (See Lock layers.)
7. Select a Rendering option:
Defines how far inside and outside the selection border the feather edge extends. Enter a value in pixels.
Creates a finer transition between the pixels in the selection and the surrounding pixels by partially filling the edge pixels of the
selection.
For more information on these options, see Soften the edges of selections.
8. Click OK.
Stroke paths with color
The Stroke Path command paints the border of a path. The Stroke Path command allows you to create a paint stroke (using the current settings
for your painting tools) that follows any path. This command is completely different from the Stroke layer effect, which doesn’t mimic the effect of
any of the painting tools.
When you stroke a path, the color values appear on the active layer. Make sure that a standard or background layer is active before
completing the steps below. (You cannot stroke a path when a mask, text, fill, adjustment, or Smart Object layer is active.)
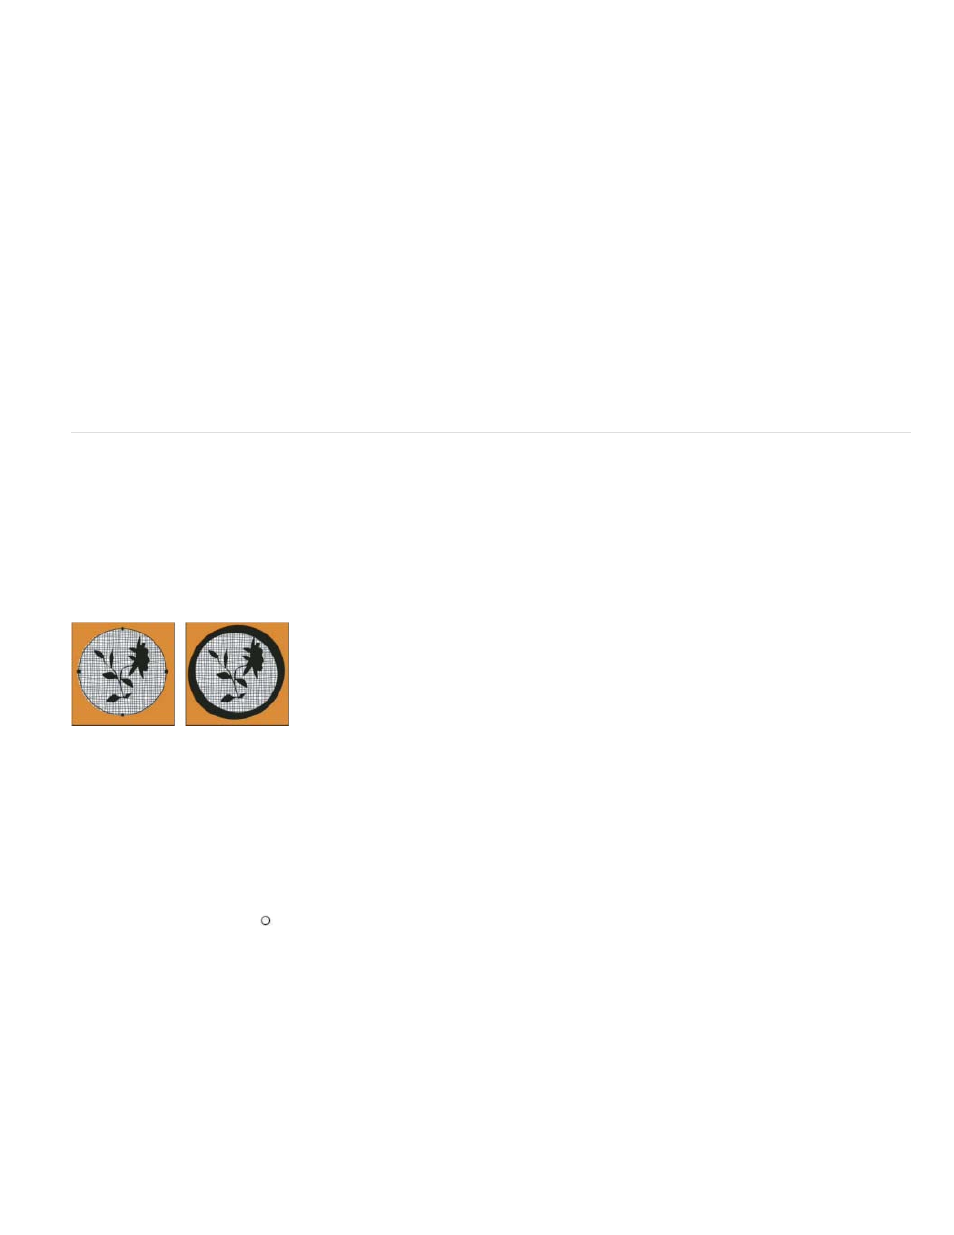
Path selected (left) and stroked (right)
Stroke a path using the current Stroke Path options
1. Select the path in the Paths panel.
2. Click the Stroke Path button
at the bottom of the Paths panel. Each click of the Stroke Path button builds up the opacity of the stroke and,
depending upon the current brush options, makes it look thicker.
Stroke a path and specify options
1. Select the path in the Paths panel.
2. Select the painting or editing tool you want to stroke the path. In the options bar, set the tool options, and specify a brush.
For information on specific tool settings, see Smudge image areas and About painting tools, options, and panels.
633