Adobe Photoshop CC 2014 v.14.xx User Manual
Page 554
Density
Expansion
Show Mesh
Determines the spacing of mesh points. More Points increases precision but requires more processing time; Fewer Points does the
opposite.
Expands or contracts the outer edge of the mesh.
Deselect to show only adjustment pins, providing a clearer preview of your transformations.
To temporarily hide adjustment pins, press the H key.
4. In the image window, click to add pins to areas you want to transform and areas you want to anchor in place.
Moving a pin on the puppet mesh. Adjoining pins keep nearby areas intact.
5. To reposition or remove pins, do any of the following:
Drag pins to warp the mesh.
To reveal a mesh area you’ve overlapped with another, click the Pin Depth buttons
in the options bar.
To remove selected pins, press Delete. To remove other individual pins, place the cursor directly over them, and press Alt (Windows) or
Option (Mac OS); when the scissors icon
appears, click.
Click the Remove All Pins button
in the options bar.
To select multiple pins, Shift-click them or choose Select All from the context menu.
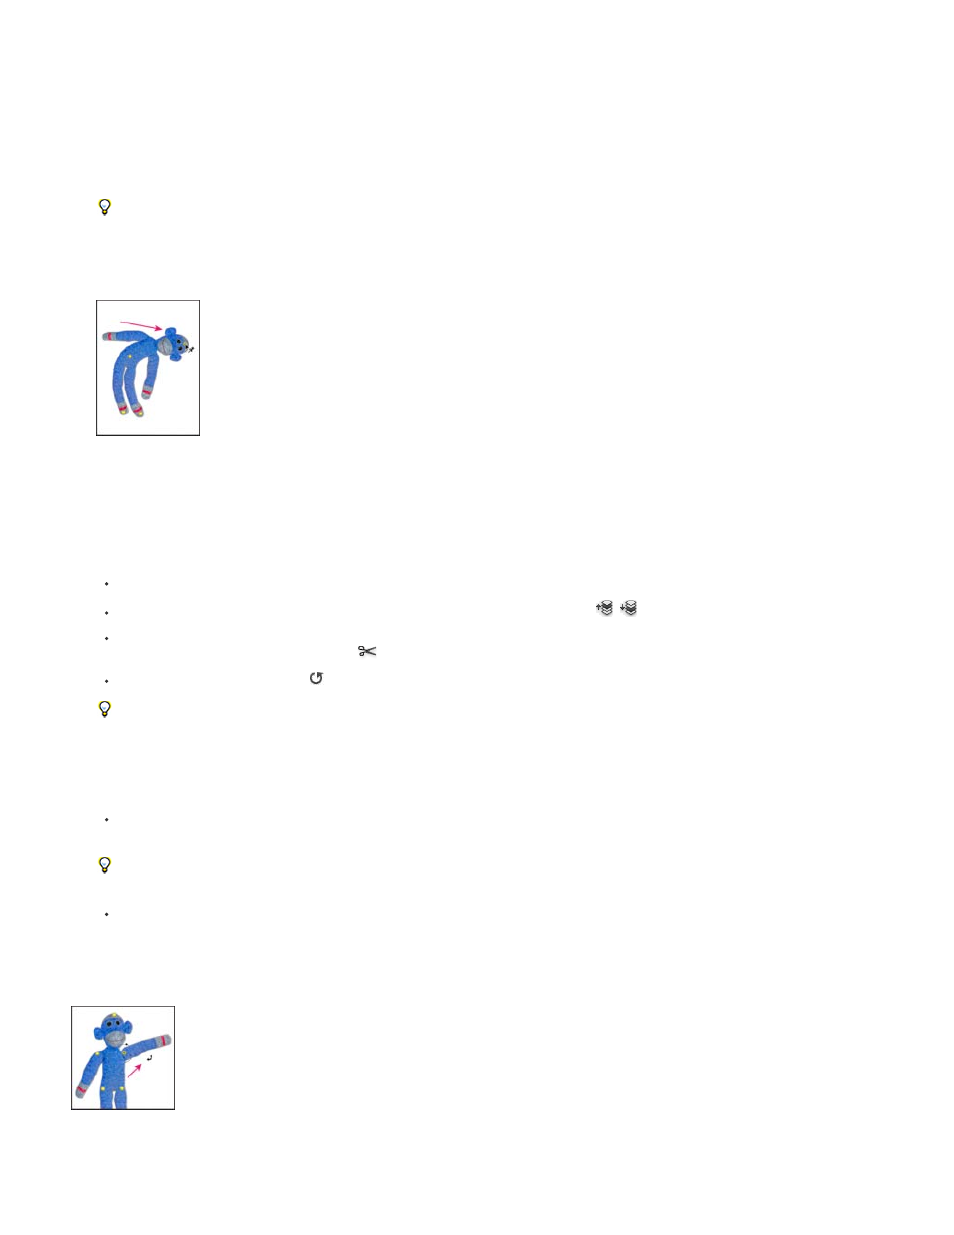
6. To rotate the mesh around a pin, select it, and then do either of the following:
To rotate the mesh a fixed number of degrees, press Alt (Windows) or Option (Mac OS), and position the cursor near to, but not over
the pins. When a circle appears, drag to visually rotate the mesh.
The degree of rotation appears in the options bar.
To rotate the mesh automatically based on the selected Mode option, choose Auto from the Rotate menu in the options bar.
7. When your transformation is complete, press Enter or Return.
Press Alt (Windows) or Option (Mac OS) to rotate the mesh around a selected pin.
547