About perspective planes and the grid – Adobe Photoshop CC 2014 v.14.xx User Manual
Page 560
1. Open the Vanishing Point menu and choose either Export to DXF or Export To 3DS.
2. In the Export DXF or Export 3DS dialog box, select a location for the saved file and click Save.
About perspective planes and the grid
Before you can make edits in Vanishing Point, you define rectangular planes that line up with the perspective in an image. The accuracy of the
plane determines whether any edits or adjustments are properly scaled and oriented in your image.
After you establish the four corner nodes, the perspective plane is active and displays a bounding box and a grid. You can scale, move, or
reshape to fine-tune the perspective plane. You can also change the grid size so it lines up with elements in the image. Sometimes, lining up the
bounding box and grid with a texture or pattern in your image helps you accurately match the image’s perspective. Adjusting the grid size can also
make it easier for you to count items in the image.
Besides helping to line up the perspective planes with image elements, the grid is helpful for visualizing measurements when used with the
Measure tool. An option is available to link the grid size to measurements you make with the Measure tool.
Define and adjust perspective planes in Vanishing Point
1. In the Vanishing Point dialog box, select the Create Plane tool
and click in the preview image to add the four corner nodes.
Try to use a rectangular object or a plane area in the image as a guide when creating the perspective plane. To help with node placement,
hold down the “x” key to zoom into the preview image. As you add corner nodes, you can delete the last node if it’s not correct by pressing
the Backspace key (Windows) or Delete key (Mac OS). You can also reposition a node by dragging it.
2. Select the Edit Plane tool
and do one or more of the following:
To reshape the perspective plane, drag a corner node.
To adjust the grid, enter a value in the Grid Size text box or click the down arrow and move the slider. You can also adjust the grid size
when the Create Plane tool is selected.
To move the plane, click inside the plane and drag.
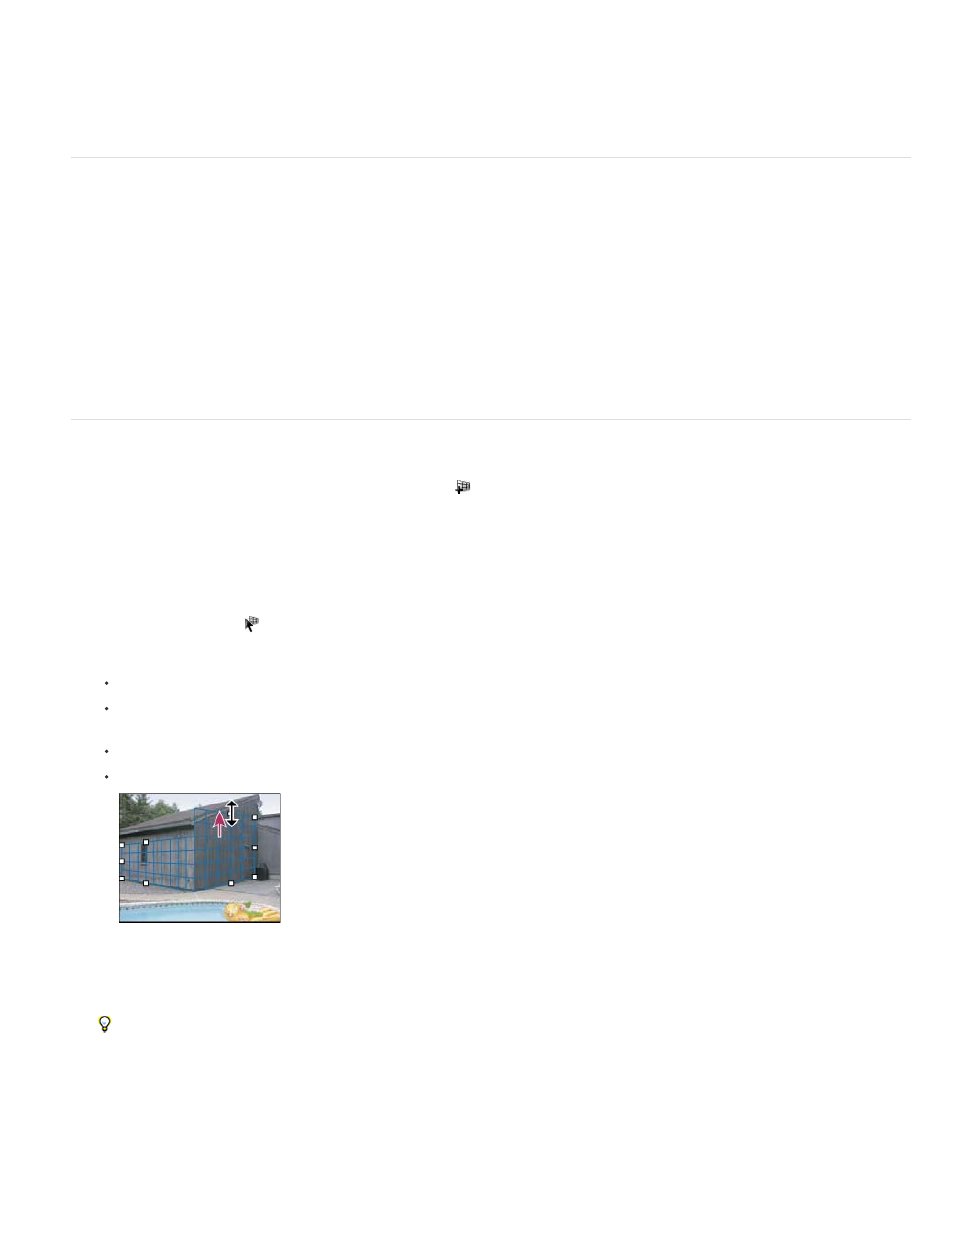
To scale the plane, drag an edge node in a segment of the bounding box.
Dragging an edge node to increase the size of a plane to accommodate your edits
The bounding box and grid of a perspective plane is normally blue. If there’s a problem with the placement of the corner nodes, the
plane is invalid, and the bounding box and grid turn either red or yellow. When your plane is invalid, move the corner nodes until the
bounding box and grid are blue.
If you have overlapping planes, Ctrl-click (Windows) or Command-click (Mac OS) to cycle through the overlapping planes.
553