Previewing and printing the 3d object, 3d print utilities – Adobe Photoshop CC 2014 v.14.xx User Manual
Page 857
Previewing and printing the 3D object
Once you're done specifying the 3D print settings, follow these steps:
1. Click the Start Print icon (
) or select 3D > 3D Print. Photoshop unifies the 3D scene and prepares it for the printing process.
2. If you chose to print using a Shapeways.com profile, Photoshop prompts you that the actual cost of printing may differ from the displayed
estimates. Click OK.
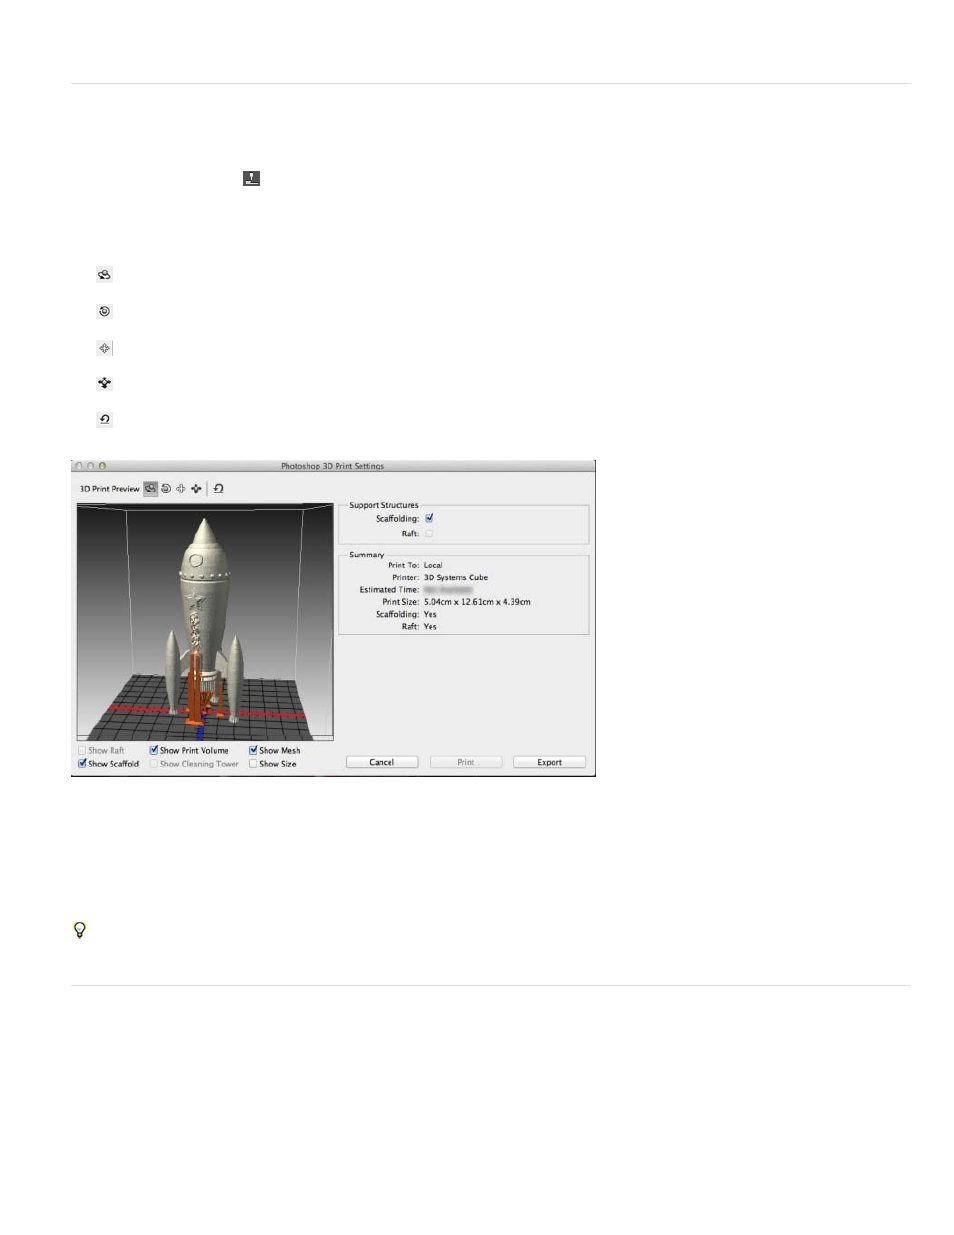
3. In the preview window that appears, use the 3D camera tools to rotate, zoom, or move the 3D object.
Rotate the 3D camera
Roll the 3D camera
Pan the 3D camera
Slide the 3D camera
Reset the 3D camera to its original location
3D print preview; notice the support structures
4. If you want to export the 3D print settings to an STL file, click Export and save the file to an appropriate location on your computer. You can
upload the STL file to an online service, such as Shapeways.com, or put it on an SD card for local printing.
5. Review the 3D print summary and click Print.
You can cancel an in-progress 3D print by selecting 3D > Cancel 3D Print.
3D print utilities
Photoshop provides interactive wizard-based utilities that you can use for configuring, calibrating, and maintaining your 3D printer. You can use
these utilities only when the 3D printer is powered on and connected to your computer.
1. Select 3D > 3D Printer Utilities.
2. Select the utility that you want to launch.
850