Arabic and hebrew type | cc, cs6 – Adobe Photoshop CC 2014 v.14.xx User Manual
Page 715
Arabic and Hebrew type | CC, CS6
How to access Arabic and Hebrew features in Photoshop
Enable Middle Eastern features
Text direction
Digit Types
Legacy font support
Default fonts
Automatic Kashida insertion
Ligatures (OpenType fonts)
Hyphenation
Diacritical marks
Justification alternates
Enable Middle Eastern features
To reveal Middle Eastern type options in the Photoshop interface, do the following:
1. Choose Edit > Preferences > Type (Windows) or Photoshop > Preferences > Type (Mac OS).
2. In the Choose Text Engine Options section, select Middle Eastern.
3. Click OK, and restart Photoshop.
4. Choose Type > Language Options > Middle Eastern features.
Text direction
To create content in Arabic and Hebrew, you can make the right-to-left (RTL) direction the default text direction. However, for documents that
include left-to-right (LTR) text, you can now seamlessly switch between the two directions.
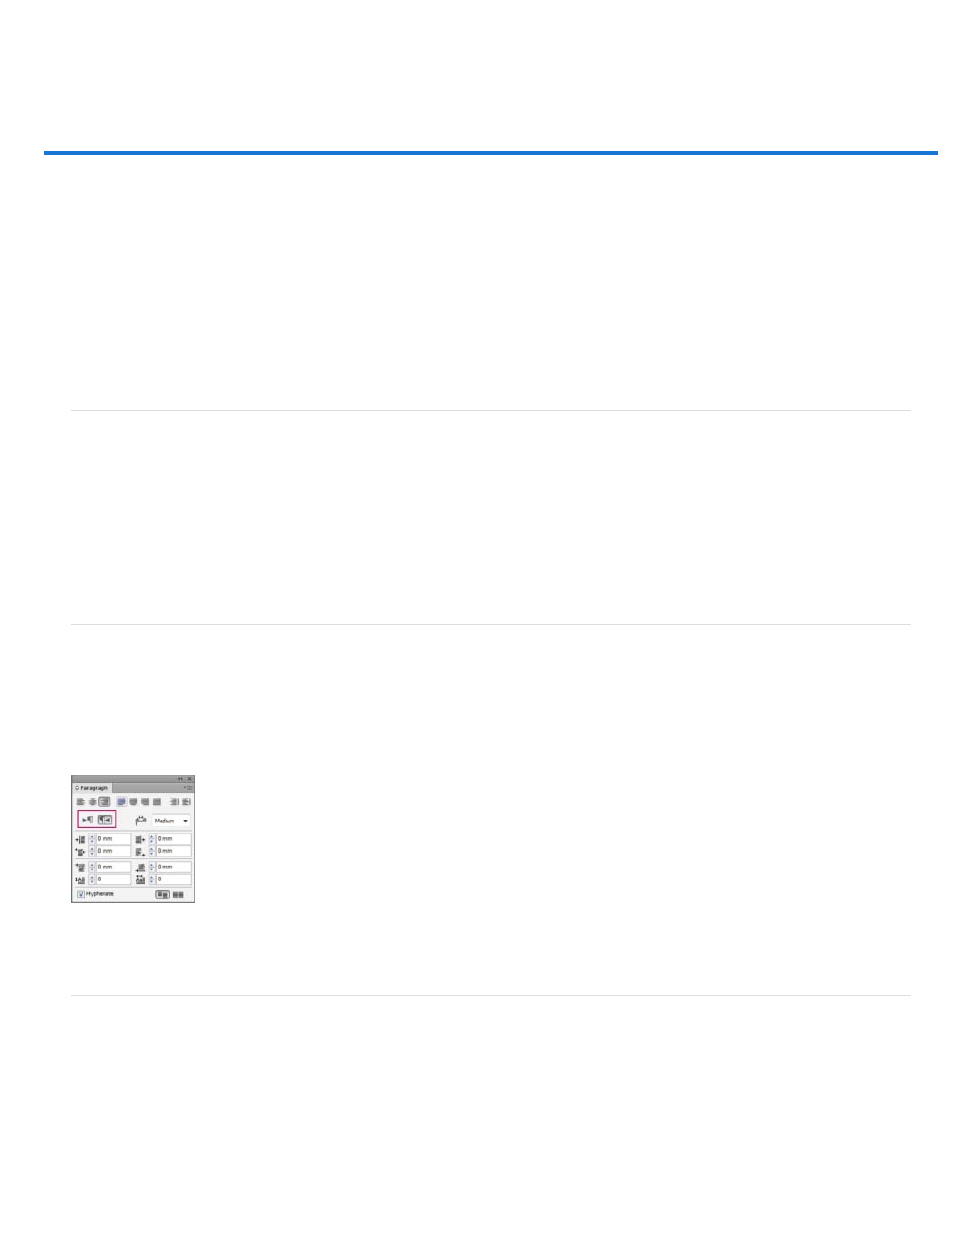
Select the paragraph direction from the Paragraph panel.
Paragraph direction selection (InDesign panel shown)
Digit Types
When you are working in Arabic or Hebrew, you can select the type of digits you want to use. You can choose between Arabic, Hindi, and Farsi.
By default, in Arabic versions of Photoshop, Hindi digits are auto-selected; in Hebrew versions, Arabic digits are selected. However, you can
manually change digit types if necessary:
1. Select the digits in the text.
2. In the Character panel, use the Digits menu to select the appropriate font.
708