Adobe Photoshop CC 2014 v.14.xx User Manual
Page 386
3. Add more blur traces if necessary.
Create a blur trace using the Blur Direction Tool
1. Select the Blur Direction Tool (
) from the left panel.
2. Draw a straight line representing the blur direction on the image.
3. If necessary, adjust the Blur Trace Length and Blur Trace Direction.
Blur Trace Length and Blur Trace Direction
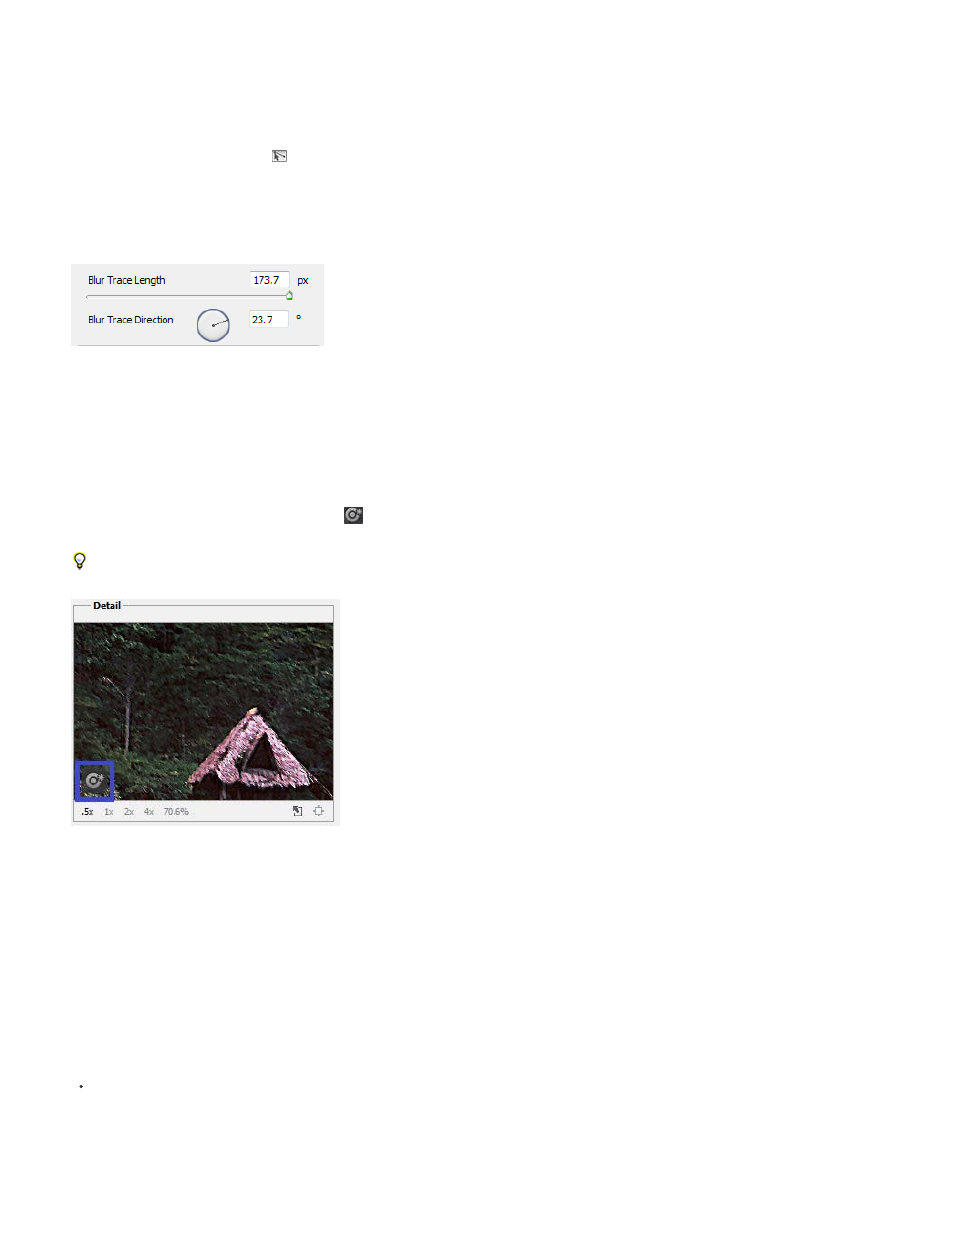
Modify a blur trace using the Detail loupe
1. Using the Detail loupe, focus on a new image region suitable for camera shake reduction.
2. Click the Enhance At Loupe Location icon (
) to move focus in the left-pane to the region highlighted in the Detail loupe. The blur trace for
the region displayed earlier in the Detail loupe is automatically updated.
The keyboard shortcut q lets you dock/undock the Detail loupe.
Modify a blur trace using the Detail loupe
Preview and apply multiple blur traces
Once you’ve added the required blur traces, you can select one or more blur traces in the Advanced panel to apply them to the image.
Preview and compare the results of two blur traces
With the Ctrl key (Windows) or the Command key (Mac) held down, select the blur traces in the Advanced panel. Photoshop displays the
multiple preview pane for the selected blur traces.
379