Select with the magnetic lasso tool – Adobe Photoshop CC 2014 v.14.xx User Manual
Page 351
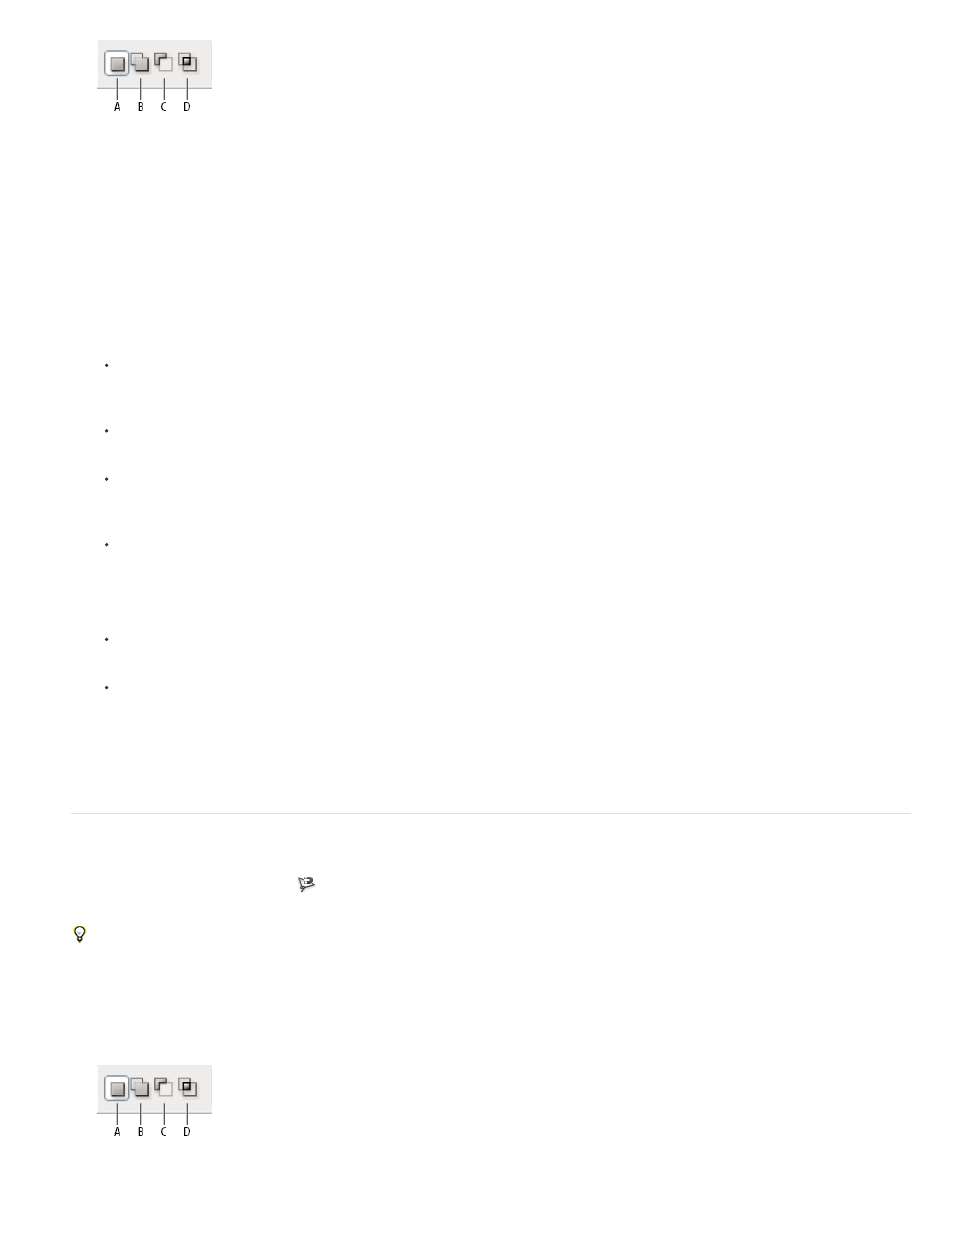
Selection options
A. New B. Add To C. Subtract From D. Intersect With
3. (Optional) Set feathering and anti-aliasing in the options bar. See
4. Click in the image to set the starting point.
5. Do one or more of the following:
To draw a straight segment, position the pointer where you want the first straight segment to end, and click. Continue clicking to set
endpoints for subsequent segments.
To draw a straight line at a multiple of 45°, hold down Shift as you move to click the next segment.
To draw a freehand segment, hold down Alt (Windows) or Option (Mac OS), and drag. When you finish, release Alt or Option and the
mouse button.
To erase recently drawn straight segments, press the Delete key.
6. Close the selection border:
Position the Polygonal Lasso tool pointer over the starting point (a closed circle appears next to the pointer), and click.
If the pointer is not over the starting point, double-click the Polygonal Lasso tool pointer, or Ctrl-click (Windows) or Command-click
(Mac OS).
7. (Optional) Click Refine Edge to further adjust the selection boundary. See
.
Select with the Magnetic Lasso tool
When you use the Magnetic Lasso tool
, the border snaps to the edges of defined areas in the image. The Magnetic Lasso tool is not available
for 32-bits-per-channel images.
The Magnetic Lasso tool is especially useful for quickly selecting objects with complex edges set against high-contrast backgrounds.
1. Select the Magnetic Lasso tool.
2. Specify one of the selection options in the options bar.
Selection options
344