Create transparency using image clipping paths – Adobe Photoshop CC 2014 v.14.xx User Manual
Page 130
Note:
Adobe Illustrator can both open or place Photoshop files; you do not need to save or export your Photoshop image to a different file format. If you
place an image into an open Illustrator file, you can incorporate the image as if it were any other element in the artwork, or you can maintain a link
to the original file. Although you can’t edit a linked image within Illustrator, you can jump back to Photoshop, using the Edit Original command, to
revise it. Once saved, any changes you make are reflected in the version in Illustrator.
1. If the image file is open in Photoshop, save it as a Photoshop (PSD) file, and close the file.
2. In Adobe Illustrator, do one of the following:
To open the file directly in Illustrator, choose File > Open. Locate the image in the Open File dialog box, and click Open.
To incorporate the image into an existing Illustrator file, choose File > Place. Locate the file in the Place dialog box, make sure the Link
option is not selected, and click Place.
To place the image into a file but maintain a link to the original, choose File > Place. In the Place dialog box, locate the file, select the
Link option, and click Place. Illustrator centers the image in the open illustration. A red X through the image indicates it is linked and not
editable.
3. If you opened or placed the image without linking, the Photoshop Import dialog box appears. Choose the appropriate option as follows, and
click OK:
Convert Photoshop Layers To Objects to convert the layers to Illustrator objects. This option preserves masks, blending modes,
transparency, and (optionally) slices and image maps. However, it does not support Photoshop adjustment layers and layer effects.
Flatten Photoshop Layers To A Single Image to merge all the layers into a single layer. This option preserves the look of the image, but
you can no longer edit individual layers.
Create transparency using image clipping paths
You can use image clipping paths to define transparent areas in images you place in page-layout applications. In addition, Mac OS users
can embed Photoshop images in many word-processor files.
You may want to use only part of a Photoshop image when printing it or placing it in another application. For example, you may want to use a
foreground object and exclude the background. An image clipping path lets you isolate the foreground object and make everything else
transparent when the image is printed or placed in another application.
Paths are vector-based; therefore, they have hard edges. You cannot preserve the softness of a feathered edge, such as in a shadow,
when creating an image clipping path.
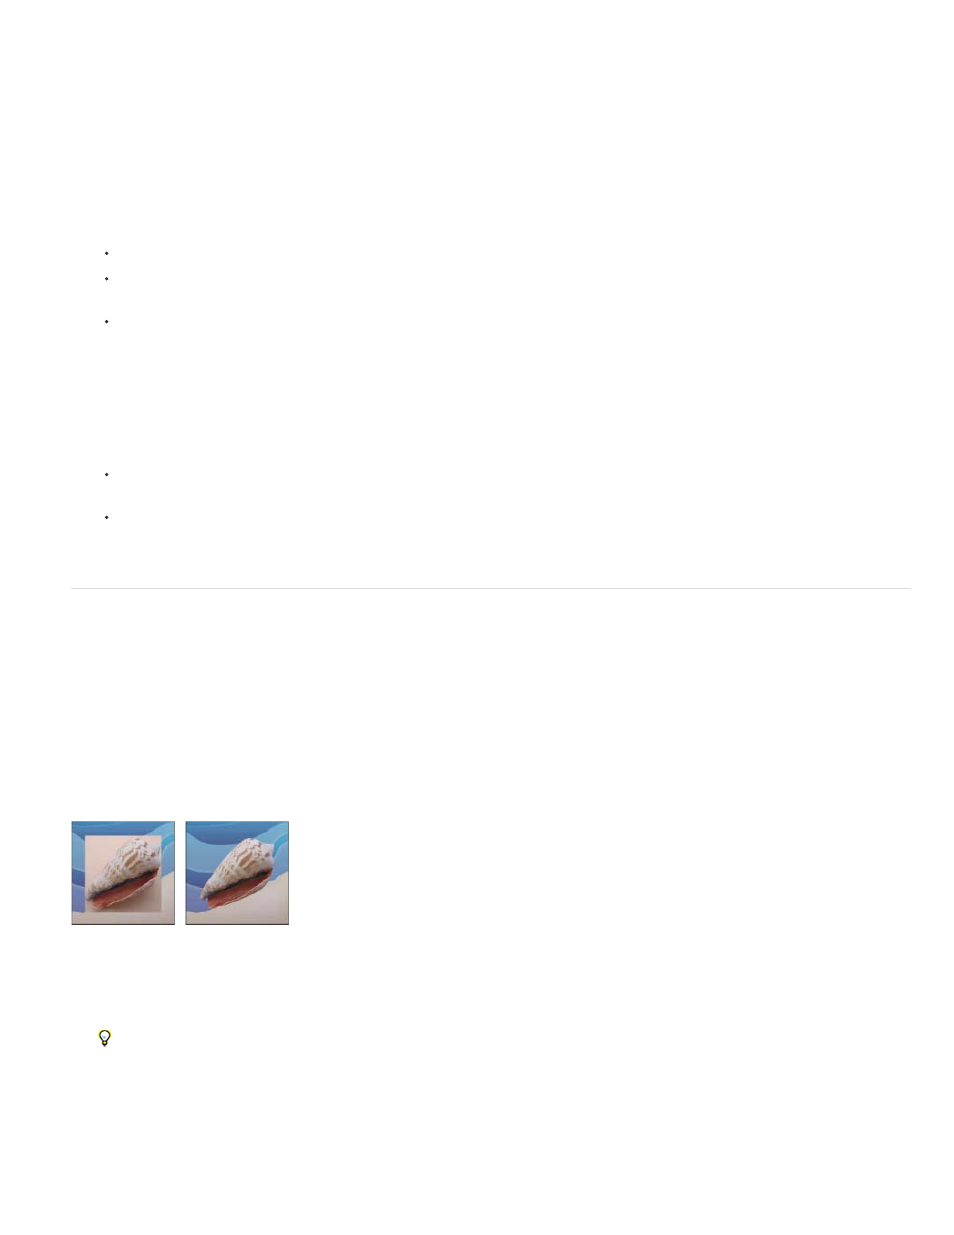
Image imported into Illustrator or InDesign without image clipping path (left), and with image clipping path (right)
1. Draw a work path that defines the area of the image you want to show.
If you’ve already selected the area of the image you want to show, you can convert the selection to a work path. See Convert a selection
to a path for instructions.
2. In the Paths panel, save the work path as a path.
3. Choose Clipping Path from the Paths panel menu, set the following options, and click OK:
123