Targeting images for press – Adobe Photoshop CC 2014 v.14.xx User Manual
Page 407
Targeting images for press
Setting highlight and shadow target values
Assigning (targeting) highlight and shadow values of an image is necessary because most output devices (usually printing presses) cannot print
detail in the blackest shadow values (near level 0) or the whitest highlight values (near level 255). Specifying the minimum shadow level and
maximum highlight level helps to bring the important shadow and highlight details within the gamut of the output device.
If you are printing an image on a desktop printer and your system is color-managed, don’t set target values. The Photoshop color management
system automatically makes adjustments to the image you see on the screen so that it prints properly on your profiled desktop printer.
Using Levels to preserve highlight and shadow details for printing
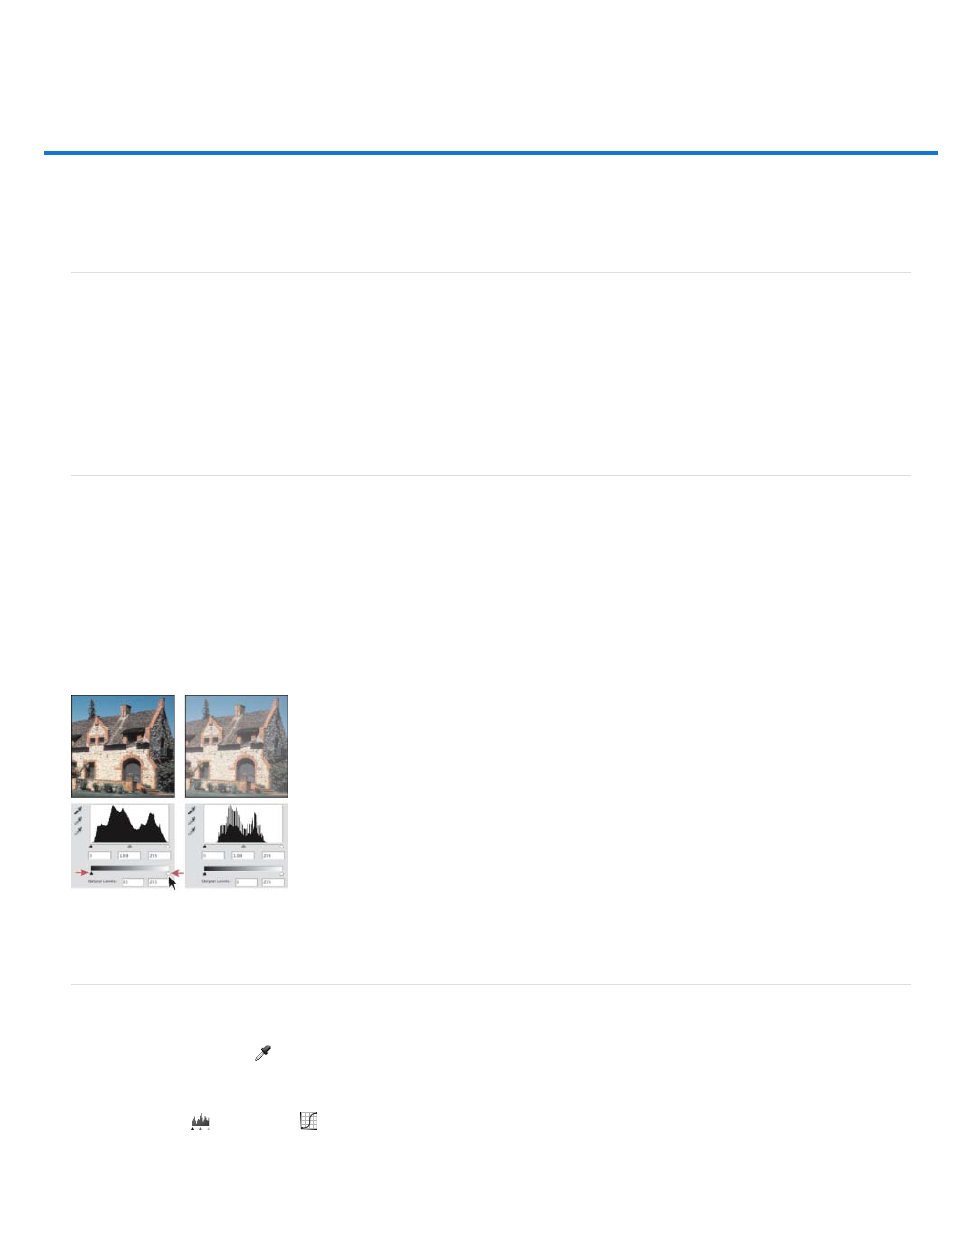
The Output Levels sliders let you set the shadow and highlight levels to compress the image into a range less than 0 to 255. Use this adjustment
to preserve the shadow and highlight details when an image is being printed on a press whose characteristics you know. For example, suppose
there are important image details in the highlights with a value of 245, and the printing press that you’re using won’t hold a dot smaller than 5%.
You can pull the highlight slider to level 242 (which is a 5% dot on the press) to shift the highlight detail from 245 to 242. Now, the highlight detail
can safely print on that press.
Generally, it is not a good idea to use the Output Levels sliders to target images with specular highlights. Your specular highlight will look gray
rather than blow out to pure white. Use the highlight eyedropper for images with specular highlights.
Targeting shadows and highlights with Output Levels sliders
Set target values using the eyedroppers
1. Select the Eyedropper tool
in the toolbox. You can choose 3 by 3 Average from the Sample Size menu in the Eyedropper tool options.
This ensures a representative sample of an area rather than the value of a single screen pixel.
2. Click the Levels
or Curves icon
in the Adjustments panel.
400