Using the history panel – Adobe Photoshop CC 2014 v.14.xx User Manual
Page 116
A progress bar indicates that an operation is being performed. You can interrupt the operation or have the program notify you when it has finished
the operation.
1. Do one of the following:
(Windows) choose Edit > Preferences > General.
(Mac OS) choose Photoshop > Preferences > General.
2. Select Beep When Done.
3. Click OK.
Using the History panel
You can use the History panel to jump to any recent state of the image created during the current working session. Each time you apply a change
to an image, the new state of that image is added to the panel.
For example, if you select, paint, and rotate part of an image, each of those states is listed separately in the panel. When you select one of the
states, the image reverts to how it looked when that change was first applied. You can then work from that state.
You can also use the History panel to delete image states and, in Photoshop, to create a document from a state or snapshot.
To display the History panel, choose Window > History, or click the History panel tab.
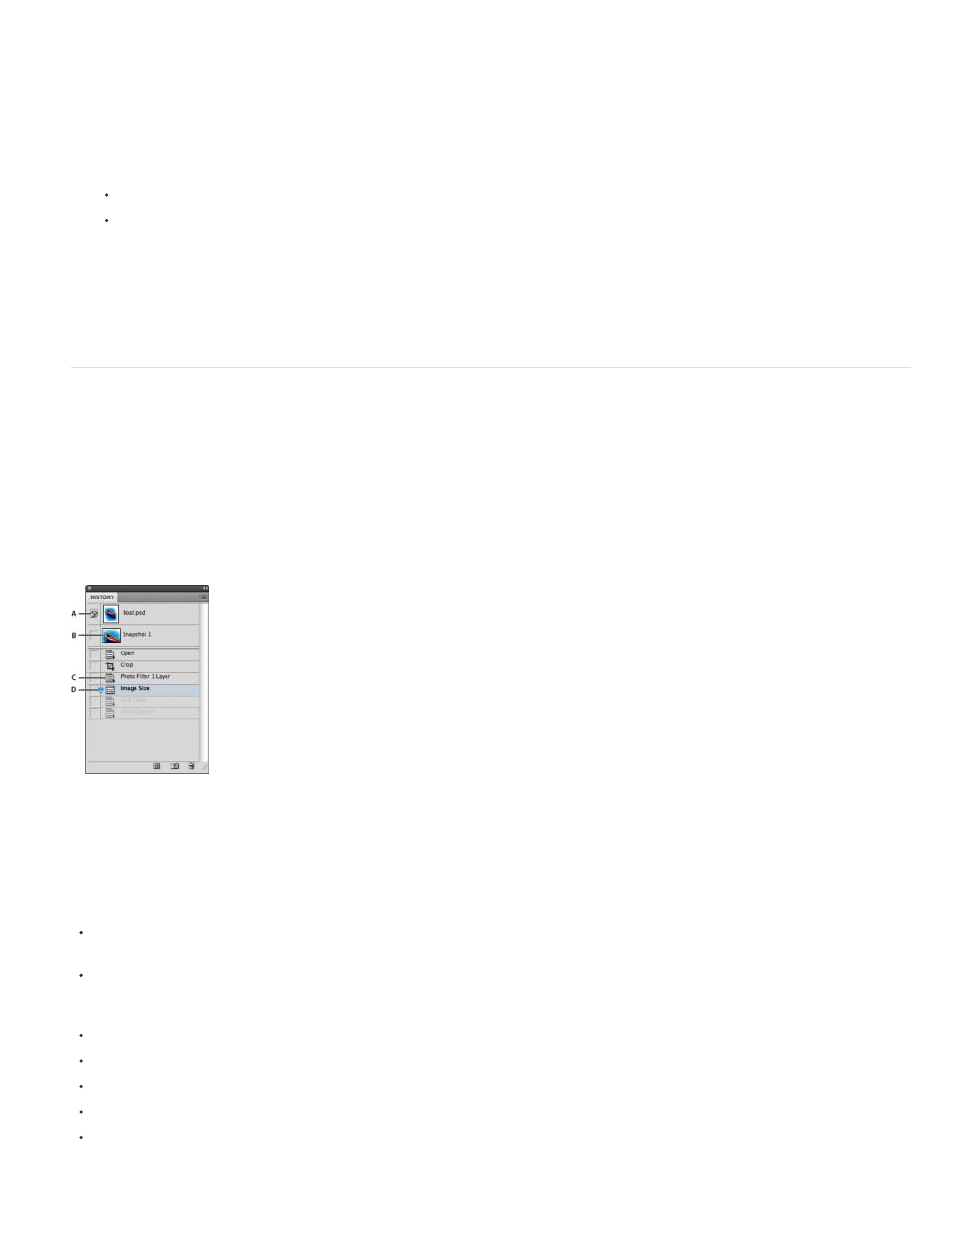
Photoshop History panel
A. Sets the source for the history brush B. Thumbnail of a snapshot C. History state D. History state slider
Keep the following in mind when using the History panel:
Program-wide changes, such as changes to panels, color settings, actions, and preferences, are not reflected in the History panel, because
they are not changes to a particular image.
By default, the History panel lists the previous 20 states. You can change the number of remembered states by setting a preference under
Preferences > Performance. Older states are automatically deleted to free more memory for Photoshop. To keep a particular state throughout
your work session, make a snapshot of the state.
Once you close and reopen the document, all states and snapshots from the last working session are cleared from the panel.
By default, a snapshot of the initial state of the document is displayed at the top of the panel.
States are added to the bottom of the list. That is, the oldest state is at the top of the list, the most recent one at the bottom.
Each state is listed with the name of the tool or command used to change the image.
By default, when you select a state, the states below it are dimmed. This way you can easily see which changes will be discarded if you
continue working from the selected state.
109