Create 360-degree panoramas (photoshop extended) – Adobe Photoshop CC 2014 v.14.xx User Manual
Page 583
Cylindrical
Spherical
Collage
Reposition
Blend Images Together
Vignette Removal
Geometric Distortion Correction
matched.
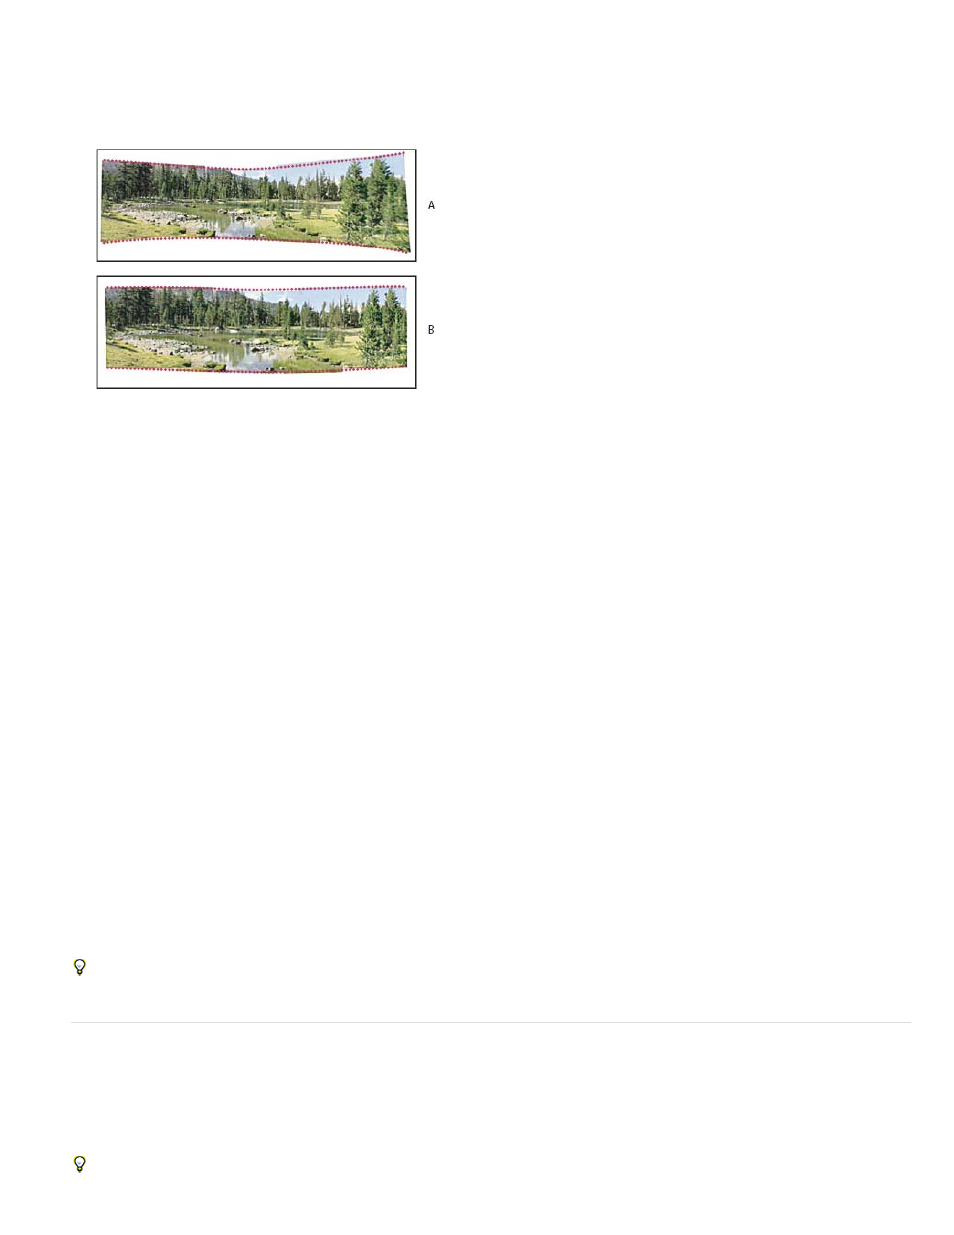
Reduces the “bow-tie” distortion that can occur with the Perspective layout by displaying individual images as on an unfolded
cylinder. Overlapping content across files is still matched. The reference image is placed at the center. Best suited for creating wide
panoramas.
Applying Cylindrical Mapping
Aligns and transforms the images as if they were for mapping the inside of a sphere. If you have taken a set of images that cover
360 degrees, use this for 360 degree panoramas. You might also use Spherical to produce nice panoramic results with other file sets.
Aligns the layers and matches overlapping content and transforms (rotate or scale) any of the source layers.
Aligns the layers and matches overlapping content, but does not transform (stretch or skew) any of the source layers.
5. Select any of the following options:
Finds the optimal borders between the images and create seams based on those borders, and to color match the
images. With Blend Images Together turned off, a simple rectangular blend is performed. This may be preferable if you intend to retouch the
blending masks by hand.
Removes and performs exposure compensation in images that have darkened edges caused by lens flaws or improper
lens shading.
Compensates for barrel, pincushion, or fisheye distortion.
6. Click OK.
Photoshop creates one multi-layer image from the source images, adding layer masks as needed to create optimal blending where the images
overlap. You can edit the layer masks or add adjustment layers to further fine tune the different areas of the panorama.
To replace empty areas around image borders, use a content-aware fill. (See Content-aware, pattern, or history fills.)
Create 360-degree panoramas (Photoshop Extended)
Combine Photomerge with 3D features to create a 360-degree panorama. First, you stitch together the images to create a panorama; then you use
the Spherical Panorama command to wrap the panorama so it’s continuous.
Be sure to photograph a full circle of images with sufficient overlap. Photographing with a pano head on a tripod helps produce better results.
For a video on creating a 360-degree panorama, see
576