Create a selection around a selection border – Adobe Photoshop CC 2014 v.14.xx User Manual
Page 334
2. Using any selection tool, do one of the following:
Select the Intersect With Selection option
in the options bar, and drag.
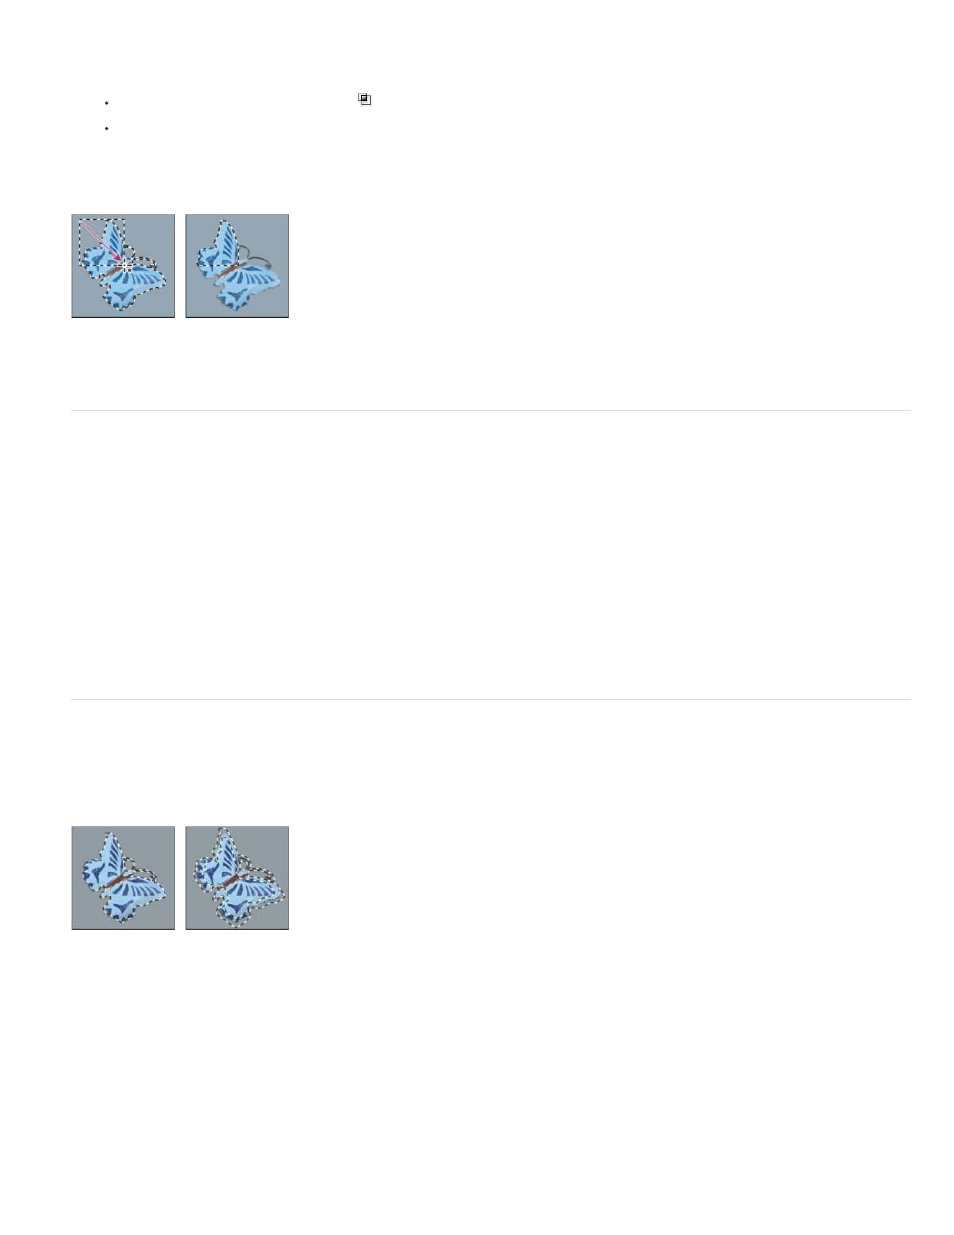
Hold down Alt+Shift (Windows) or Option+Shift (Mac OS) and drag over the portion of the original selection that you want to select.
An “x” appears next to the pointer when you’re selecting an intersected area.
Intersected selections
Expand or contract a selection by a specific number of pixels
1. Use a selection tool to make a selection.
2. Choose Select > Modify > Expand or Contract.
3. For Expand By or Contract By, enter a pixel value between 1 and 100, and click OK.
The border is increased or decreased by the specified number of pixels. (Any portion of the selection border running along the canvas’s
edge is unaffected by the Expand command.)
Create a selection around a selection border
The Border command lets you select a width of pixels inside and outside an existing selection border. This can be useful when you need to select
a border or band of pixels around an image area, rather than the area itself, for example to clean up a halo effect around a pasted object.
Original selection (left), and after Border command: 5 pixels (right)
1. Use a selection tool to make a selection.
2. Choose Select > Modify > Border.
3. Enter a value between 1 and 200 pixels for the border width of the new selection, and click OK.
The new selection frames the original selected area, and is centered on the original selection border. For example, a border width of 20
327