Sharpen using unsharp mask – Adobe Photoshop CC 2014 v.14.xx User Manual
Page 392
5. Click OK.
Sharpen using Unsharp Mask
The Unsharp Mask sharpens an image by increasing contrast along the edges in an image. The Unsharp Mask does not detect edges in an
image. Instead, it locates pixels that differ in value from surrounding pixels by the threshold you specify. It then increases the contrast of
neighboring pixels by the amount you specify. So, for neighboring pixels the lighter pixels get lighter and the darker pixels get darker.
In addition, you specify the radius of the region to which each pixel is compared. The greater the radius, the larger the edge effects.
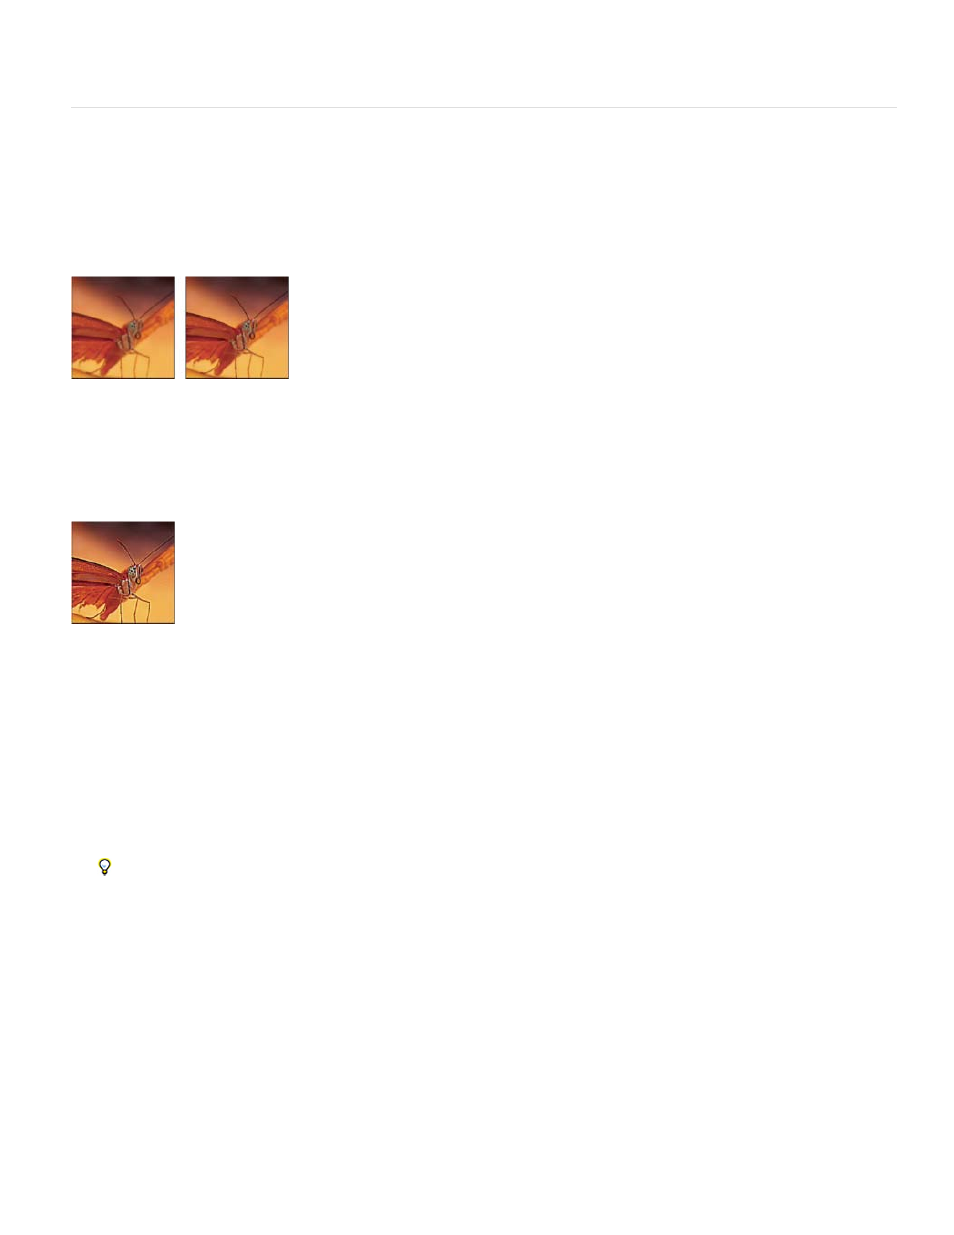
Original image, and Unsharp Mask applied
The degree of sharpening applied to an image is often a matter of personal choice. Keep in mind that oversharpening an image produces a halo
effect around the edges.
Oversharpening an image produces a halo effect around the edges.
The effects of the Unsharp Mask filter are more pronounced on-screen than in high-resolution output. If your final destination is print, experiment
to determine what settings work best for your image.
1. (Optional) If your image is multilayered, select the layer containing the image you want to sharpen. You can apply Unsharp Mask to only
one layer at a time, even if layers are linked or grouped. You can merge the layers before applying the Unsharp Mask filter.
2. Choose Filter > Sharpen > Unsharp Mask. Make sure the Preview option is selected.
Click the image in the preview window and hold down the mouse to see how the image looks without the sharpening. Drag in the
preview window to see different parts of the image, and click + or – to zoom in or out.
Although there is a preview window in the Unsharp Mask dialog box, it’s best to move the dialog box so you can preview the effects of the
filter in the document window.
3. Drag the Radius slider or enter a value to determine the number of pixels surrounding the edge pixels that affect the sharpening. The
greater the radius value, the wider the edge effects. And the wider the edge effects, the more obvious the sharpening.
The Radius value varies according to the subject matter, the size of the final reproduction, and the output method. For high-resolution
images, a Radius value between 1 and 2 is usually recommended. A lower value sharpens only the edge pixels, whereas a higher value
sharpens a wider band of pixels. This effect is much less noticeable in print than on-screen, because a 2-pixel radius represents a smaller
area in a high-resolution printed image.
385