Making quick selections – Adobe Photoshop CC 2014 v.14.xx User Manual
Page 374
Making quick selections
Sample All Layers
Auto-Enhance
Select with the Quick Selection tool
Select with the Magic Wand tool
Select with the Quick Selection tool
You can use the Quick Selection tool
to quickly “paint” a selection using an adjustable round brush tip. As you drag, the selection expands
outward and automatically finds and follows defined edges in the image.
1. Select the Quick Selection tool
. (If the tool isn’t visible, hold down the Magic Wand tool
.)
2. In the options bar, click one of the selection options: New, Add To, or Subtract From.
New is the default option if nothing is selected. After making the initial selection, the option changes automatically to Add to.
3. To change the brush tip size, click the Brush pop-up menu in the options bar, and type in a pixel size or drag the slider. Use the Size
pop-up menu options to make the brush tip size sensitive to pen pressure or a stylus wheel.
When creating a selection, press the right bracket (]) to increase the Quick Selection tool brush tip size; press the left bracket ([) to
decrease the brush tip size.
4. Choose Quick Selection options.
Creates a selection based on all layers instead of just the currently selected layer.
Reduces roughness and blockiness in the selection boundary. Auto-Enhance automatically flows the selection further
toward image edges and applies some of the edge refinement you can apply manually in the Refine Edge dialog with the Contrast and
Radius options.
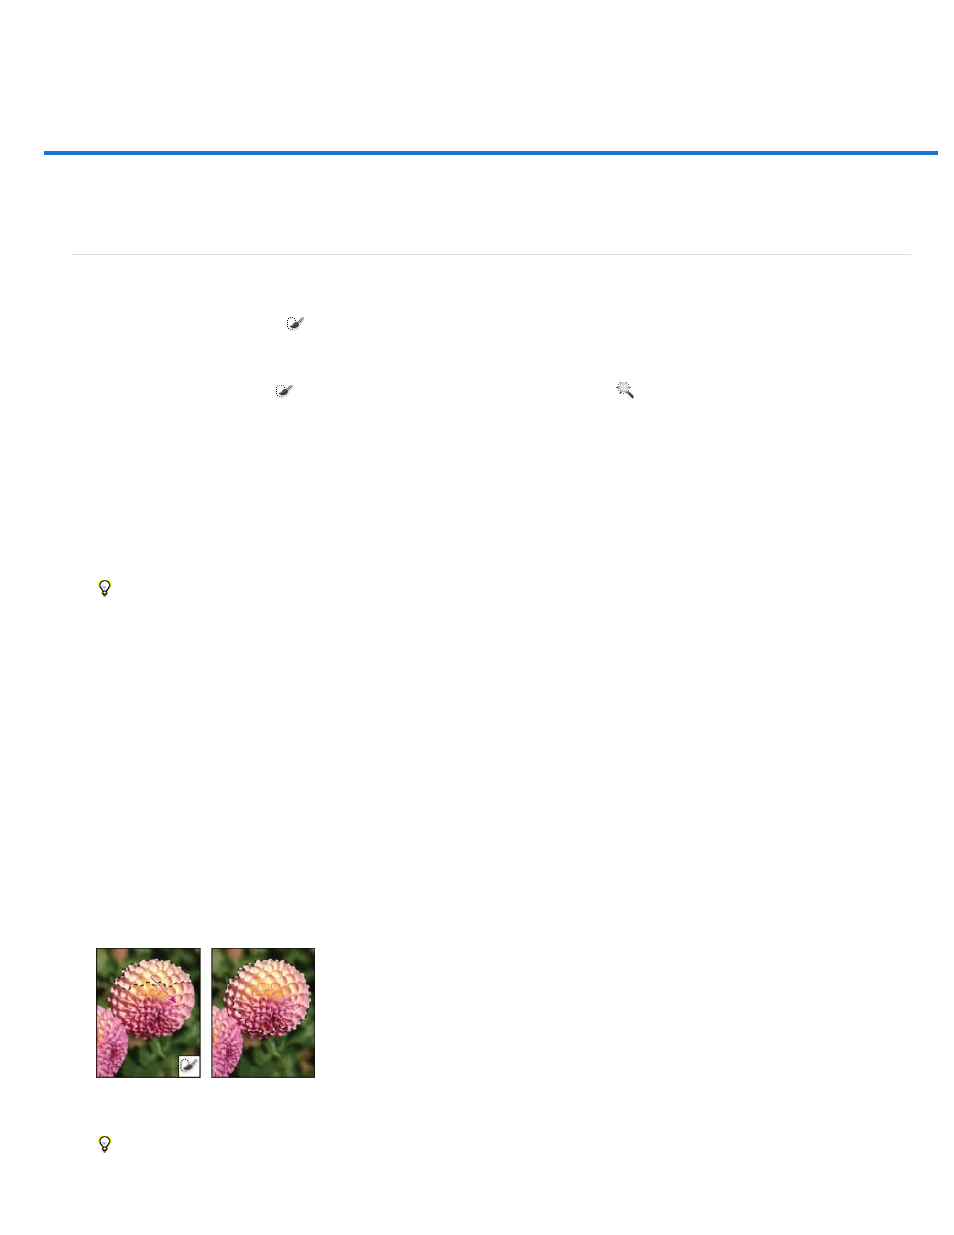
5. Paint inside the part of the image you want to select.
The selection grows as you paint. If updating is slow, continue to drag to allow time to complete work on the selection. As you paint near the
edges of a shape, the selection area extends to follow the contours of the shape edge.
Painting with the Quick Selection tool to extend the selection
If you stop dragging and then click or drag in a nearby area, the selection will grow to include the new area.
367