Curve graph, Control buttons – Apple Motion 4 User Manual
Page 563
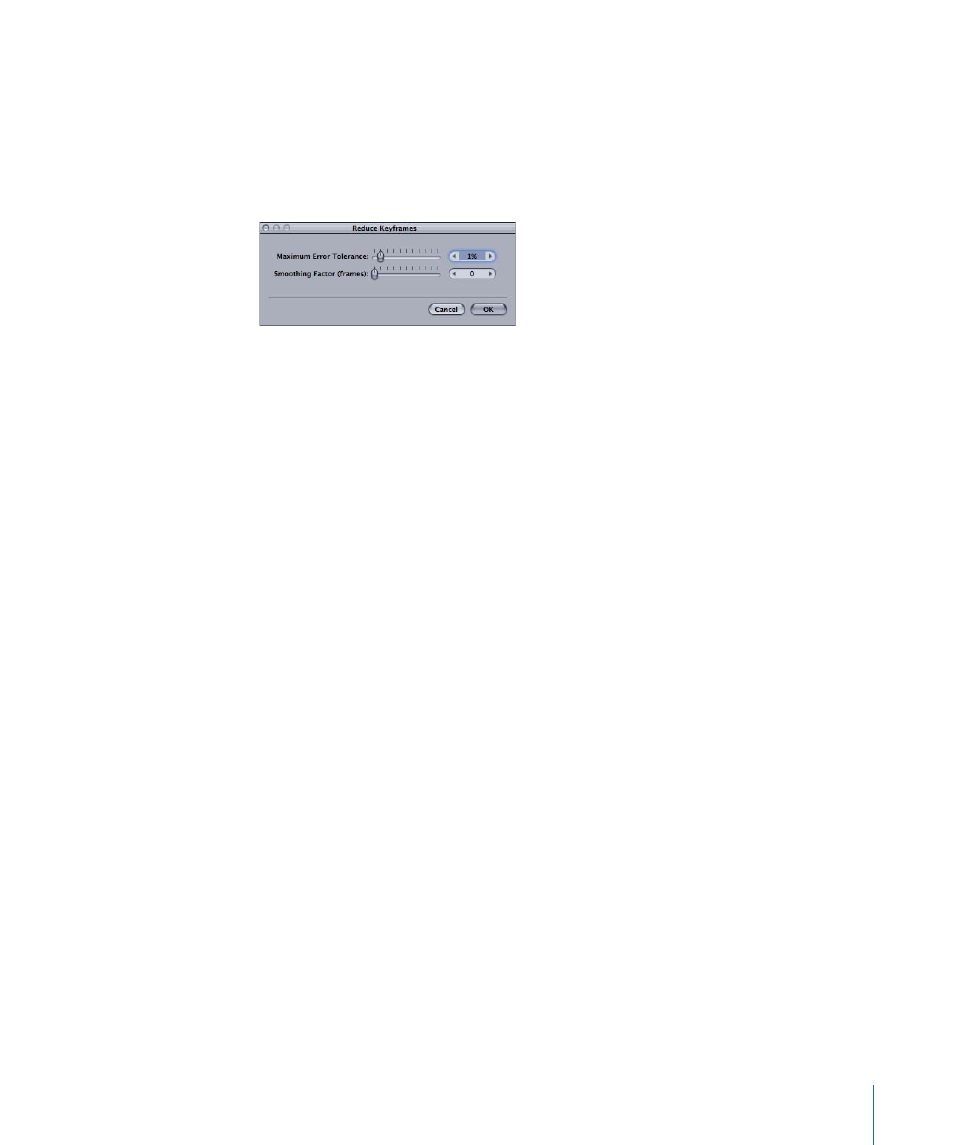
• Reduce Keyframes: Opens the Reduce Keyframes dialog, which allows you to apply a
thinning algorithm to the keyframes for the chosen parameter. This reduces the number
of keyframes in a parameter while attempting to maintain a similar shape to the curve.
The thinning algorithm can be adjusted in two ways. Increasing the Maximum Error
Tolerance results in fewer keyframes. Increasing the Smoothing Factor makes smoother
curves between keyframe values.
• Set to Curve Snapshot: If “Take/Show curve snapshot” is turned on (in the lower-left
corner of the Keyframe Editor), this option will revert any keyframe changes made in
the currently selected curve back to the most recent snapshot. For more information,
see
.
Curve Graph
A graph appears to the right of the parameter list and displays the curves for your selected
parameters. The graph has a time ruler at the top and a zoom/scroll control at the bottom
that are identical to the corresponding controls in the Timeline. These allow you to identify
at what time keyframes appear, as well as see project markers, playback In and Out points,
and the playhead. Using the zoom controls at the bottom of the graph, you can zoom in
to obtain much more precise control over keyframe positioning and curve shape. For
more information on using the zoom/scroll controls, see
.
The body of the graph displays the keyframes and curves of active parameters. Each
parameter is a different color, though some colors are duplicated.
Control Buttons
In the Keyframe Editor, several buttons provide additional control over the Keyframe
Editor window: Snapping, “Show audio waveform,” and “Fit visible curves in window.”
563
Chapter 10
Keyframes and Curves