Apple Motion 4 User Manual
Page 1169
By noting these changes, you can attempt to reduce the amount of keyframing by making
your first keyframed mask shape adjustments at these major changes in speed and
direction. Because animated masks are automatically interpolated to change from one
keyframed shape to another, you can let Motion do some of your work for you.
Note: If at any time the mask is deselected, you need to select the mask you’re working
on in the Layers tab so that its control points become visible in the Canvas. Make sure
that the Show Masks button is selected in the Layers tab so that masks are visible.
5
Continue moving the playhead and making changes as needed, since the interpolated
shape of the mask isn’t going to be perfect.
One imprecise rule of thumb is to move to the frame that’s halfway between any two
keyframed mask shapes and make new adjustments. Continue keyframing shape changes
at the halfway point between every two keyframes until the mask accurately follows the
motion of the subject. For irregularly shaped objects or objects with complex motion,
don’t be surprised if you need to add a large number of keyframes. Nobody ever said
that rotoscoping was fast!
Every time you move the playhead to a new frame and make a change to the mask’s
shape, a keyframe is automatically created in that shape’s Shape Animation parameter.
If you move the playhead directly on top of a previously existing keyframe, you change
the mask’s shape at that point without creating a new keyframe.
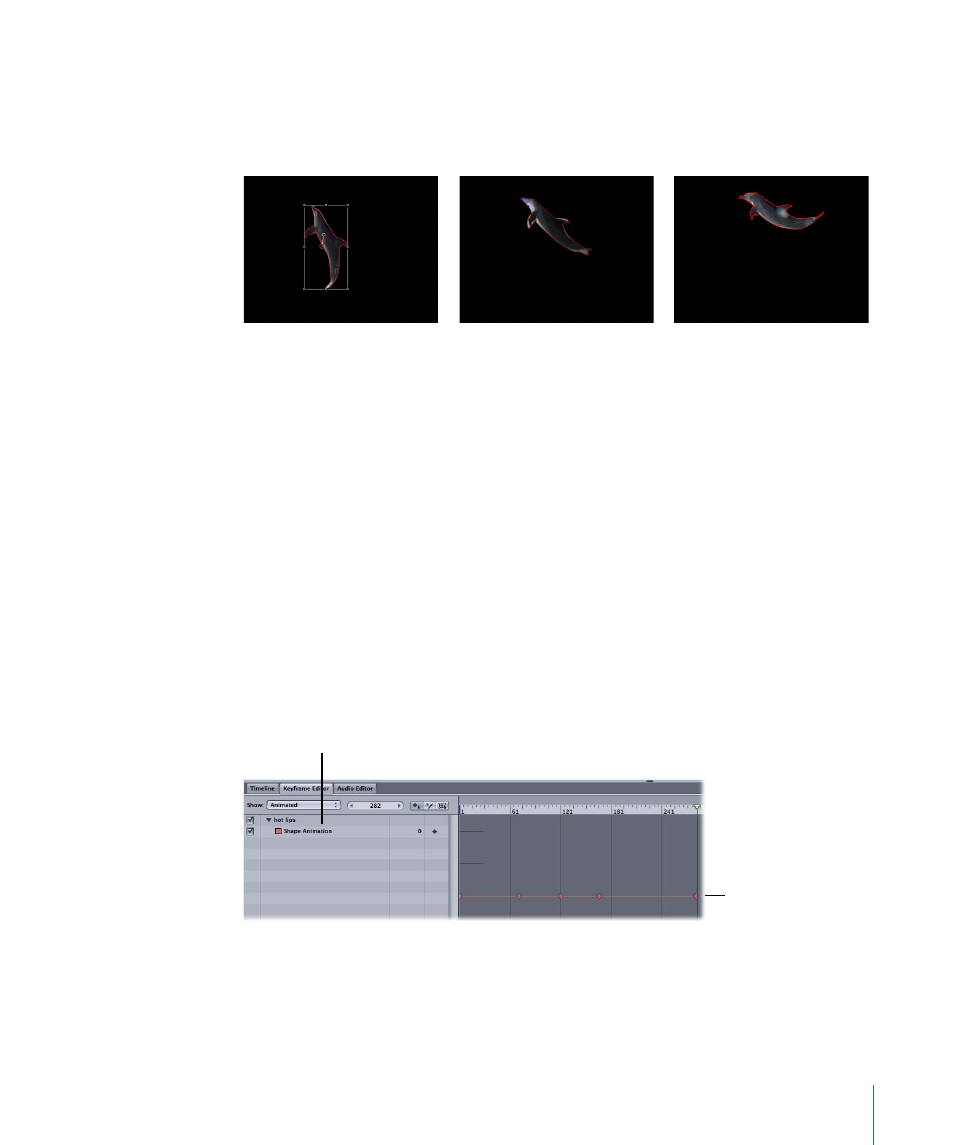
Shape Animation
parameter
Shape Animation
parameter keyframes
Note: You can also transform and shear masks as you would any other layer. If you move,
rotate, scale, shear, or change the anchor point for a mask while animation recording is
enabled, you add keyframes to additional channels in the Keyframe Editor.
6
When you’ve finished animating the mask, disable Record (press A).
1169
Chapter 17
Using Shapes, Masks, and Paint Strokes