Timeline tracks – Apple Motion 4 User Manual
Page 353
µ
Choose Window > Layouts > Cinema.
µ
Press F6.
Cinema Layout moves the Inspector to the right side of the interface and displays the
Timing pane.
µ
If you are working on a Mac with a Multi-Touch trackpad, you can use a three-finger swipe
up to display the Timing pane. Use a three-finger swipe down to hide the Timing pane.
Note: To change interface layouts, choose Window > Layouts, then choose Standard,
Alternate, or Cinema. You can also create and save your own layout arrangements. See
for more information on layouts.
If the Timing pane is already displayed, you may need to click the Timeline tab to bring
it to the front.
Timeline Tracks
Each object in your project appears as a colored bar in the track area of the Timeline.
Tracks are arranged in a hierarchy identical to that of the Layers tab in the Project pane.
This allows you to quickly see each object’s place in time, as well as its relative position
and duration.
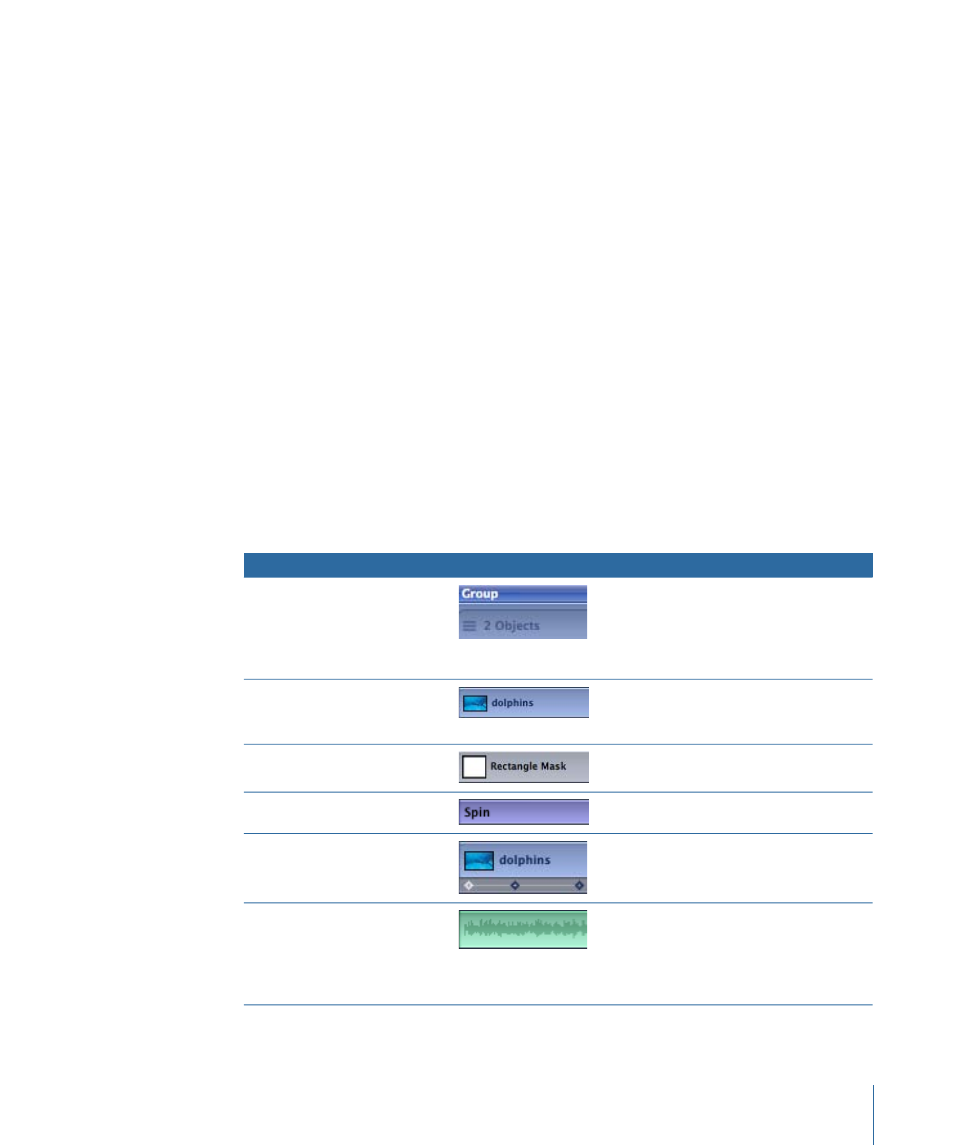
You can determine the type of each object in the track area based on its appearance.
Description
How it appears
Item
A double blue bar. For groups
with multiple layers, the lower
bar displays three lines and a
value indicating the number of
layers in the group.
Group
A blue bar
Layers (video, stills, shapes, text,
particles, replicators, cameras,
lights)
A gray bar
Masks
A thin purple bar
Behaviors and Filters
Blue diamonds beneath the track
that is keyframed. Selected
keyframes appear white.
Keyframes
A green bar displaying the audio
waveform. If the audio file has
an applied Audio behavior, the
purple bar appears underneath
the audio track.
Audio
353
Chapter 8
Using the Timeline