Apple Motion 4 User Manual
Page 346

Retime Value:
Displays the time value of the clip at a given frame. This parameter appears
only when Time Remap is set to Variable Speed. When you set Time Remap to Variable
Speed, two keyframes are automatically generated at the first and last frame of the clip.
The two default keyframes represent 100% constant speed. Adding keyframes to this
parameter and assigning them different Retime Values makes the speed of the clip ramp
from one speed to another.
In:
Sets the In point of the object, in both constant and variable speed modes. Adjusting
this parameter always moves the object In point to the specified frame without affecting
the duration of the object.
Out:
Sets the Out point of the object, in both constant and variable speed modes.
Adjusting this parameter always moves the object Out point to the specified frame without
affecting the duration of the object.
Duration:
Sets the total duration of the object. If Time Remap is set to Constant Speed,
adjusting Duration will also affect the Speed and the Out point. If Time Remap is set to
Variable Speed, adjusting Duration will not affect variable speed playback.
Reverse:
This checkbox controls whether the clip is played back in reverse.
Frame Blending:
Sets the method used to determine how the image is blended during
each frame of playback. The Frame Blending pop-up menu contains the following items:
• None: Displays the frame from the original clip nearest the source frame.
• Blending: The default setting. Displays a blend of the individual pixels of adjacent
frames.
• Motion-Blur Blending: Applies a motion blur algorithm to the blended frames.
• Optical Flow: Uses an optical flow algorithm to blend the two frames surrounding the
desired frame. Using this method affects playback performance most significantly. In
order to display frames properly, Motion analyzes the clip to determine the directional
movement of pixels. Only the portion of the clip used in the project (the clip between
the In and Out points) is analyzed.
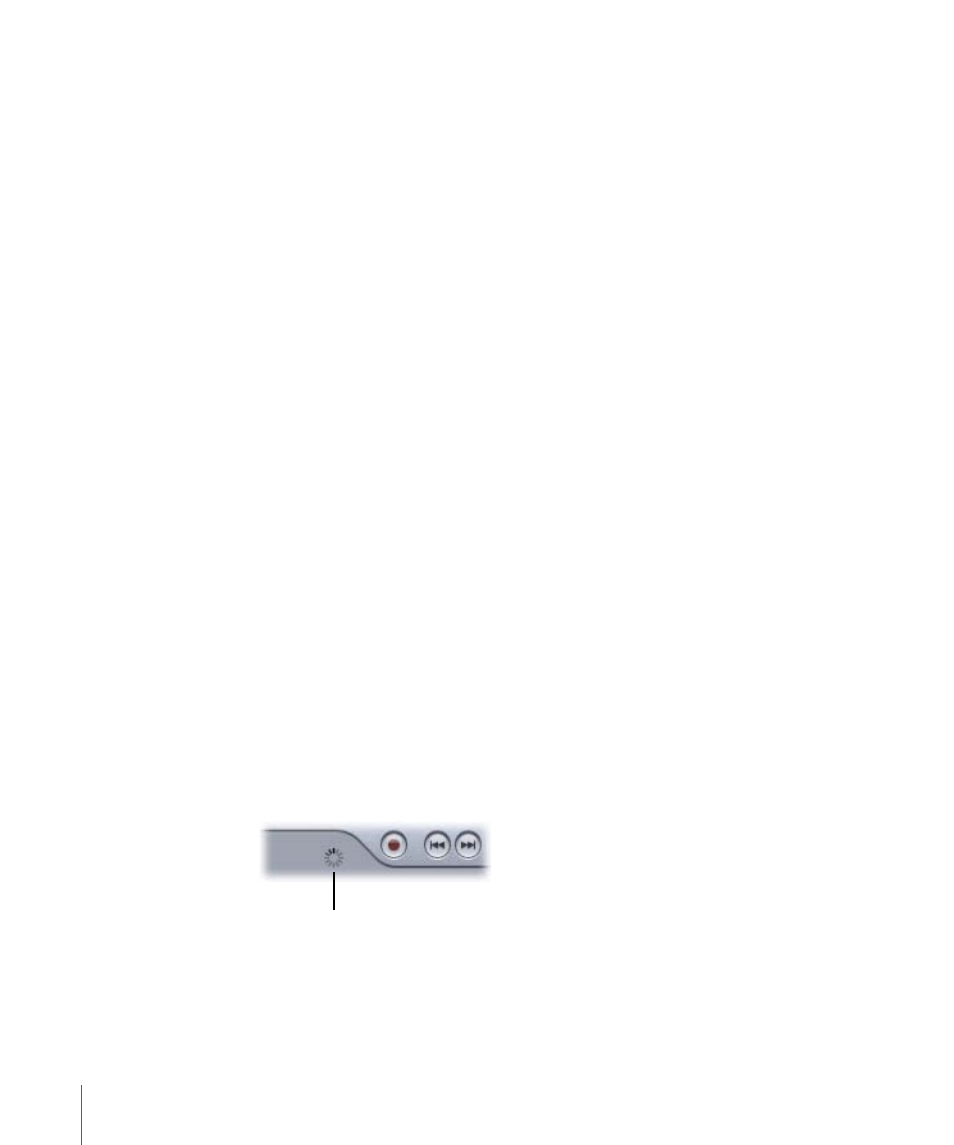
When you choose Optical flow, an analysis indicator appears to the left of the transport
controls underneath the Canvas to show that the clip is being analyzed.
Analysis indicator
If you play back the project before the analysis is complete, the clip will appear as if
Frame Blending is set to None. Once the analysis is complete, the indicator disappears,
and the clip will play back properly. If you wish, you may view more detailed information
about the clip analysis and stop the process before it is finished.
346
Chapter 7
Basic Compositing
