Recording keyframes, Adding and editing keyframes – Apple Motion 4 User Manual
Page 1346

For more information about using keyframes and editing curves, see
Recording Keyframes
You can record keyframes for audio level and pan by clicking the Record button, then
moving the sliders in the Audio tab, the HUD, or the Inspector. Recording keyframes for
audio level and pan can be useful for trying out changes, and when you want to hear the
results in real time.
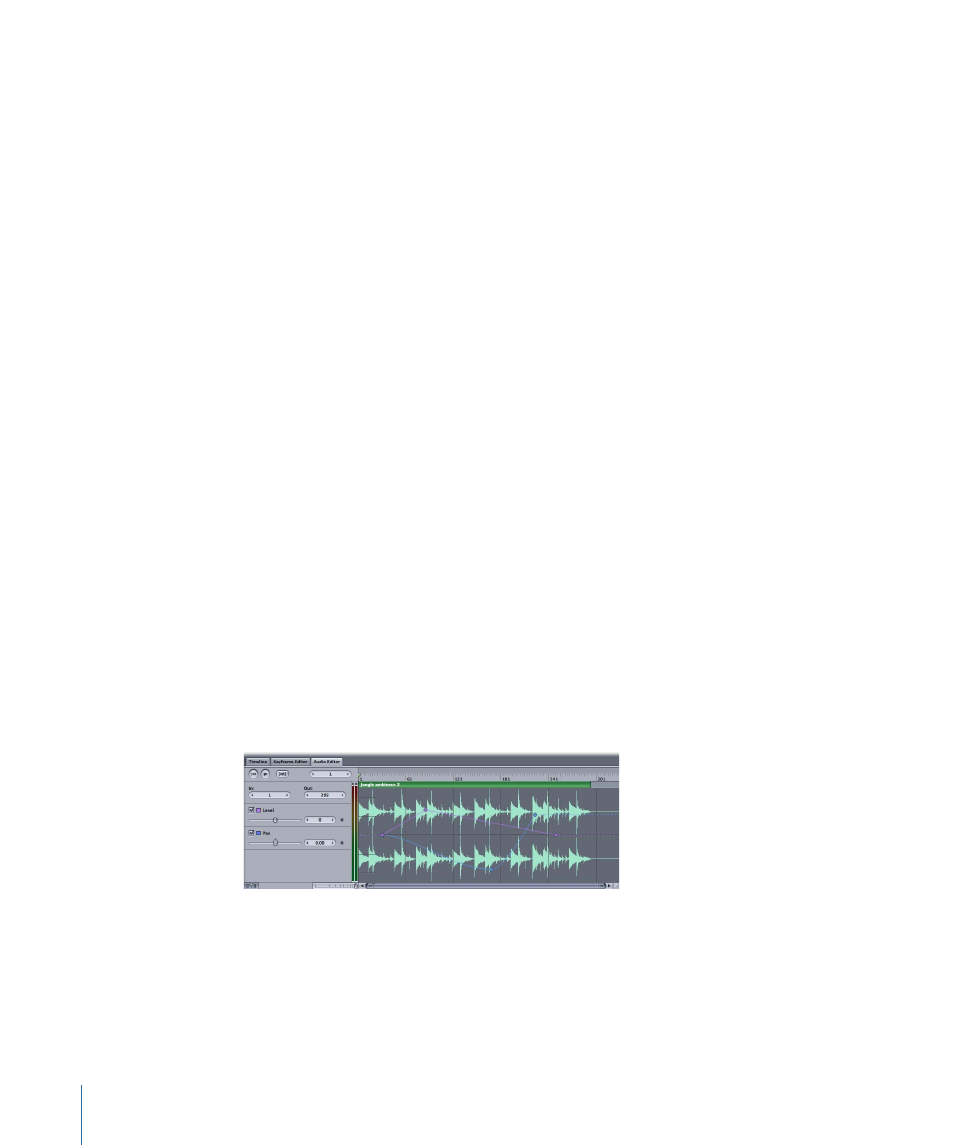
Adding and Editing Keyframes
In the Audio Editor, level curves are displayed as a purple dashed line, and pan curves
are displayed as a blue dashed line. Both curves appear overlaid on top of the audio
waveform.
• Level curves range from –96 to 6 with 0 equivalent to 0 dB (unity gain).
• Pan curves range from –100 to 100.
The range of values is displayed along the left side of the Audio Editor. Because level and
pan curves each use a different scale, you can only see numerical values for a curve if the
checkbox for that curve is selected, and the checkbox for the other curve is deselected.
To add keyframes to a level curve
1
Select the Level checkbox.
You may want to deselect the Pan checkbox, so that you can see the level curve more
clearly, and see its numeric values on the left.
2
Option-click the purple level curve to add a keyframe.
3
Drag the keyframe up or down to set the level you want at a specific time.
Drag down to lower the level, or drag up to raise the level.
4
Add any other keyframes you need, and drag each one to set its value.
Note: You can also perform these operations in the Keyframe Editor.
To add keyframes to a pan curve
1
Select the Pan checkbox.
You may want to deselect the Level checkbox, so that you can see the pan curve more
clearly, and see its numeric values on the left.
1346
Chapter 20
Working with Audio
