Creating a network – Brocade Network Advisor SAN + IP User Manual v12.1.0 User Manual
Page 850
794
Brocade Network Advisor SAN + IP User Manual
53-1002949-01
Layer 3 access control list policy
22
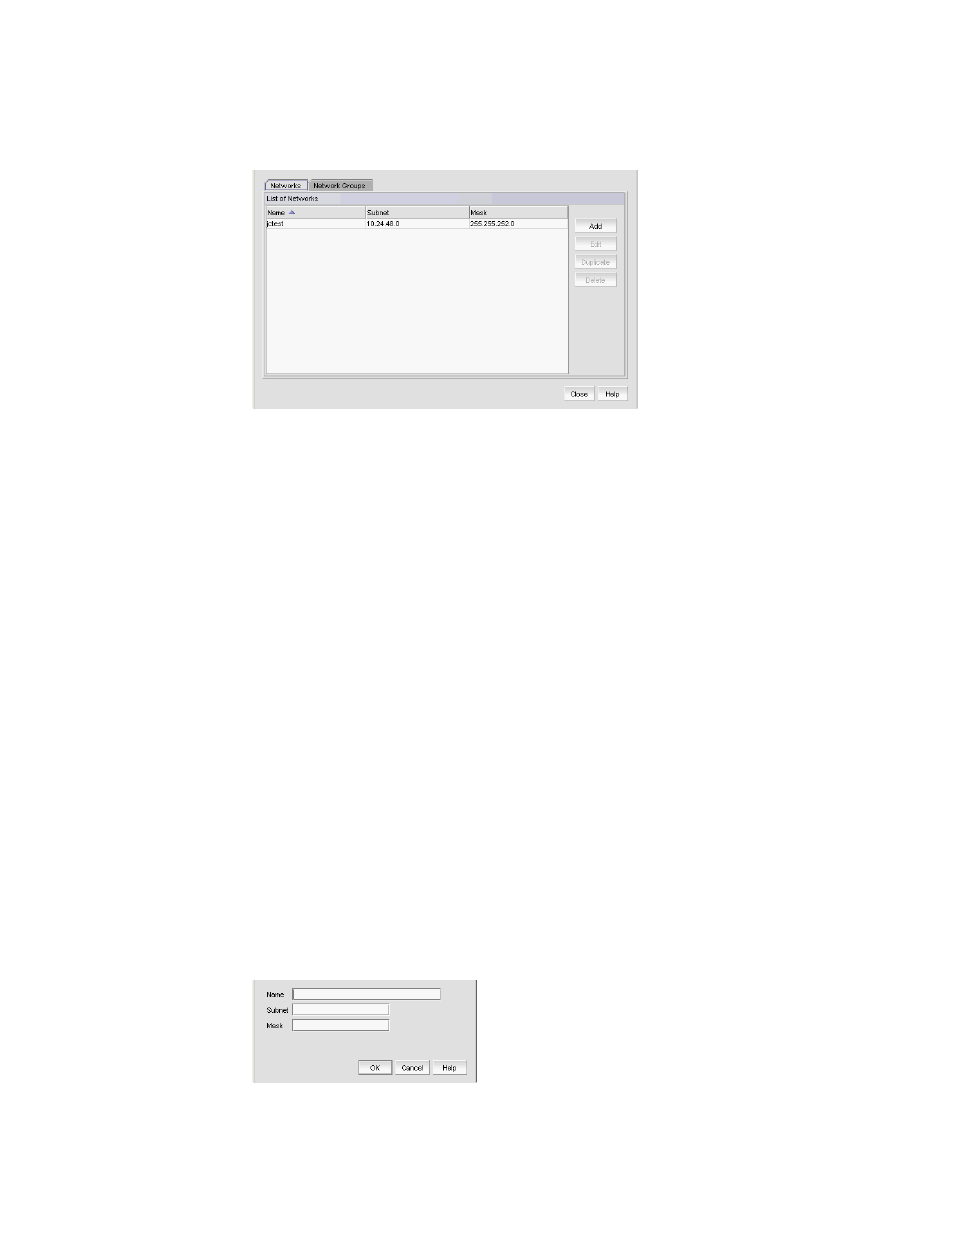
1. Click the Networks tab.
FIGURE 281
Network dialog box, Networks tab
2. Review the List of Networks table:
•
Name — The user-defined network name.
•
Subnet — The IP address of the subnet.
•
Mask — The IP address of the mask.
3. Click Close on the Network dialog box.
To finish configuring the ACL, return to one of the above procedures.
Creating a network
You can access the Network dialog box when configuring a standard or extended L3 ACL device
configuration. To configure a standard or extended L3 ACL, refer to one of the following procedures:
•
“Creating a standard L3 ACL configuration”
•
“Editing a standard L3 ACL configuration”
•
“Copying a standard L3 ACL configuration”
•
“Creating an extended L3 ACL configuration”
•
“Editing an extended L3 ACL configuration”
•
“Copying an extended L3 ACL configuration”
To create a network, complete the following steps.
1. Click the Networks tab.
2. Click Add.
The Add Network dialog box displays.
FIGURE 282
Add Network dialog box