Creating an ipv6 l3 acl configuration – Brocade Network Advisor SAN + IP User Manual v12.1.0 User Manual
Page 837
Brocade Network Advisor SAN + IP User Manual
781
53-1002949-01
Layer 3 access control list policy
22
10. Click OK on the Duplicate - L3 ACL Configuration dialog box.
The new ACL displays in the ACLs list.
11. To set the configuration type and operations, refer to
“Configuring the ACL configuration type
12. (Ethernet routers only) To set the hit statistics duration, refer to
13. To deploy the configuration, click OK on the Device_Name - L3 ACL Configuration dialog box.
The Deploy to Products - L3 ACL dialog box displays. To deploy the configuration, refer to
“Security configuration deployment”
Creating an IPv6 L3 ACL configuration
To create an IPv6 L3 ACL configuration, complete the following steps.
1. Select an Ethernet router product and select Configure > Security > L3 ACL > Product.
The Device_Name - L3 ACL Configuration dialog box displays.
2. Select New IPv6 from the Add list.
The Add - L3 ACL (IPv6) Configuration dialog box displays.
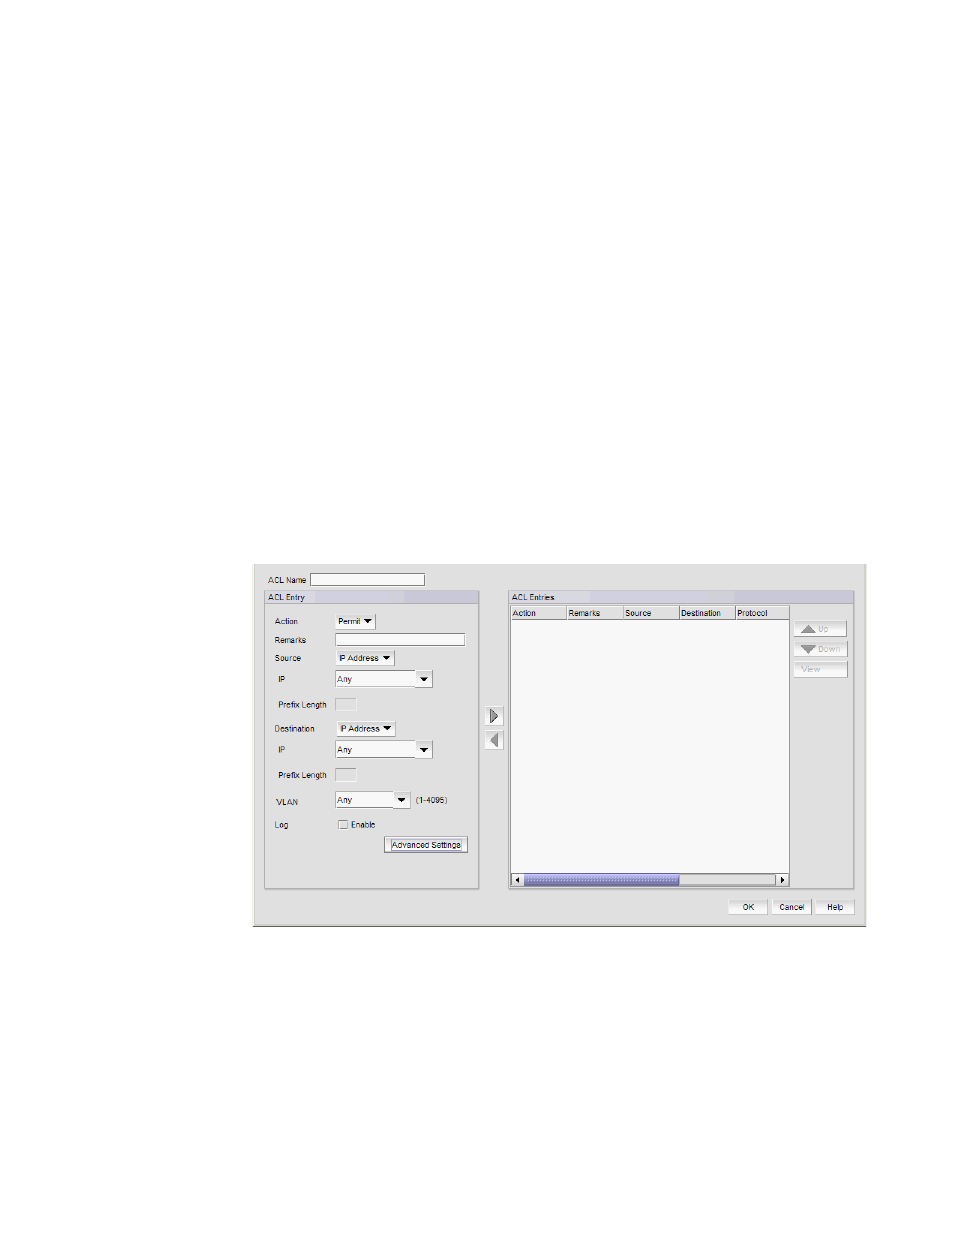
FIGURE 276
Add - L3 ACL (IPv6) Configuration dialog box
3. Enter a name or number for the ACL in the ACL Name/Number field.
4. Select Permit or Deny from the Action list.
5. Enter a description for the ACL in the Remarks field.