Brocade Network Advisor SAN + IP User Manual v12.1.0 User Manual
Page 169
102
Brocade Network Advisor SAN + IP User Manual
53-1002949-01
IP discovery profiles
4
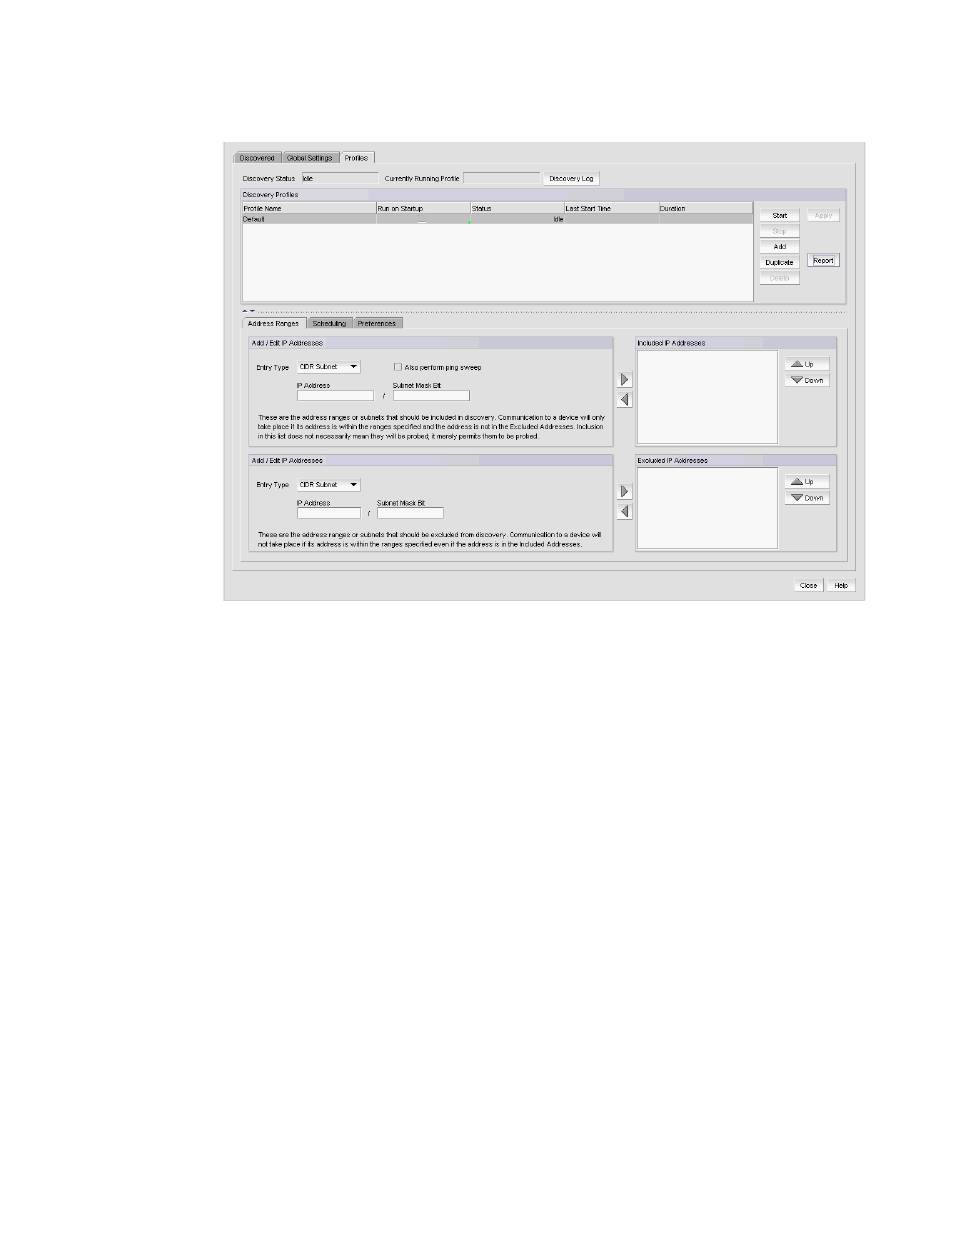
FIGURE 25
Profile tab
3. Click Add.
A new row (named “new_profile”) displays in the Discovery Profiles table.
4. Click “new_profile” in the Profile Name field to enter a unique name for the profile.
This name can be from 1 through 255 characters long, case sensitive, and allows all printable
ASCII characters.
5. Click the Address Ranges tab to configure address ranges for the profile.
For step-by-step instructions, refer to
6. Click the Scheduling tab to configure a discovery schedule for the profile.
For step-by-step instructions, refer to
7. Click the Preferences tab to configure preferences for the profile.
For step-by-step instructions, refer to
“Configuring advanced discovery profile preferences”
8. Click the Global Settings tab.
To set SNMP credentials, refer to
To configure default user names and passwords, refer to
To configure global setting preferences, refer to