Displaying filter keyframes in the timeline – Apple Final Cut Pro 7 User Manual
Page 971
2
Copy the clip.
3
Select one or more clips in the Timeline to apply the filter to.
4
Choose Edit > Paste Attributes (or press Option-V).
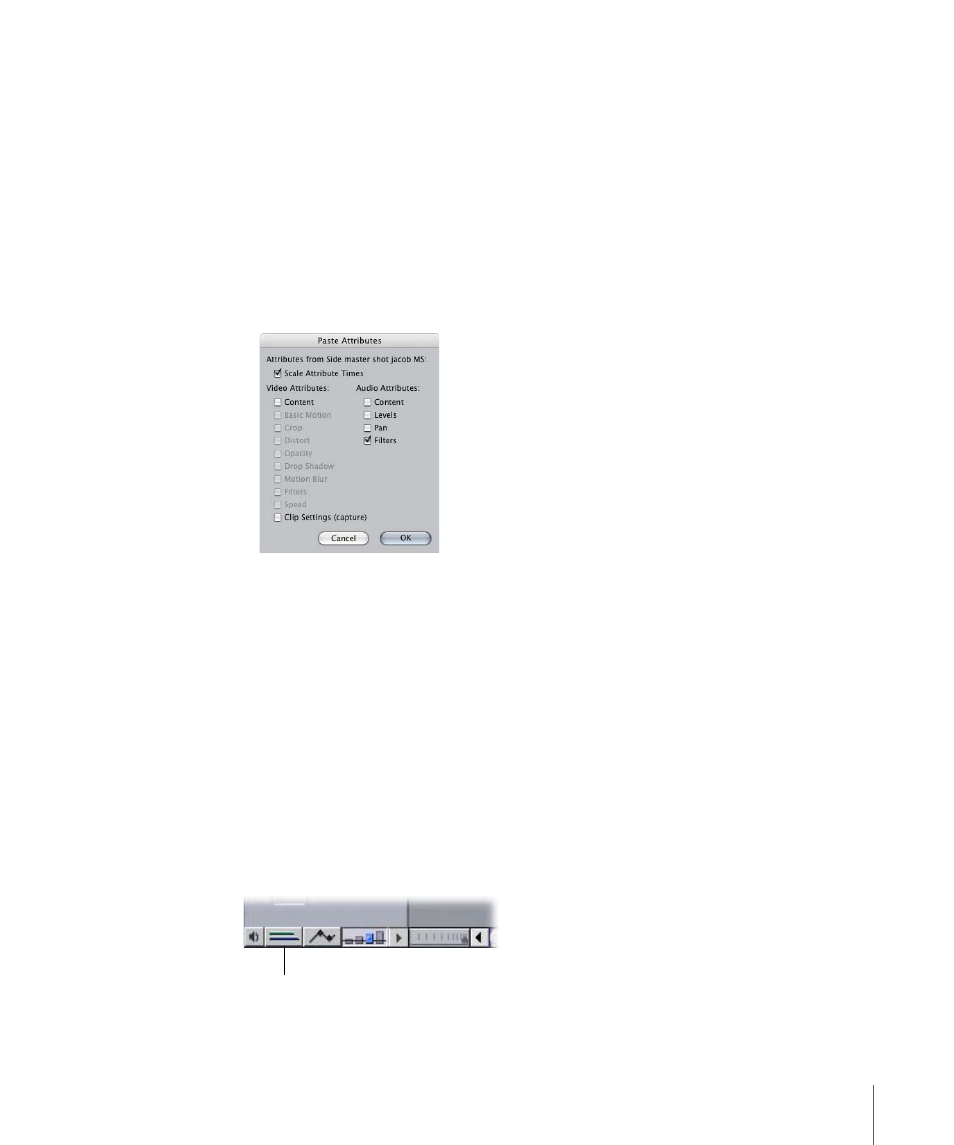
5
In the Paste Attributes dialog, select these options:
• Scale Attribute Times: Shrinks or stretches the keyframes of your copied clip attributes
to fit the duration of longer clips you may paste them into.
• Audio Attributes: Determines which attributes of the audio clip are pasted.
• Filters: Applies the parameter values and keyframes you have set for all filters in the
clip you copied.
Important:
Pasting attributes into clips that have different frame rates will produce
erratic results.
6
Click OK.
The filters are pasted into the clips you selected.
Displaying Filter Keyframes in the Timeline
Once a filter has been applied to an audio clip in a sequence, you can use the Clip
Keyframes control in the Timeline to show a keyframe graph area below each audio and
video track in the Timeline to view audio filters that have been applied to your clips.
To view the keyframe graph area
µ
Click the Clip Keyframes control in the lower-left corner of the Timeline.
Clip Keyframes control
971
Chapter 59
Using Audio Filters