Keyframing tools in final cut pro, Setting keyframes, Keyboard modifiers for the pen tool – Apple Final Cut Pro 7 User Manual
Page 1099
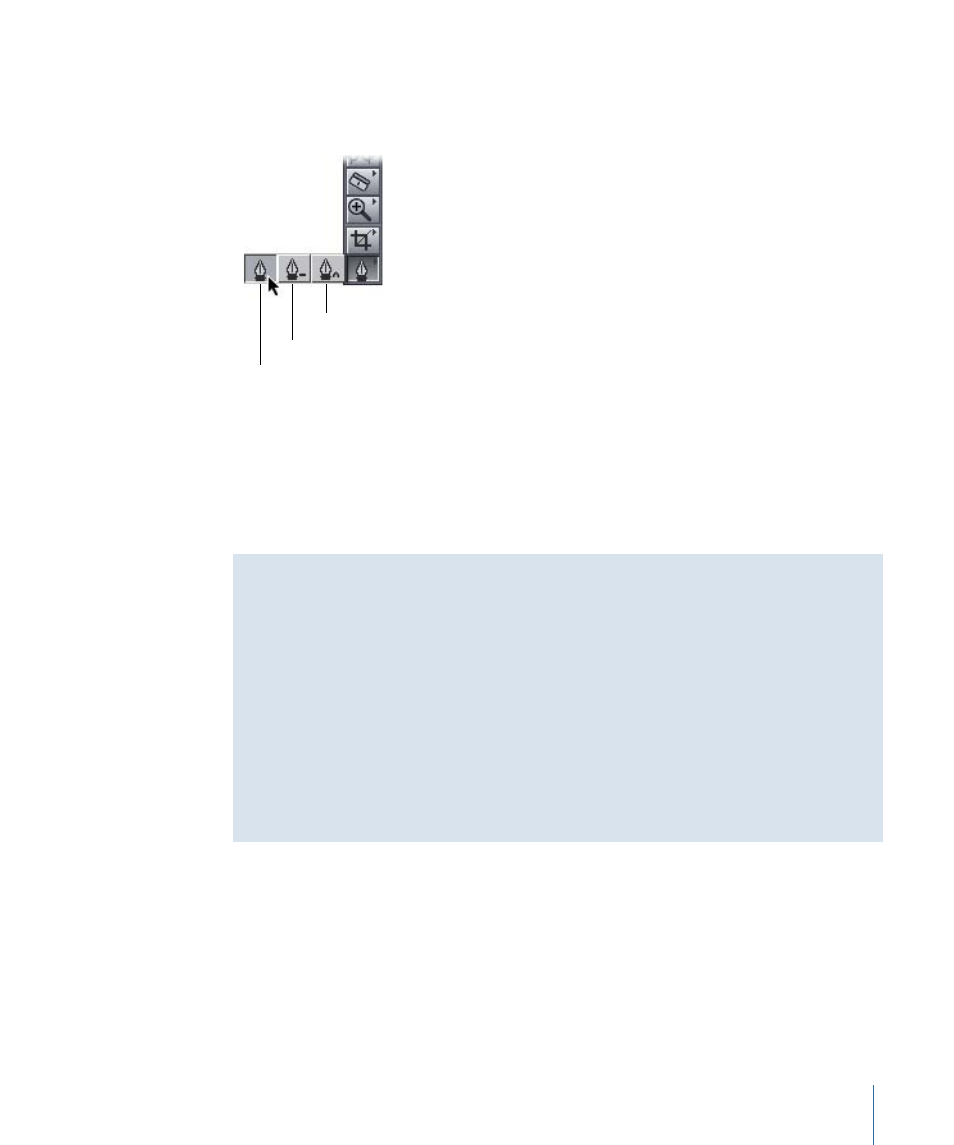
Keyframing Tools in Final Cut Pro
Three tools in the Tool palette allow you to add, modify, or remove keyframes on a
parameter’s keyframe graph line in the keyframe graph area.
Smooth Point tool
Pen tool
Pen Delete tool
• Pen: Allows you to add keyframes to a parameter in the Motion tab or Timeline keyframe
graph area by clicking in the keyframe graph area. (To select this tool, press the P key.)
• Pen Delete: Lets you delete a keyframe from a parameter by clicking the keyframe itself.
(To select this tool, press the P key twice.)
• Smooth Point: Allows you to smooth a keyframe’s interpolation by clicking the keyframe
itself. (To select this tool, press the P key three times.)
Keyboard Modifiers for the Pen Tool
To use the Pen tool most efficiently, use these keyboard modifiers:
• Hold down the Option key while the Selection tool is active to temporarily turn on the
Pen tool, then click in the keyframe graph area of the Motion tab or the Timeline to
add a keyframe at that point.
• To remove the keyframe with the Pen Delete tool, hold down the Option key and click
an existing keyframe.
In addition, you can Control-click a keyframe and choose Smooth from the shortcut
menu to add Bezier handles to the keyframe. See
“Smoothing Keyframes with Bezier
for information on Bezier handles.
Setting Keyframes
Until you create at least one keyframe for a parameter of a clip, changes you make to
that parameter affect the entire duration of the clip. Once you set the first keyframe for
a parameter, additional keyframes are generated automatically when you make any
subsequent changes to that parameter anywhere else in that clip. You generally need to
set at least two keyframes to make changes or effects that are useful or noticeable.
1099
Chapter 67
Adjusting Parameters for Keyframed Effects