Rolling edit points in the timeline, Tips for using the roll tool – Apple Final Cut Pro 7 User Manual
Page 710
Roll edits are useful when the relative Timeline position of two clips is good, but you want
to change when the edit point occurs between them. For example, suppose your sequence
has two clips showing an Olympic diver diving into a pool from two different angles. The
first thing you need to do is adjust each clip until their edit points align on a similar action.
This is called matching on action, or a match cut. You could align the edit point in the
Timeline so that when the diver hits the water in one camera angle, the diver is also
hitting the water in the second angle. Once you have a cut point with matching action,
you can roll the edit point earlier or later to change when the edit occurs. For example,
you could roll the edit to the point where the diver is midway between the diving board
and the water.
Tips for Using the Roll Tool
There are a few tips for using the Roll tool:
• If you can’t drag any further while rolling an edit, you have reached the end of the
media on one of the two clips. Final Cut Pro displays a Media Limit message in this
case.
• With the Roll tool selected, hold down the Shift key to switch temporarily to the Ripple
tool.
• While dragging, press the Command key to “gear down” and make a more precise edit.
Rolling Edit Points in the Timeline
The easiest place to see how a roll edit affects your clips is the Timeline.
To do a roll edit in the Timeline
1
Select the Roll tool in the Tool palette (or press the R key).
2
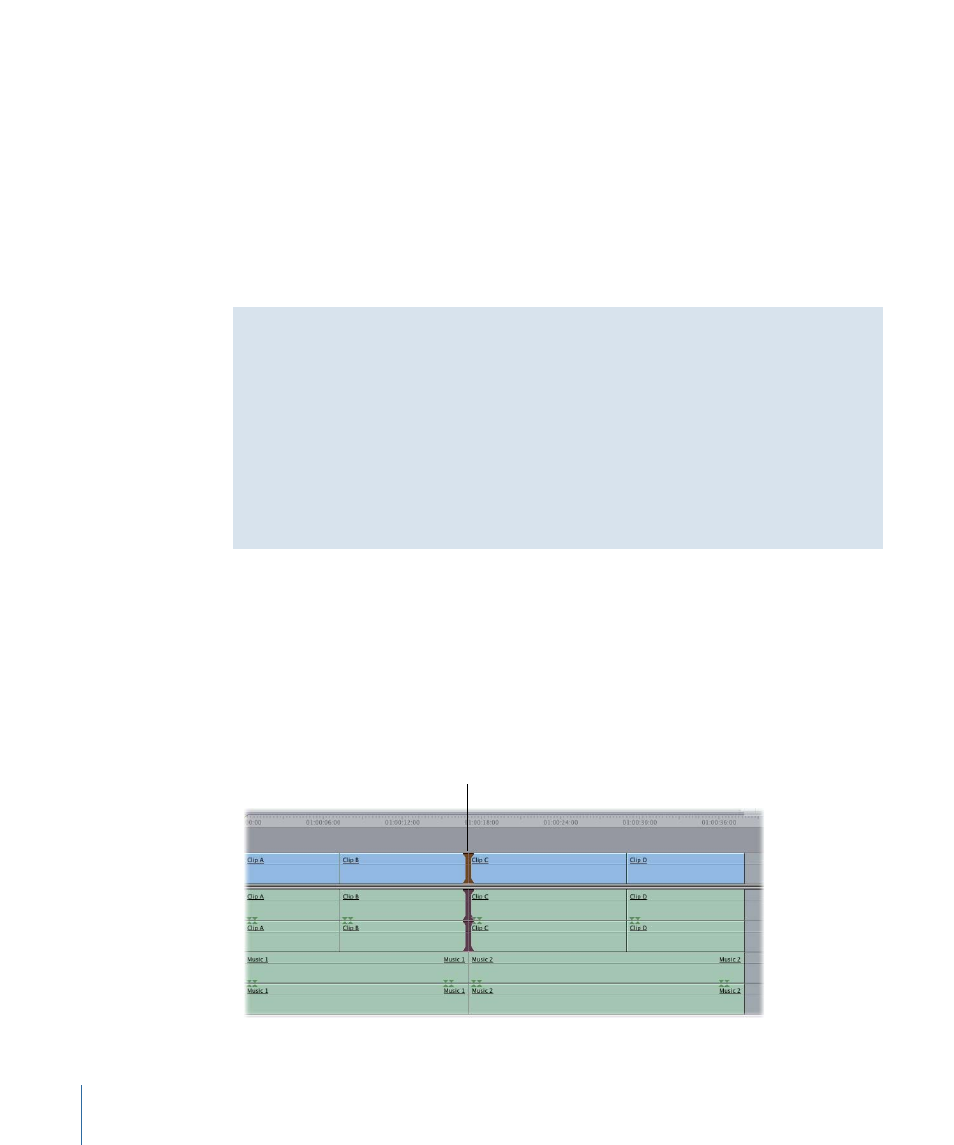
Select an edit point between two clips.
If linked selection is on, the edit points of linked items are also selected. For more
information, see
“Controls That Affect Trim Edits.”
Selected edit point
710
Chapter 44
Performing Slip, Slide, Ripple, and Roll Edits