Apple Final Cut Pro 7 User Manual
Page 1112
3
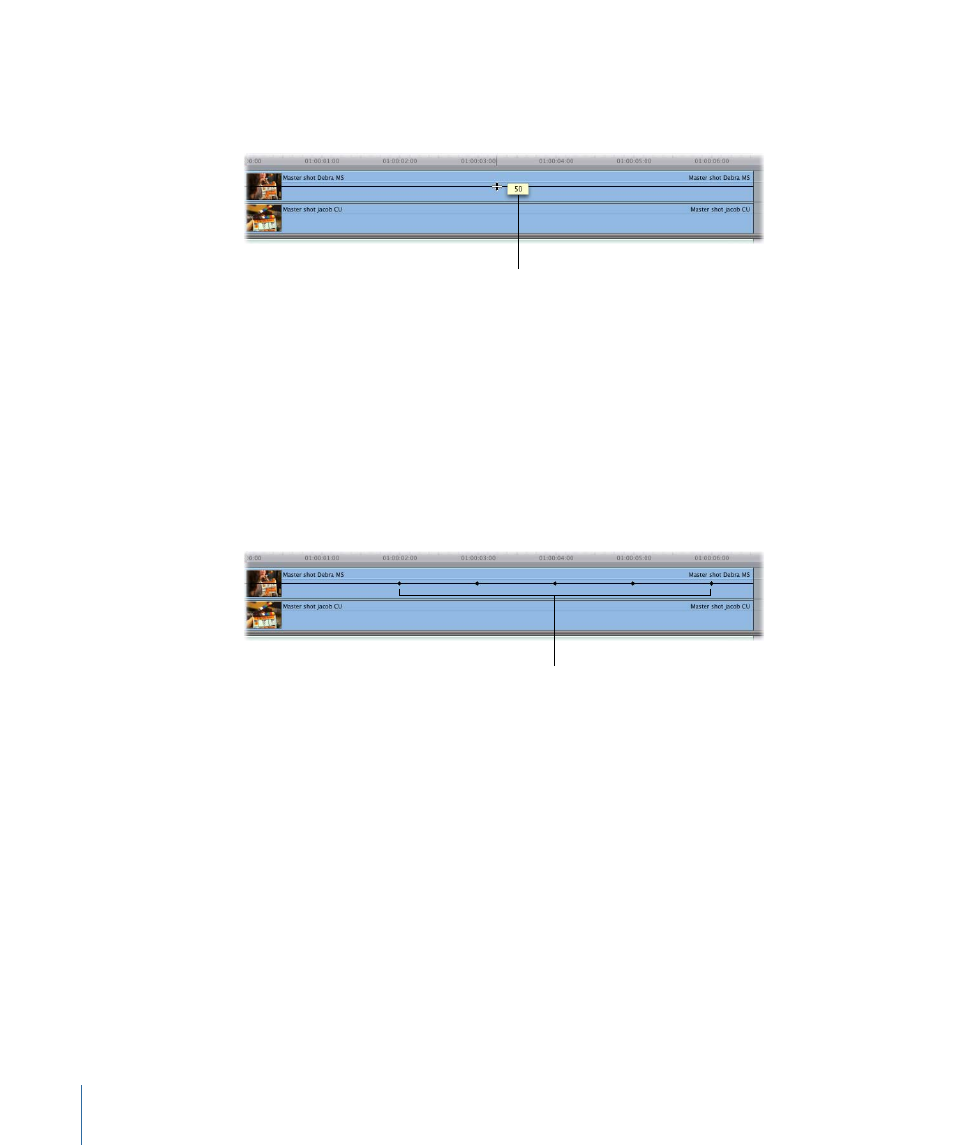
Position the pointer over the opacity overlay (located directly on top of the clip on track
V2). When the pointer turns into the Adjust Line Segment pointer, drag the entire overlay
down so that the opacity value is 50 percent.
A box displays the opacity
value as you drag.
Tip: If you’re having problems getting the value of the overlay to be exactly 50, hold
down the Command key while you’re dragging to gear down the ratio between the
movement of your mouse and the change in the opacity value, enabling you to adjust
the overlay more precisely.
4
Now, use a shortcut to create all the keyframes you need on the overlay at once. Hold
down the Option key while you position the pointer on top of the opacity overlay on the
clip in track V2. When the pointer turns into the Pen tool, click the overlay to create five
keyframes at 01:00:02:00, 01:00:03:00, 01:00:04:00, 01:00:05:00, and 01:00:06:00 in the
Timeline.
Create five keyframes
at 1-second intervals.
Tip: If you’re having trouble creating the keyframes at exactly the times you want, try
zooming in to your clip in the Timeline by using one of the zoom controls, or by pressing
Command–Equal Sign (=) to zoom in to the location of the playhead.
5
Release the Option key, then drag each of the opacity overlay segments between
keyframes (or drag the keyframes themselves up or down to the values you want).
• To adjust an overlay segment using the Selection tool: Position the pointer so that it’s
directly over an overlay segment. When the pointer turns into the Adjust Line Segment
pointer, drag the segment up or down.
1112
Chapter 67
Adjusting Parameters for Keyframed Effects