Apple Final Cut Pro 7 User Manual
Page 1546
4
From the “Set sequences to” pop-up menu, choose the sequence preset that matches
the media on the editing system you are sending to.
5
Click OK.
6
Choose a destination and name for the new project file, then click OK.
7
Attach the new project to an email, or upload it to an accessible FTP or web server.
Some network servers may not recognize the native Final Cut Pro file format. To ensure
that the file is properly transferred, you can create and send a compressed zip archive of
your project instead.
To create a cross-platform-compatible zip archive of your project(s)
1
In the Finder, select the Final Cut Pro project file(s).
2
Control-click the project file and choose Create Archive Of from the shortcut menu.
If you create a single archive zip file, the archive file will be named after the file you
originally selected (for example, My Movie.fcp becomes My Movie.fcp.zip). If you select
multiple files, the archive file will be named Archive.zip. You can change the name after
the archive file is created, but keep the three-letter .zip extension at the end of the
filename. This will help network servers properly handle the file.
The recipient downloads, unarchives, and opens the project, and then reconnects the
sequence to local copies of the media files, which should match the settings you chose.
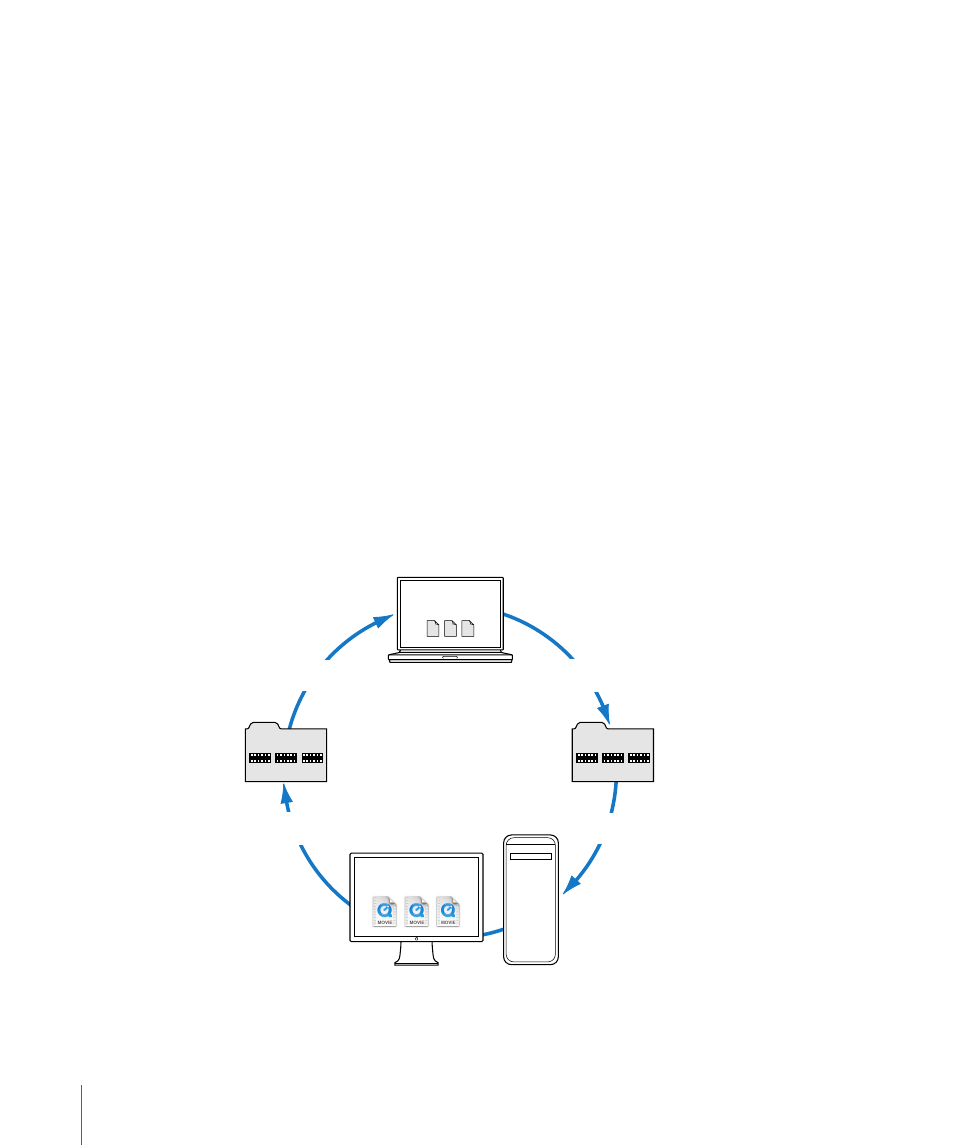
File
transfer
Reduced-quality
media files
Full-quality
media files
Create offline in
Media Manager
Create offline in
Media Manager
File
transfer
Clip
Clip Clip
Project
Clip
Clip Clip
Project
Portable Computer
Editing System
Desktop
Editing System
1546
Chapter 91
Offline and Online Editing