Apple Final Cut Pro 7 User Manual
Page 931
µ
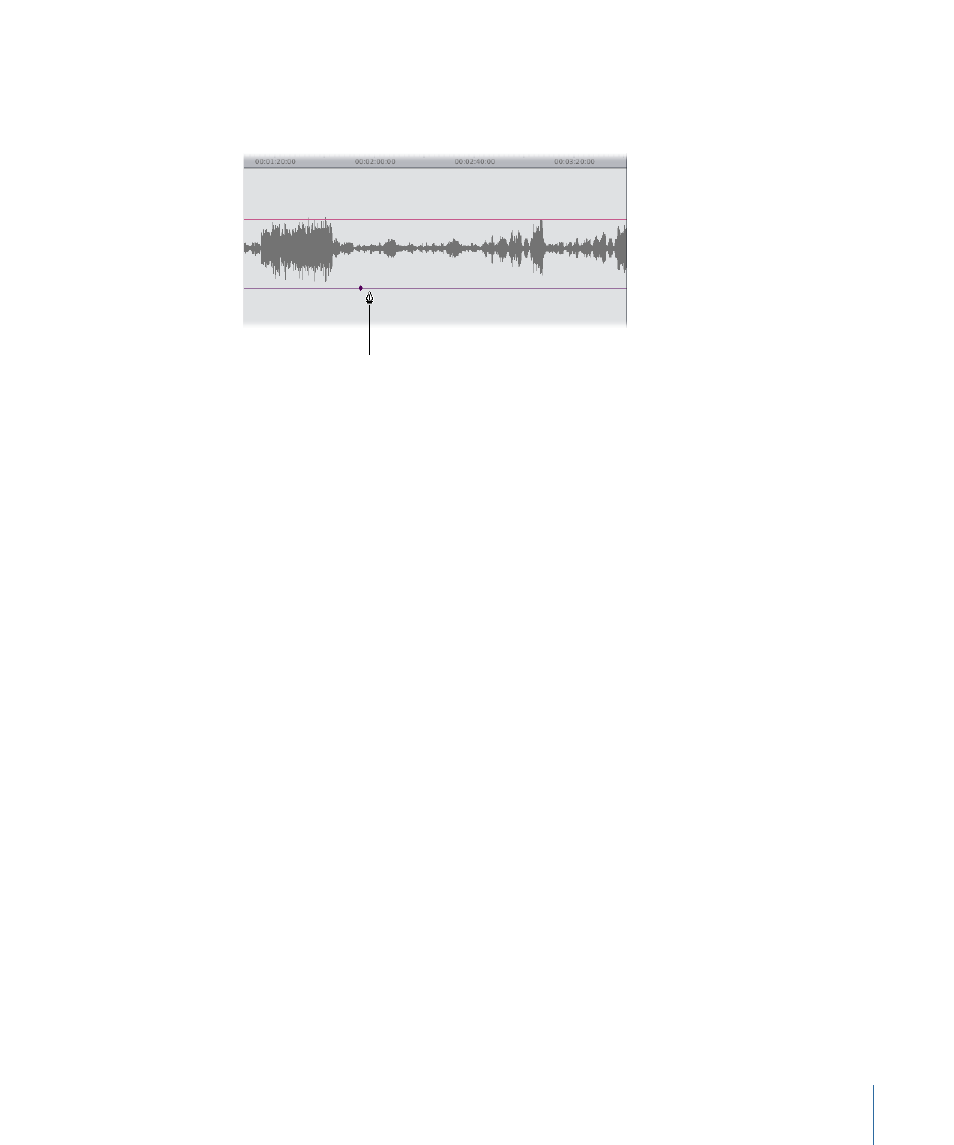
Select the Selection tool (or press A), then hold down the Option key and position the
pointer over the level overlay. The pointer turns into the Pen tool. Click a level overlay
with the Pen tool to add a keyframe at that point.
Pen tool
The keyframe appears as a small diamond on the overlay.
To set additional keyframes
1
Move the playhead to another point in the clip where you want to set a keyframe.
2
Do one of the following:
• Drag the Level or Pan slider to set a new keyframe at that level or value.
• Type a number in the appropriate field to set a new keyframe at that level or value.
• Click a keyframe button to add a keyframe to the audio level or pan overlay at the
overlay’s current level.
• Hold down the Option key and click an overlay with the Pen tool to add a keyframe at
that point without changing the level of the overlay. You can add as many keyframes
as you want by clicking repeatedly with the Option key held down.
The keyframe appears as a small diamond on the overlay you added it to.
To move the Viewer playhead from one keyframe to another
Do one of the following:
µ
Click the left or right Level or Pan keyframe navigation button to move the playhead to
the next keyframe to the left or right of the playhead.
µ
Press Option-K to move the playhead to the next keyframe to the left of the playhead.
µ
Press Shift-K to move the playhead to the next keyframe to the right of the playhead.
To adjust the level or pan value of a single keyframe
Do one of the following:
µ
Move the playhead to the keyframe you want to adjust, then drag the appropriate slider
to a new value.
931
Chapter 57
Mixing Audio in the Timeline and Viewer