Clip enable and solo item – Apple Final Cut Pro 7 User Manual
Page 1221
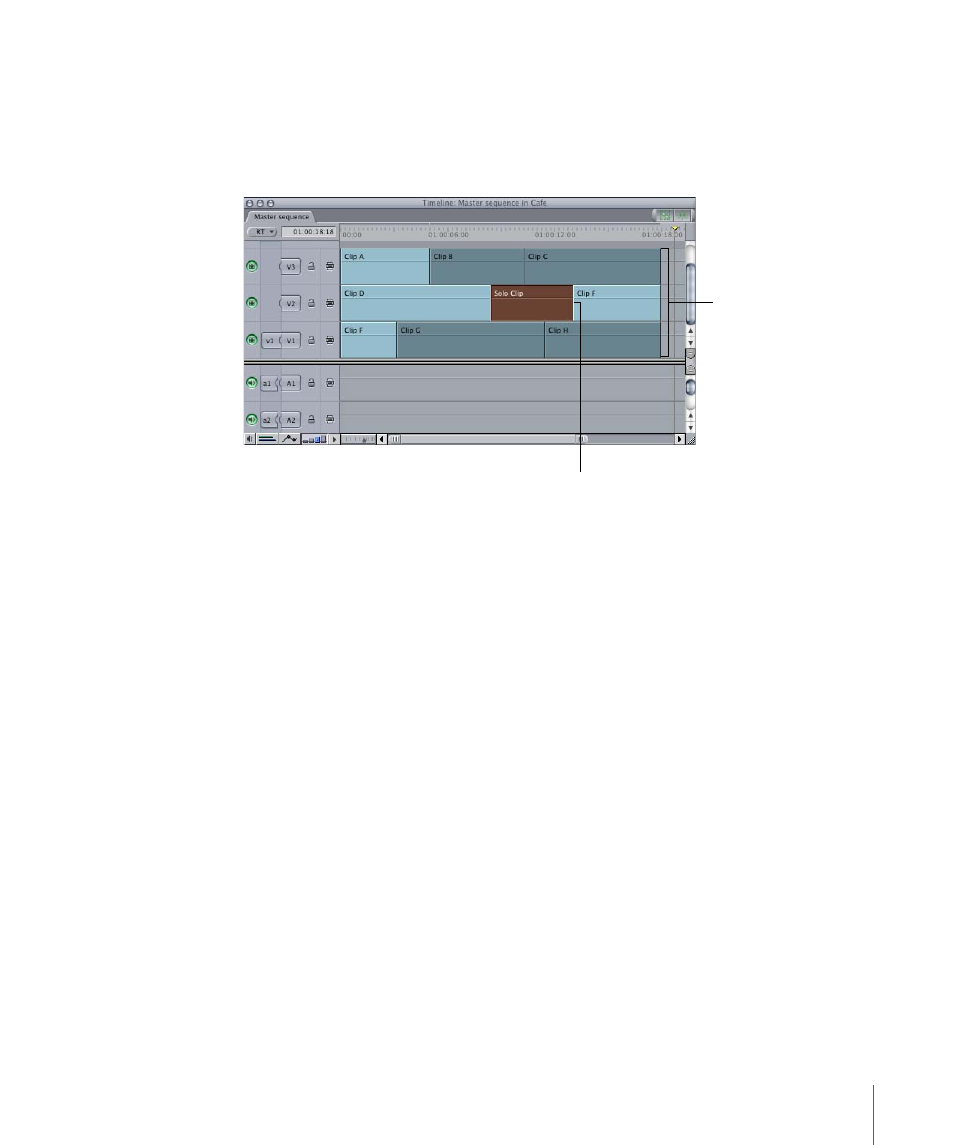
2
Select the clip that you want to solo.
3
Choose Sequence > Solo Selected Item(s) (or press Control-S).
All clips in other tracks that overlap the selected clip are disabled.
4
Position the playhead and play the sequence.
Clip item with
solo enabled
Overlapping clip
items on other tracks
are disabled.
To reenable the disabled clips
µ
Choose Sequence > Solo Selected Item(s) again.
Disabling and Soloing Clips and the Effect on Rendering
When working with multiple tracks in Final Cut Pro, you may find it useful to turn off or
disable some onscreen elements to focus on a particular area of detail in a sequence.
There are two main ways to temporarily solo or disable items in sequences: at the clip
level and at the track level. Depending on the type of sequence you're working on, one
method might be preferable over the other. Each has a different impact on the amount
of sequence area that will require rerendering.
Clip Enable and Solo Item
By default, visibility is enabled for items in the Timeline. (To confirm an item in the Timeline
is enabled, select it and see if Clip Enable has a checkmark in the Modify menu.) You can
choose Modify > Clip Enable to temporarily disable an item so that it will not be played
back, rendered, or output with the rest of the sequence. In most cases when you've
already rendered the sequence, disabling clips instead of whole tracks should minimize
the amount of rerendering that is required. When an item is disabled, its Timeline
representation will be darkened slightly.
When you disable a clip in a rendered sequence, only the duration of that clip requires
rerendering.
1221
Chapter 71
Compositing and Layering