Apple Final Cut Pro 7 User Manual
Page 1395
10
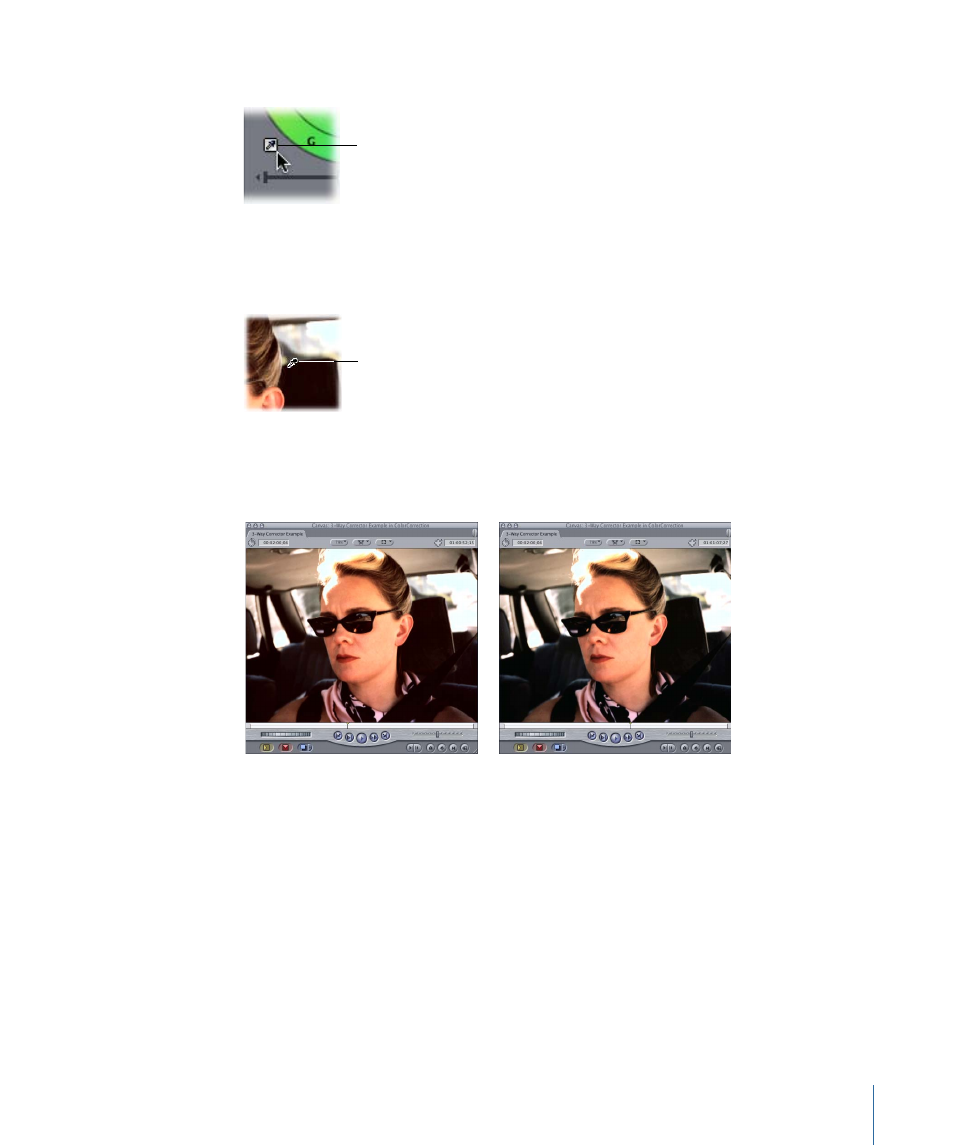
Click the Blacks Auto-Balance eyedropper.
Click the eyedropper
near the Blacks control.
11
Click the eyedropper in an area of the picture that’s supposed to be neutral black.
Depending on the image, it may be more useful to pick a spot that’s a bit lighter than
pure black so that you can see the tint that’s affecting that part of the image.
Click the eyedropper in
the black of the headrest.
The Color Corrector 3-way filter adjusts the Blacks control to compensate for whatever
tint exists in the shadows of your picture. In this example, cyan is added to the blacks as
well, to compensate for the reds that exist in the shadows of the image.
Before
After
An optional step (usually if the clip you’re color correcting has a chip chart that was shot
along with the slate for that take) is to use the Mids Auto-Balance eyedropper.
12
Click the Mids Auto-Balance eyedropper, then click the eyedropper in an area of the chip
chart that’s supposed to be neutral gray.
The Color Corrector 3-way filter adjusts the Mids control to compensate for whatever tint
exists in the vast midrange of your picture.
If you don’t have a chip chart to refer to and are unsure of the neutrality of a gray in the
background, don’t worry about performing this step. You’ll generally get good results
from simply using both the Whites and Blacks Auto-Balance eyedroppers by themselves.
1395
Chapter 82
Color Correction Examples