Performing precise slip edits numerically – Apple Final Cut Pro 7 User Manual
Page 698
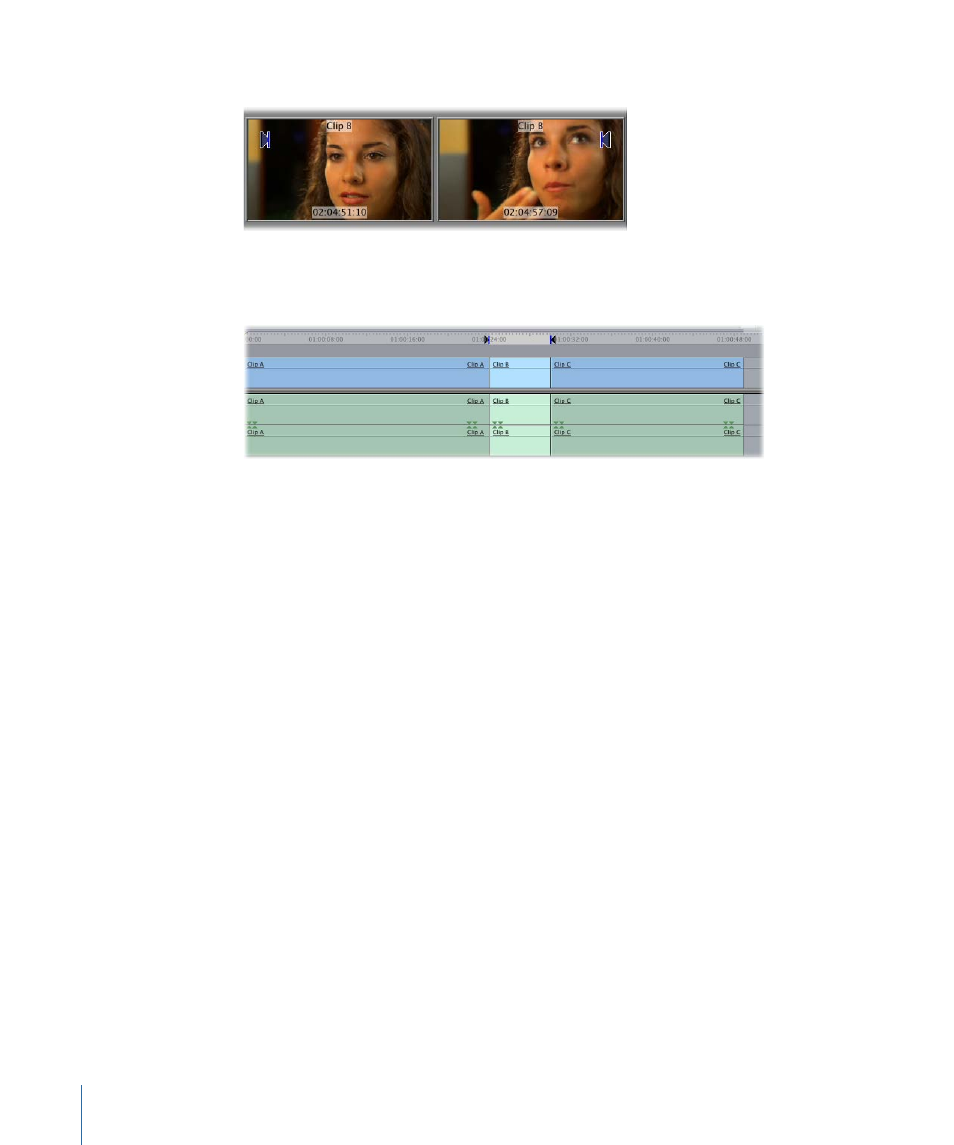
At the same time, the Canvas displays the frames at the In point and the Out point.
3
Release the mouse button when the clip is positioned at a range of frames that you like.
The duration and location of all clips in your sequence remain the same after this operation.
4
Click the Play In to Out button, or press Shift-Backslash (\), to review the new section
between your sequence clip’s In and Out points.
Performing Precise Slip Edits Numerically
Slipping a clip by just a few frames using the mouse can be difficult. It’s much less
cumbersome to precisely slip a clip numerically.
To slip a clip in the Timeline using timecode
1
Select the Slip tool in the Tool palette (or press the S key).
2
Select a clip in the Timeline.
Note: To select multiple clips, hold down the Shift key as you select each clip.
3
Do one of the following:
• To slip the clip one frame to the right: Press Left Bracket ([) or Left Angle Bracket (<).
• To slip the clip one frame to the left: Press Right Bracket (]) or Right Angle Bracket (>).
• To slip the clip a default number of frames to the right: Press Shift-Left Bracket ([) or
Shift-Left Angle Bracket (<) .
• To slip the clip a default number of frames to the left: Press Shift-Right Bracket (]) or
Shift-Right Angle Bracket (>).
• To slip the clip by a precise number of frames: Type a plus sign (+) or a minus sign (-) and
the number of frames to slip, then press Return.
698
Chapter 44
Performing Slip, Slide, Ripple, and Roll Edits