Horizontal time controls – Apple Final Cut Pro 7 User Manual
Page 134
• Unused area: This is the area either above or below the outermost video and audio
tracks in your sequence. Ordinarily, this area is blank, but if you drag clips directly into
this gray area, new tracks are created to accommodate them.
• Vertical scroll bars and thumb tabs: If you have more tracks than can be displayed in
the Timeline window at one time, the scroll bars let you scroll through your video and
audio tracks separately. The thumb tabs between the audio and video track regions
can be used to define a static area that contains separate groups of audio or video
tracks with their own scroll bars.
This can come in handy when you have considerably more audio tracks than video.
You can use the thumb tabs between your audio and video scroll bars to allocate more
space to your audio tracks and less for video. For more information about creating a
static area, see
“Working with Tracks in the Timeline.”
Horizontal Time Controls
The following controls and areas affect horizontally working with the tracks.
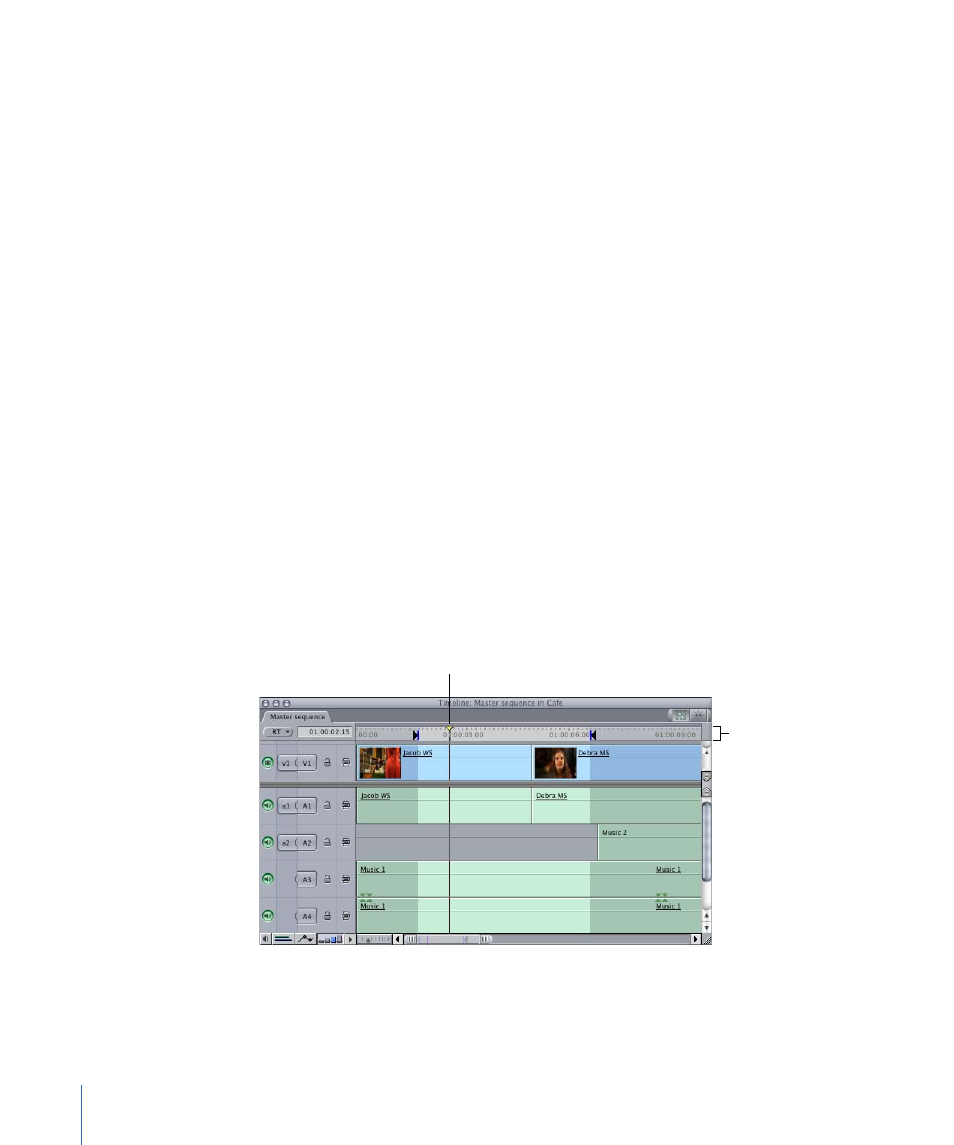
• Ruler: The ruler along the top of the Timeline represents the total duration of your
edited sequence, from the first frame to the last. The ruler can be used for reference,
to see the timecode corresponding to the location of clips in the Timeline. You can
choose to view the ruler with several different units: timecode, frames, or feet and
frames (for editing footage that originated on film).
You can also click or drag the playhead in the ruler, which works exactly like the scrubber
bar in the Canvas.
Sequences can be a maximum of twelve hours (with a sample rate of 48 kHz or lower),
or six hours (with a sample rate of 96 kHz).
Ruler
Playhead
• Playhead: The playhead displays the current frame location in a sequence. You can also
use the playhead to navigate through your sequence in the Timeline. For more
information, see
134
Chapter 9
Timeline Basics